Late August, and the kitchen smells like fresh cucumbers and dill. The window is cracked open just enough to catch a cool breeze, but the sun still presses warm on the windowsill. This is the time when I find myself reaching for the jar of easy refrigerator dill pickles I made earlier in the week. It’s a quiet ritual, really—slicing those crisp cucumbers, layering them with garlic and dill, then letting time work its magic in the fridge. No boiling jars or long canning days, just simple patience and that unmistakable homemade tang.
There’s something about making these pickles that slows down the noise of the day. The crunch when I bite into one is a small, satisfying reward—a reminder that sometimes the best flavors come with a little stillness and care. I’ve tried countless pickle recipes over the years, but this easy refrigerator dill pickles method has a rhythm and ease that fits perfectly with my slow kitchen moments.
It’s not just about making pickles—it’s about capturing a fleeting season, late summer’s crisp bounty, and wrapping it up in a jar. The recipe stuck with me because it’s approachable, dependable, and yields that perfect balance of tangy, fresh, and savory. You know when a pickle just snaps? That’s exactly what this recipe delivers. Honestly, it feels like a quiet celebration of simple flavors, and I’m happy to share how it became a steady part of my kitchen groove.
Why You’ll Love This Recipe
Making easy refrigerator dill pickles isn’t just a task; it’s a little moment of homemade joy that anyone can savor. Here’s why this recipe stands out from the rest:
- Quick & Easy: Ready to eat in as little as 24 hours, making it perfect for last-minute snack cravings or simple weeknight prep.
- Simple Ingredients: Uses pantry staples and fresh cucumbers—no special trips needed, just what you probably already have on hand.
- Perfect for Seasonal Snacking: Especially great when cucumbers are at their peak in late summer, capturing that fresh, bright flavor.
- Crowd-Pleaser: Whether for potlucks or just a casual nibble alongside sandwiches, these pickles always get nods of approval.
- Unbelievably Crisp: The quick refrigerator method keeps the cucumbers crunchy, unlike some slow-fermented versions that can soften too much.
This isn’t just any dill pickle recipe. I’ve learned over time that the key is in balancing the salt and vinegar just right, and layering in fresh dill and garlic in a way that really sings. Plus, skipping the canning means it’s much faster and less intimidating, which is honestly a relief when you just want that homemade flavor without fuss.
For me, it’s the kind of recipe that makes me pause and appreciate the small things—the crackle of a perfect pickle, the scent of dill hanging in the fridge. It’s comfort food with a crisp edge, and it’s become a go-to that fits effortlessly into my kitchen rhythms, no matter the season.
What Ingredients You Will Need
This recipe calls for straightforward, wholesome ingredients that come together to create that unmistakable dill pickle flavor and crunch. Here’s what you’ll gather:
- Fresh cucumbers (about 2 pounds / 900 grams) – I recommend small to medium pickling cucumbers for their firmness and crunch.
- Fresh dill sprigs (4-5 sprigs) – essential for that classic dill aroma and flavor.
- Garlic cloves (3, peeled and smashed) – adds a nice depth and subtle heat.
- White distilled vinegar (1 ½ cups / 360 ml) – the acid backbone for tang and preservation.
- Water (1 ½ cups / 360 ml) – to balance the vinegar’s strength.
- Kosher salt (1 tablespoon) – critical for flavor and crispness (avoid iodized salt, which can cloud the brine).
- Granulated sugar (1 teaspoon, optional) – just a touch to round out the sharpness.
- Black peppercorns (1 teaspoon) – for a subtle spice kick.
- Red pepper flakes (½ teaspoon, optional) – if you like a mild heat.
One little tip: I use a trusted brand of vinegar that’s clear and sharp but not harsh—this makes a big difference in the final bite. And if you’re looking for a gluten-free twist, all these ingredients are naturally gluten-free, which is a nice bonus.
In summer, I sometimes swap out a few cucumbers for fresh green tomatoes to mix things up. Also, if you want a dairy-free version of a creamy side to enjoy with these, try pairing with fluffy mini quiches which are just as effortless and satisfying.
Equipment Needed
Nothing fancy required here, just a few kitchen basics you probably already own:
- Large glass or plastic container with lid (at least 1-quart / 1-liter capacity) – for marinating your pickles in the fridge.
- Measuring cups and spoons – for precise brine balance.
- Sharp knife and cutting board – to slice cucumbers evenly.
- Mixing bowl – for combining the brine ingredients.
- Small saucepan (optional) – to warm the brine slightly to dissolve salt and sugar if you prefer.
If you don’t have a glass container, a food-safe plastic container or a large mason jar works well too. I once used a ceramic crock, and while it worked fine, I found glass is better for monitoring the pickles’ progress. Also, keeping the lid tight helps keep flavors fresh and prevents fridge smells from sneaking in.
Preparation Method
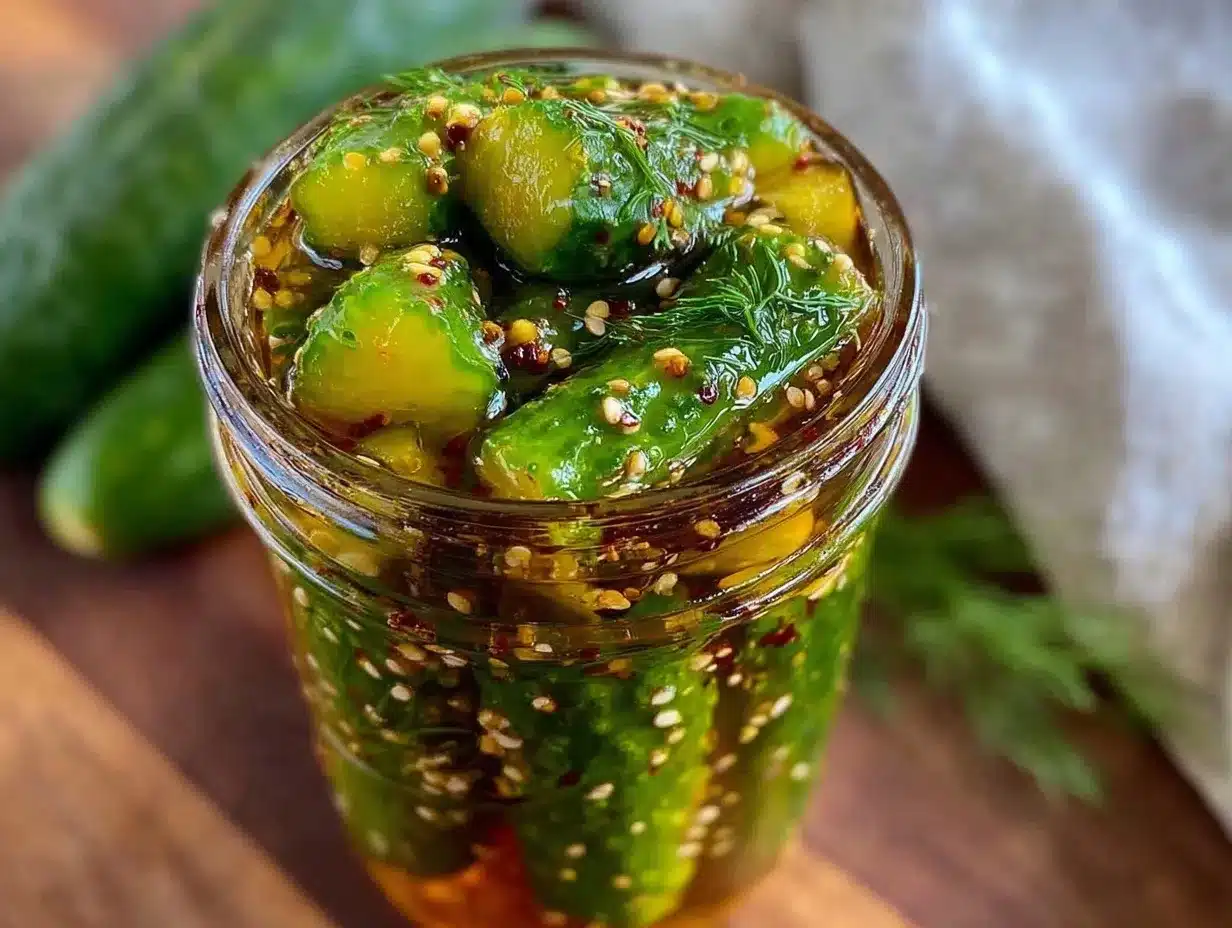
- Prepare the Cucumbers (10 minutes): Rinse your cucumbers thoroughly and trim off the blossom ends (this helps keep them crisp). Slice them into spears or rounds depending on your preference—spears tend to hold up better and feel more traditional.
- Make the Brine (5 minutes): In a mixing bowl or small saucepan, combine 1 ½ cups (360 ml) white distilled vinegar, 1 ½ cups (360 ml) water, 1 tablespoon kosher salt, and 1 teaspoon sugar (if using). Stir until salt and sugar dissolve completely. If you warm the mixture slightly, it dissolves faster, but it’s not required.
- Pack the Container (5 minutes): Place the garlic cloves, dill sprigs, peppercorns, and optional red pepper flakes at the bottom of your container. Layer the cucumber slices on top, packing them snugly but without crushing.
- Pour the Brine (2 minutes): Pour the brine over the cucumbers until they’re fully submerged. Use a clean weight or small plate to keep cucumbers under the liquid if needed (this prevents spoilage and uneven flavor).
- Seal and Refrigerate (24 hours minimum): Cover the container tightly with a lid and place it in the refrigerator. The pickles will start tasting good after 24 hours but improve in flavor and crunch if left 2-3 days. I usually wait 48 hours for that perfect bite.
- Check and Taste (ongoing): After a day, taste a pickle spear to see how the flavors have developed. If it’s not tangy enough, give it more time. If you notice any cloudiness or off smells, discard immediately—though when made fresh, this rarely happens.
One trick I learned the hard way: don’t skip trimming the blossom ends—they contain enzymes that cause softening, so cutting them off keeps pickles crisp longer. Also, using kosher salt instead of table salt makes a big difference in texture and clarity of the brine.
Cooking Tips & Techniques
Even though this recipe doesn’t require cooking, these tips make your easy refrigerator dill pickles shine:
- Maintain Crispness: Always use firm, fresh cucumbers and keep them fully submerged in brine—exposure to air causes them to turn soggy.
- Flavor Balance: Adjust vinegar and salt levels based on your taste buds. For a milder pickle, reduce vinegar slightly and add more water.
- Storage Safety: Keep pickles refrigerated and consume within 2-3 weeks for best quality. Homemade refrigerator dill pickles don’t have preservatives, so freshness counts.
- Layering Flavors: Don’t skimp on fresh dill and garlic—these are the heart of the recipe. You can even add mustard seeds or coriander seeds for a twist.
- Batch Prep: Make multiple jars at once if you find yourself reaching for these often. They store well and save time.
I remember one batch turning out too salty because I rushed the brine measurements—lesson learned! Now I double-check every teaspoon and cup, especially when switching measuring tools. Also, if you’re juggling dinner prep, making these while your oven is on (like when baking crispy prosciutto-wrapped asparagus bites) is a smart way to maximize kitchen time.
Variations & Adaptations
Easy refrigerator dill pickles are wonderfully flexible, so feel free to customize:
- Spicy Kick: Add more red pepper flakes or a sliced jalapeño to the jar for heat lovers.
- Garlic Lovers’ Pickle: Double the garlic cloves for a stronger, pungent flavor.
- Low Sodium: Use less salt and extend refrigeration time slightly to compensate for milder preservation.
- Herbal Twist: Swap dill for fresh tarragon or add fresh thyme for a different herbal note.
- Vinegar Variations: Try apple cider vinegar for a fruitier tang, though it may tint the brine slightly.
Personally, I once experimented with this recipe by adding a splash of the brine from my champagne-glazed ham marinade—it gave the pickles a subtle, unexpected sweetness and complexity that stuck around for a few batches.
Serving & Storage Suggestions
Serve your easy refrigerator dill pickles chilled straight from the jar for the best crunch. They make a fantastic sidekick for sandwiches, burgers, or even as a tangy nibble alongside a cheese board. If you’re planning a casual gathering, they pair wonderfully with light appetizers like deviled eggs or flaky mini quiches.
Store pickles in the refrigerator with the lid tightly sealed, and they’ll stay fresh for up to 3 weeks. Over time, the flavors deepen and the pickles get a bit softer, but still delicious. When reheating isn’t necessary—pickles are best cold—but if you want to soften them slightly for a recipe, letting them sit at room temperature for 10-15 minutes works well.
For a festive meal, these pickles can add a crisp, refreshing counterpoint to rich dishes like perfect beef tenderloin—the contrast is quite something.
Nutritional Information & Benefits
These easy refrigerator dill pickles are low in calories (roughly 10-15 calories per spear) and naturally fat-free, making them a guilt-free snack. The vinegar content may aid digestion, and fresh dill provides antioxidants and vitamins like A and C. Cucumbers themselves are hydrating and low-carb, which fits nicely into many dietary plans.
Keep in mind, the sodium content can be moderate due to the salt in the brine, so if you’re monitoring salt intake, adjust accordingly. This recipe is naturally gluten-free and vegan, making it accessible for many dietary needs.
From a wellness perspective, these pickles offer a bright, flavorful way to enjoy vegetables and support gut health with their vinegar-based preservation, without relying on commercial preservatives or additives.
Conclusion
Easy refrigerator dill pickles have become one of those quietly satisfying recipes I trust to deliver homemade crispness and flavor without fuss. They fit into my kitchen life effortlessly and bring a bit of late summer’s best right to my table. Whether you’re a pickle novice or a seasoned fan, this recipe invites you to make something simple yet rewarding.
Feel free to tweak the garlic, spice, or vinegar levels to suit your tastes—after all, that’s the beauty of homemade. For me, these pickles are more than just a condiment; they’re a small moment of calm and care that makes the everyday feel a little richer.
If you give them a try, I’d love to hear your thoughts or any special twists you add. Sharing those little kitchen stories is what makes this all worthwhile.
Happy pickling!
FAQs
How long do refrigerator dill pickles last?
Stored properly in the fridge, they stay fresh for about 2 to 3 weeks. After that, they might get softer but still taste good for a little while longer.
Can I use regular cucumbers instead of pickling cucumbers?
Yes, but pickling cucumbers are firmer and less watery, so they hold up better for crisp pickles. Regular slicing cucumbers can work but might yield softer results.
Do I have to cook the brine?
Nope! You can dissolve the salt and sugar in warm water or just stir them into cold water until they dissolve. Both methods work fine for refrigerator pickles.
Can I make these pickles without vinegar?
Unfortunately, vinegar is key for the tangy flavor and preservation in this recipe. For vinegar-free pickles, you’d want to look into lacto-fermentation methods instead.
Why are my pickles not crunchy?
Common reasons include using overripe or large cucumbers, not trimming blossom ends, or cucumbers sitting above the brine. Using fresh cucumbers and keeping them submerged helps keep them crisp.
Pin This Recipe!
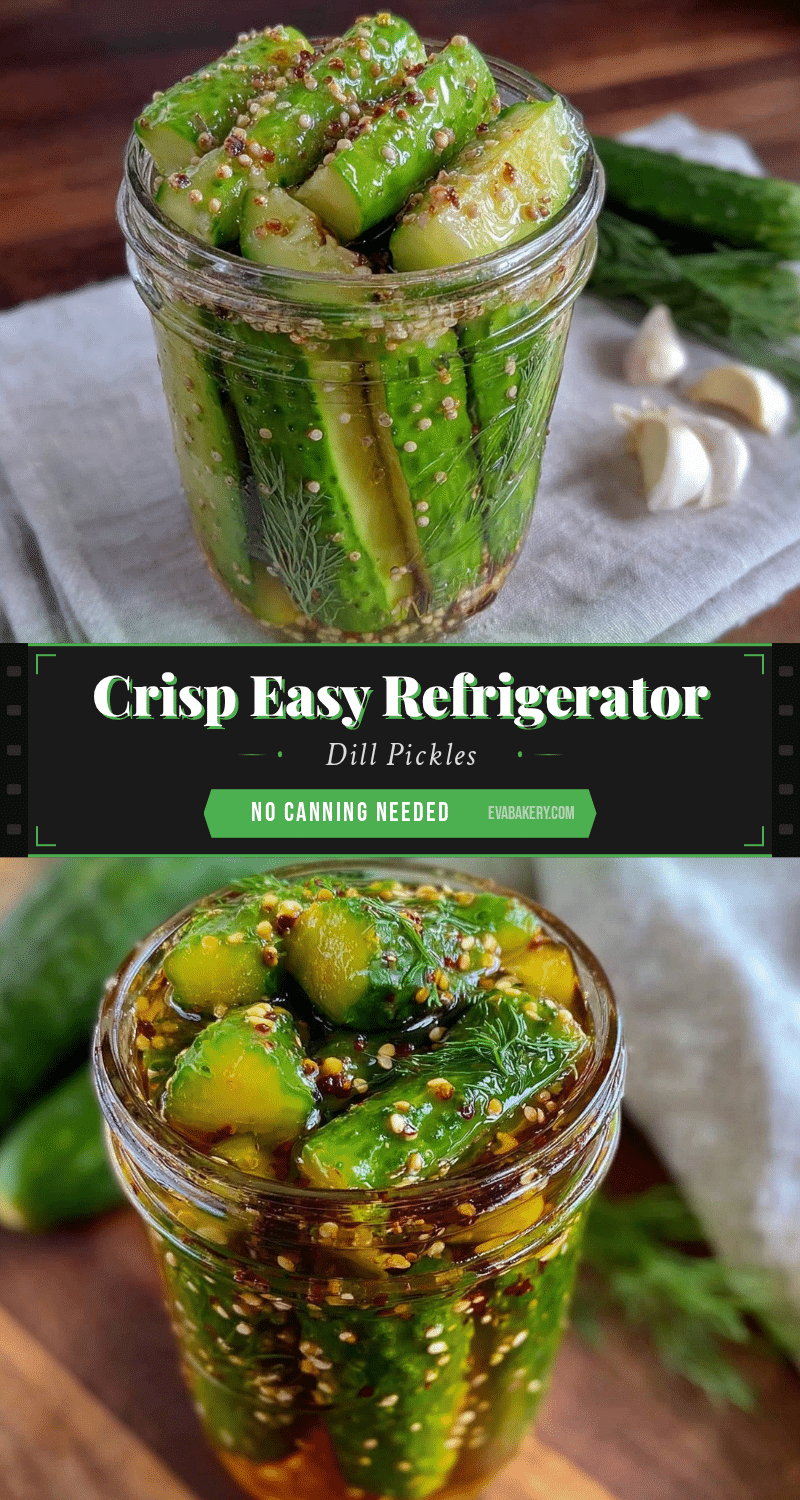
Easy Refrigerator Dill Pickles Recipe for Perfect Homemade Crisp Flavor
A simple and quick refrigerator dill pickle recipe that yields crisp, tangy pickles with fresh dill and garlic, perfect for seasonal snacking and easy homemade flavor.
- Prep Time: 15 minutes
- Cook Time: 0 minutes
- Total Time: 24 hours (minimum refrigeration time)
- Yield: About 4 cups of pickles (approximately 4 servings) 1x
- Category: Condiment, Snack
- Cuisine: American
Ingredients
- 2 pounds fresh cucumbers (small to medium pickling cucumbers recommended)
- 4–5 fresh dill sprigs
- 3 garlic cloves, peeled and smashed
- 1 ½ cups white distilled vinegar (360 ml)
- 1 ½ cups water (360 ml)
- 1 tablespoon kosher salt
- 1 teaspoon granulated sugar (optional)
- 1 teaspoon black peppercorns
- ½ teaspoon red pepper flakes (optional)
Instructions
- Rinse cucumbers thoroughly and trim off the blossom ends to keep them crisp. Slice into spears or rounds as preferred.
- In a mixing bowl or small saucepan, combine 1 ½ cups white distilled vinegar, 1 ½ cups water, 1 tablespoon kosher salt, and 1 teaspoon sugar (if using). Stir until salt and sugar dissolve completely. Warming the mixture slightly is optional.
- Place garlic cloves, dill sprigs, peppercorns, and optional red pepper flakes at the bottom of a large glass or plastic container.
- Layer cucumber slices on top, packing them snugly but without crushing.
- Pour the brine over the cucumbers until fully submerged. Use a clean weight or small plate to keep cucumbers under the liquid if needed.
- Cover the container tightly with a lid and refrigerate for at least 24 hours. Flavor and crunch improve after 2-3 days; 48 hours is ideal.
- After 24 hours, taste a pickle spear to check flavor. If not tangy enough, refrigerate longer. Discard if any cloudiness or off smells develop.
Notes
[‘Trim blossom ends of cucumbers to prevent softening and maintain crispness.’, ‘Use kosher salt instead of iodized salt for clearer brine and better texture.’, ‘Keep cucumbers fully submerged in brine to avoid sogginess.’, ‘Adjust vinegar and salt levels to taste; reduce vinegar and increase water for milder pickles.’, ‘Store pickles refrigerated and consume within 2-3 weeks for best quality.’, ‘Optional warming of brine helps dissolve salt and sugar faster but is not required.’, ‘Add mustard seeds or coriander seeds for flavor variations.’, ‘Try apple cider vinegar for a fruitier tang, noting it may tint the brine.’, ‘Double garlic for stronger flavor or add jalapeño for heat.’]
Nutrition
- Serving Size: Approximately 1 pick
- Calories: 1015
- Sugar: 0.5
- Sodium: 30040
- Carbohydrates: 12
- Fiber: 0.3
- Protein: 0.3
Keywords: refrigerator dill pickles, easy pickles, homemade pickles, quick pickles, dill pickle recipe, crisp pickles, no canning pickles


