The pan came out of the oven and the whole kitchen fell quiet. That’s not something that happens often around here, but the smell of brown butter and pumpkin had everyone just standing there, staring. My neighbor texted me before I even had a chance to slice it. “What did you just bake?” she wrote. “My kids are asking if we can have some.” I hadn’t even posted anything yet.
That was the moment I knew this Easy Brown Butter Pumpkin Dump Cake was something special. I mean, I knew it was good when I first tested it — the kind of good where you take a bite and then immediately take another because you’re not sure your taste buds got it right the first time. But the way people reacted? That caught me off guard. It’s just three ingredients (plus the brown butter, which honestly feels like cheating because it’s so simple).
I’d been playing around with pumpkin dump cakes for a while, trying to find a version that didn’t feel heavy or overly sweet. Most dump cakes lean hard on the cake mix, and while that’s fine, I wanted something that tasted intentional. Something that felt like you actually tried — even though you barely did. The brown butter was the answer. It adds this nutty, almost caramel-like depth that makes the pumpkin filling taste richer, more complex. Suddenly, a three-ingredient dessert feels like you spent hours on it.
And that’s the thing about this recipe. It looks impressive, it tastes like fall in the best way, and it practically makes itself. You don’t need a mixer, you don’t need fancy equipment, and you definitely don’t need a ton of time. It’s the kind of dessert that makes you look like a hero without breaking a sweat. Honestly, that’s my favorite kind of recipe.
Why You’ll Love This Recipe
This isn’t just another dump cake. This is the dump cake that will ruin all other dump cakes for you. Seriously.
- Only 3 Ingredients (Plus Brown Butter): You likely have everything in your pantry right now. Pumpkin puree, sweetened condensed milk, and yellow cake mix. The brown butter is the secret weapon that takes it from good to unforgettable.
- Comes Together in Under 10 Minutes: No mixer, no complicated steps. Stir, dump, and bake. That’s it. Perfect for those evenings when you need dessert but your energy is already spent.
- Tastes Like You Spent Hours: The brown butter does all the heavy lifting. It gives the cake a toasty, nutty flavor that makes people think you’ve been slaving away in the kitchen. Let them think that.
- Perfect for Any Fall Gathering: Thanksgiving, Friendsgiving, a cozy Sunday dinner, or just a random Tuesday when you need something warm and comforting. This cake fits every occasion.
- Crowd-Pleaser Guaranteed: Kids love it, adults love it, even people who say they don’t like pumpkin desserts love it. I’ve tested this on multiple groups and the response is always the same — empty plates and recipe requests.
What makes this recipe different from every other pumpkin dump cake out there is the brown butter. Most recipes skip this step, and honestly, that’s a missed opportunity. Browning the butter takes an extra five minutes but adds a depth of flavor that transforms the entire dessert. It’s the difference between a good cake and a memorable one. Plus, the ratio of filling to cake is spot on — not too goopy, not too dry. It’s the Goldilocks of dump cakes.
This is the kind of dessert that makes you close your eyes after the first bite. It’s comfort food at its finest — warm, cozy, and ridiculously easy. Whether you’re impressing guests or just treating yourself, this Easy Brown Butter Pumpkin Dump Cake delivers every single time.
What Ingredients You Will Need
This recipe uses simple, pantry-friendly ingredients to create something that tastes far more complex than it has any right to. Here’s what you’ll need:
For the Pumpkin Filling
- 1 can (15 oz) pumpkin puree — Not pumpkin pie filling. Make sure it’s 100% pure pumpkin. I prefer Libby’s for consistent texture and flavor.
- 1 can (14 oz) sweetened condensed milk — This adds sweetness and creates that creamy, almost custard-like texture. Do not substitute with evaporated milk, it won’t work the same way.
- 2 large eggs — Room temperature is best, but if you forget, just run them under warm water for a minute.
- 1 teaspoon pumpkin pie spice — You can use a store-bought blend or make your own with cinnamon, nutmeg, ginger, and cloves. I like making my own because I can adjust the ratios.
- 1 teaspoon vanilla extract — Pure vanilla extract adds warmth and rounds out the flavors. Avoid imitation vanilla if you can.
For the Brown Butter Topping
- 1/2 cup (1 stick) unsalted butter — This will be browned, so don’t use salted butter unless you want a slightly saltier finish. If that’s your thing, go for it.
- 1 box (15.25 oz) yellow cake mix — Any brand works. I’ve used Betty Crocker and Duncan Hines with great results. Do not use a mix with pudding in the mix, it changes the texture.
- 1/2 cup chopped pecans or walnuts (optional) — Adds a lovely crunch and pairs beautifully with the brown butter. I usually add them because I love the texture contrast.
Substitution Notes
If you’re gluten-free, use a gluten-free yellow cake mix. Just make sure it’s a 15.25 oz box. For a dairy-free version, use a dairy-free butter alternative for browning (though the flavor will be slightly different) and a dairy-free sweetened condensed milk. The texture might be a bit softer, but it still works. If you don’t have pumpkin pie spice, use 1/2 teaspoon cinnamon, 1/4 teaspoon nutmeg, 1/4 teaspoon ginger, and a pinch of cloves.
Equipment Needed
You don’t need a fancy kitchen for this recipe. Here’s what you’ll need:
- 9×13-inch baking dish — Glass or ceramic works best. Metal can work too, but keep an eye on the baking time as it may cook faster.
- Small saucepan — For browning the butter. A light-colored pan is ideal so you can see the butter change color.
- Mixing bowls — One medium bowl for the pumpkin filling and one small bowl for the brown butter (optional, you can just pour it straight from the pan).
- Whisk — For combining the filling ingredients. A fork works in a pinch.
- Spatula — For scraping every last bit of brown butter out of the pan. Trust me, you don’t want to waste any.
- Measuring cups and spoons — For the spices and vanilla.
Pro tip: If you don’t have a 9×13 dish, you can use a 10-inch cast iron skillet. The cake will be slightly thicker and may need a few extra minutes in the oven. I’ve done this before and the edges get beautifully crispy. Just make sure your skillet is well-seasoned.
Preparation Method
This is where the magic happens. Follow these steps and you’ll have a dessert that tastes like fall in a pan.
Step 1: Preheat and Prep
Preheat your oven to 350°F (175°C). Grease your 9×13-inch baking dish with butter or non-stick spray. I like using butter because it adds a little extra flavor to the edges, but spray works just fine.
Step 2: Brown the Butter
Place the 1/2 cup of unsalted butter in a small saucepan over medium heat. Let it melt completely, then swirl the pan occasionally. After about 3-4 minutes, the butter will start to foam and turn golden. Keep a close eye on it — once you see brown specks forming at the bottom and it smells nutty and toasty, remove it from the heat immediately. Pour it into a heat-safe bowl to stop the cooking process. Don’t walk away from the pan, brown butter can go from perfect to burnt in seconds. I learned this the hard way.
Step 3: Make the Pumpkin Filling
In a medium mixing bowl, combine the pumpkin puree, sweetened condensed milk, eggs, pumpkin pie spice, and vanilla extract. Whisk until smooth and fully combined. The mixture should be thick but pourable, like a loose custard. If it looks too thick, don’t worry — that’s normal. Pour this mixture into your prepared baking dish and spread it evenly with a spatula.
Step 4: Add the Cake Mix
Sprinkle the entire box of yellow cake mix evenly over the pumpkin filling. Do not stir it in. Just let it sit on top like a blanket. This is what creates that magical crumbly topping as it bakes. If you’re using nuts, sprinkle them over the cake mix now.
Step 5: Drizzle the Brown Butter
Drizzle the browned butter evenly over the top of the cake mix. Try to cover as much surface area as possible. The butter will seep down through the cake mix as it bakes, creating pockets of buttery, nutty goodness. Don’t worry if some spots look dry — the butter will find its way.
Step 6: Bake
Place the dish in the preheated oven and bake for 40-45 minutes. The top should be golden brown and the filling should be bubbly around the edges. You’ll know it’s done when a toothpick inserted into the center comes out with just a few moist crumbs — not wet batter. Let it cool for at least 15 minutes before serving. This allows the filling to set slightly, making it easier to scoop.
Sensory cues: During baking, your kitchen will smell like a fall candle factory exploded. The brown butter will mingle with the pumpkin and spice, creating a warm, cozy aroma that makes everyone gravitate toward the kitchen. The top will look crackly and golden, with some spots slightly darker where the butter pooled. The edges will be caramelized and slightly crispy — those are the best bites.
Cooking Tips & Techniques
After making this Easy Brown Butter Pumpkin Dump Cake more times than I care to admit, I’ve picked up a few tricks that make a real difference.
Don’t rush the brown butter. This is the most important step. Low and slow is the way to go. If your heat is too high, the butter will burn before it browns evenly. Keep the heat at medium and swirl the pan constantly. The moment you see brown specks and smell that nutty aroma, pull it off the heat. I’ve burned more batches than I’d like to admit because I got distracted. Set a timer if you have to.
Use room temperature eggs. Cold eggs can seize up the pumpkin mixture, making it harder to whisk smoothly. If you forget to take them out of the fridge, place them in a bowl of warm water for 5 minutes. It makes a difference in how evenly the filling bakes.
Don’t overmix the filling. Whisk just until everything is combined. Overmixing can incorporate too much air, which can cause the filling to puff up and then collapse. You want a dense, creamy texture, not a fluffy one.
Let it rest before serving. I know it’s tempting to dig in right away, but letting the cake cool for at least 15 minutes allows the filling to set. If you scoop it too soon, it’ll be runny. Trust me on this — I’ve made that mistake and ended up with soup on my plate. Still delicious, but not ideal.
For extra crispy edges, use a metal pan instead of glass. Metal conducts heat more efficiently, giving you those caramelized, almost crunchy edges that are the best part of any dump cake. If you’re using glass, just add a few extra minutes to the baking time.
Variations & Adaptations
This recipe is incredibly forgiving and adaptable. Here are some ways to make it your own:
Spiced Apple Pumpkin Dump Cake
Add 1 cup of finely diced apples (Granny Smith or Honeycrisp work great) to the pumpkin filling before pouring it into the dish. The apples add a tartness that balances the sweetness and a soft texture that contrasts with the crunchy topping. I tried this on a whim one fall and it’s become one of my favorite variations.
Chocolate Chip Pumpkin Dump Cake
Sprinkle 1/2 cup of semi-sweet chocolate chips over the cake mix before drizzling the brown butter. The chocolate melts into pockets of gooey goodness that pair surprisingly well with the pumpkin and brown butter. My kids go crazy for this version.
Vegan/ Dairy-Free Version
Use a dairy-free butter alternative (like Miyoko’s or Earth Balance) for browning, and a dairy-free sweetened condensed milk (Nature’s Charm makes a good one). Use a vegan yellow cake mix. The texture will be slightly softer, but the flavor is still incredible. I’ve tested this for a friend who’s dairy-free and she couldn’t tell the difference.
Gluten-Free Version
Simply use a gluten-free yellow cake mix. King Arthur Flour makes an excellent one. Everything else remains the same. I’ve made this for gluten-free guests and they always ask for seconds.
Pumpkin Spice Latte Version
Add 2 tablespoons of espresso powder to the pumpkin filling for a coffee kick. It deepens the flavor and adds a subtle bitterness that balances the sweetness. Perfect for those who love their pumpkin spice with a caffeine edge.
Serving & Storage Suggestions
This Easy Brown Butter Pumpkin Dump Cake is best served warm, straight from the oven. The contrast between the warm, creamy filling and the slightly crunchy topping is pure magic. Here are some serving ideas:
- With vanilla ice cream: A scoop of good-quality vanilla ice cream melting over a warm slice is the classic pairing for a reason. The cold creaminess balances the warm, spiced cake perfectly.
- With whipped cream: A dollop of freshly whipped cream (sweetened with a little maple syrup, if you’re feeling fancy) adds lightness and airiness.
- With a drizzle of caramel sauce: For when you want to go all out. The caramel complements the brown butter beautifully.
- On its own: Honestly, this cake is so good that it doesn’t need anything. It’s perfect as is.
Storage: Cover the dish tightly with foil or plastic wrap and store in the refrigerator for up to 5 days. The flavors actually meld together and get even better after a day or two. To reheat, pop individual servings in the microwave for 20-30 seconds or warm the whole dish in a 300°F oven for 10-15 minutes.
Freezing: This cake freezes beautifully. Let it cool completely, then wrap the entire dish (or individual portions) tightly in plastic wrap, then foil. Freeze for up to 3 months. Thaw overnight in the refrigerator and reheat before serving. I often make two at a time — one for now and one for later.
Nutritional Information & Benefits
While this is definitely a treat, there are a few bright spots worth mentioning. Pumpkin is packed with vitamin A, fiber, and antioxidants. It’s also low in calories and fat, which makes this dessert feel a little less indulgent. The eggs add protein, and if you use nuts, you’ll get healthy fats and a bit of extra protein too.
Estimated per serving (based on 12 servings):
- Calories: 380
- Fat: 18g
- Carbohydrates: 52g
- Fiber: 2g
- Sugar: 35g
- Protein: 5g
Dietary considerations: This recipe contains dairy, gluten, eggs, and nuts (if added). For allergen-friendly versions, see the variations section above. It’s not low-carb or keto-friendly due to the cake mix and sweetened condensed milk, but it’s perfect for an occasional indulgence.
I like to think of this as a dessert that’s good for the soul, even if it’s not exactly a health food. Sometimes you just need something warm, sweet, and comforting — and that’s okay.
Conclusion
This Easy Brown Butter Pumpkin Dump Cake is the kind of recipe that makes you look like a baking genius with almost zero effort. It’s warm, cozy, and packed with fall flavor — exactly what you need when the weather turns chilly and you’re craving something sweet. The brown butter adds a depth that makes it taste far more complicated than it actually is, and the pumpkin filling is creamy and perfectly spiced.
I love this recipe because it reminds me that you don’t need a million ingredients or hours in the kitchen to create something memorable. Sometimes the simplest things are the most satisfying. Whether you’re making it for a holiday gathering, a potluck, or just a quiet night in, this cake delivers every single time.
If you try this recipe, I’d love to hear how it turns out. Leave a comment below and let me know if you added any fun variations or if you kept it classic. And if you’re looking for more easy, crowd-pleasing desserts, check out our Creamy New Year’s Cheesecake with Festive Pomegranate Topping or our Perfect Champagne Glazed Ham for your next celebration. Happy baking, friends!
Frequently Asked Questions
Can I use pumpkin pie filling instead of pumpkin puree?
No, don’t do that. Pumpkin pie filling is already sweetened and spiced, so it will throw off the balance of the recipe. Stick with 100% pure pumpkin puree for the best results.
Do I have to use brown butter?
You don’t have to, but you really should. Brown butter adds a nutty, caramel-like flavor that takes this cake from good to unforgettable. If you’re short on time, you can use melted butter, but the flavor won’t be as rich.
Can I make this ahead of time?
Absolutely. You can assemble the entire dish (without baking) up to 24 hours in advance. Just cover it and refrigerate. When you’re ready to bake, add about 5-10 minutes to the baking time since it’s starting from cold.
Why is my dump cake soggy in the middle?
This usually happens if the cake isn’t baked long enough or if the oven temperature is too low. Make sure your oven is properly preheated to 350°F and bake until the top is golden brown and the filling is bubbly. If the top is browning too quickly, tent it with foil for the last 10 minutes.
Can I double this recipe?
Yes, but you’ll need a larger pan. A 9×13 dish works for a single batch. For a double batch, use a 11×15 or two 9×13 dishes. You may need to increase the baking time slightly. Keep an eye on it and test for doneness with a toothpick.
Pin This Recipe!
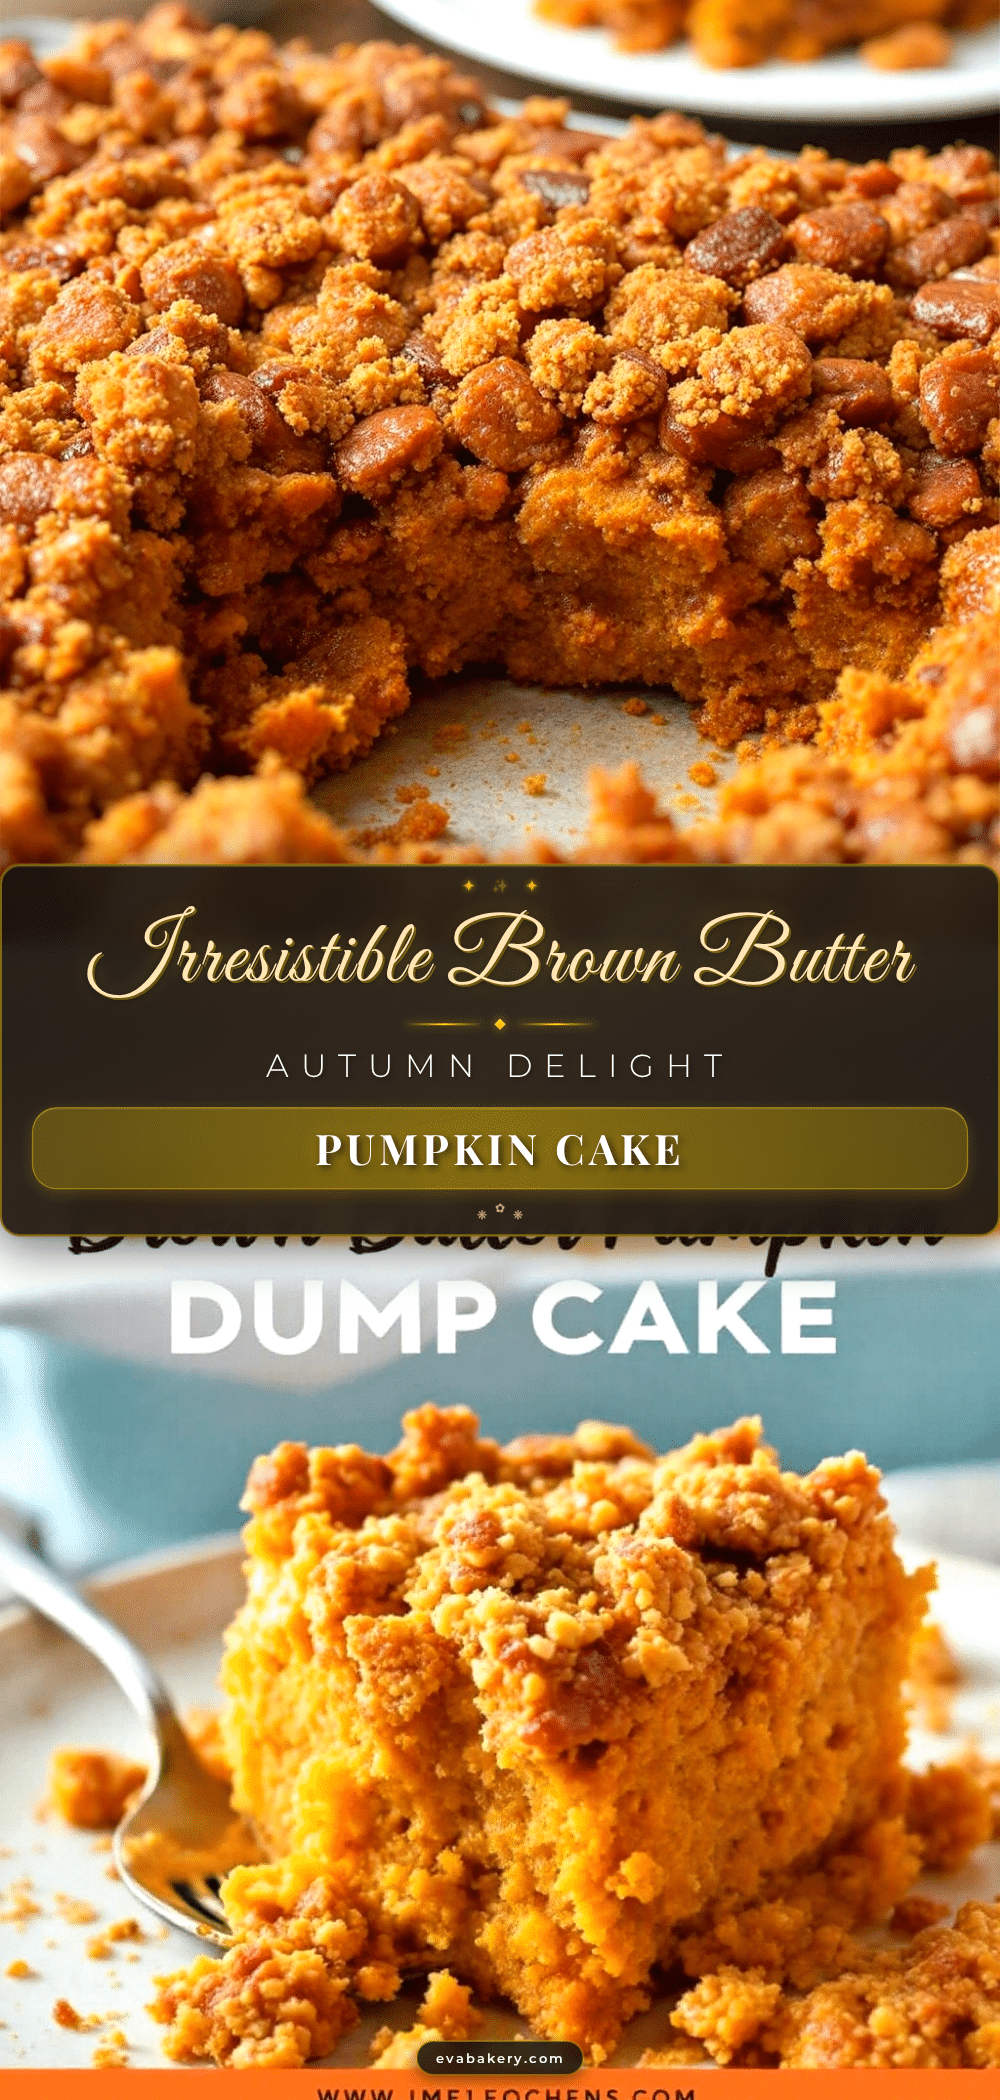
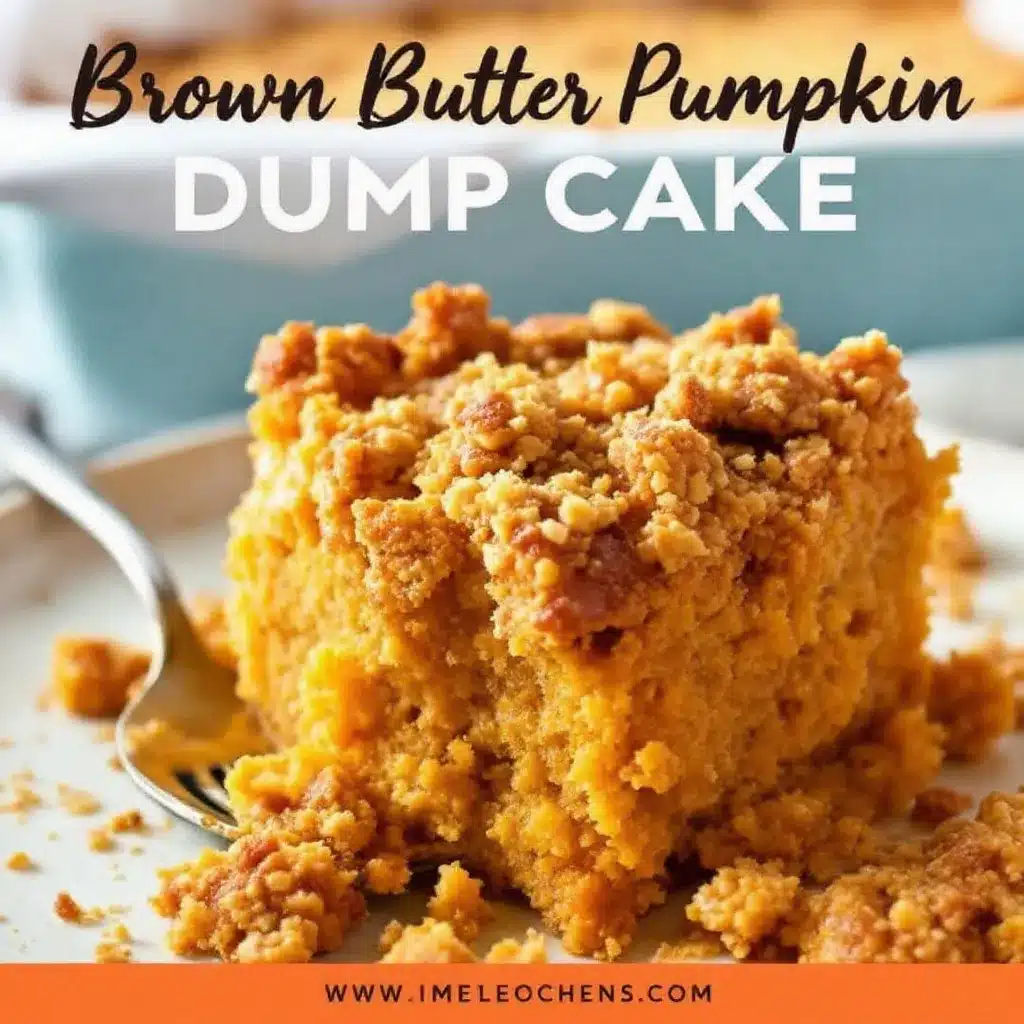
Easy Brown Butter Pumpkin Dump Cake: Best 3-Ingredient Dessert
This Easy Brown Butter Pumpkin Dump Cake is a warm, cozy fall dessert made with just three ingredients plus brown butter. It comes together in under 10 minutes and tastes like you spent hours in the kitchen.
- Prep Time: 10 minutes
- Cook Time: 45 minutes
- Total Time: 55 minutes
- Yield: 12 servings 1x
- Category: Dessert
- Cuisine: American
Ingredients
- 1 can (15 oz) pumpkin puree
- 1 can (14 oz) sweetened condensed milk
- 2 large eggs, room temperature
- 1 teaspoon pumpkin pie spice
- 1 teaspoon vanilla extract
- 1/2 cup (1 stick) unsalted butter
- 1 box (15.25 oz) yellow cake mix
- 1/2 cup chopped pecans or walnuts (optional)
Instructions
- Preheat oven to 350°F (175°C). Grease a 9×13-inch baking dish with butter or non-stick spray.
- Brown the butter: Place 1/2 cup unsalted butter in a small saucepan over medium heat. Melt completely, swirling occasionally. After 3-4 minutes, when butter foams and turns golden with brown specks and a nutty aroma, remove from heat immediately. Pour into a heat-safe bowl.
- Make the pumpkin filling: In a medium bowl, whisk together pumpkin puree, sweetened condensed milk, eggs, pumpkin pie spice, and vanilla extract until smooth. Pour into prepared dish and spread evenly.
- Sprinkle the entire box of yellow cake mix evenly over the pumpkin filling. Do not stir. If using nuts, sprinkle them over the cake mix.
- Drizzle the browned butter evenly over the top of the cake mix.
- Bake for 40-45 minutes, until top is golden brown and filling is bubbly around edges. A toothpick inserted in center should come out with moist crumbs. Cool at least 15 minutes before serving.
Notes
Don’t rush the brown butter; low and slow is key. Use room temperature eggs for best texture. Let the cake rest for at least 15 minutes before serving to allow the filling to set. For extra crispy edges, use a metal pan instead of glass.
Nutrition
- Serving Size: 1 slice
- Calories: 380
- Sugar: 35
- Fat: 18
- Carbohydrates: 52
- Fiber: 2
- Protein: 5
Keywords: pumpkin dump cake, brown butter, easy dessert, fall dessert, 3-ingredient dessert, pumpkin recipe


