“Mom, can you make those peanut butter balls again? The ones with the banana?” My daughter asked this while digging through her lunchbox, holding up an empty container that had held exactly three energy bites that morning. She wasn’t asking for cookies or a treat from the store. She wanted the ones I’d thrown together in a panic at 10 PM the night before, using up a spotty banana and the last scoop of peanut butter from the jar.
Honestly, I wasn’t even sure they’d work. I had mashed the banana with a fork, mixed in some oats and peanut butter, and rolled them into little balls. No recipe. No plan. Just a mom trying to avoid another trip to the grocery store. But something about that combination clicked. They weren’t too sweet, not too dense, and they held together better than any granola bar I’d ever bought. She ate every single one, and that’s when I knew I’d stumbled onto something worth repeating.
These easy peanut butter banana energy bites for school lunches have become a staple in our house. They’re the kind of recipe you don’t have to think about twice. You just make them, pack them, and watch them disappear. No baking, no complicated steps, and no weird ingredients that send you hunting through specialty stores. Just real food that tastes good and keeps everyone full until the bell rings. And honestly? That’s the kind of win every parent needs.
Why You’ll Love This Recipe
Let me tell you why these energy bites have earned a permanent spot in my weekly rotation. I’ve tested them about a dozen times, tweaking the ratios and trying different add-ins, and this version is the one that never fails. Here’s what makes them special:
- Quick & Easy: You can have these ready in under 15 minutes. No oven, no mixer, no fuss. Just a bowl and your hands.
- Simple Ingredients: You probably already have everything in your pantry. Oats, peanut butter, banana, maybe some chocolate chips if you’re feeling fancy.
- Perfect for School Lunches: They’re portable, mess-free, and hold up well in a lunchbox. No sticky fingers or crumb explosions.
- Crowd-Pleaser: My kids love them, their friends love them, and I’ve even caught my husband sneaking a few after dinner.
- Naturally Sweetened: The banana does all the heavy lifting here. No refined sugar needed, which makes me feel a little better about packing them.
What sets this recipe apart from the hundreds of energy bite recipes out there is the texture. Most recipes use dates or honey as the binder, which can make things too sticky or too sweet. The banana adds just enough moisture and natural sweetness without making the bites mushy. Plus, the peanut butter gives them that rich, savory edge that keeps you from eating the whole batch in one sitting. Well, mostly.
These are the kind of snacks that make you feel like you’ve got your life together, even on days when you’re running on three hours of sleep and cold coffee. They’re a small win in the chaos of school mornings, and honestly, we all need more of those.
What Ingredients You Will Need
This recipe uses simple, wholesome ingredients that work together to create a satisfying snack without any fuss. Most of these are pantry staples, so you can whip up a batch whenever the craving hits.
- Rolled oats (1 cup / 90g) – Use old-fashioned rolled oats for the best texture. Quick oats work too, but they’ll give you a softer bite. I prefer Bob’s Red Mill for consistent results.
- Ripe banana (1 large, about 120g mashed) – The riper the better. Those spotty bananas sitting on your counter? Perfect. They mash easier and add more natural sweetness.
- Creamy peanut butter (½ cup / 130g) – Natural peanut butter works best here. The kind that’s just peanuts and salt. Avoid the sugary stuff with added oils, it won’t bind as well. I like Smucker’s Natural or Teddie.
- Honey or maple syrup (2 tablespoons / 30ml) – Just a touch for extra sweetness. Maple syrup gives a lovely flavor, but honey works great too. You can skip this if your banana is super ripe.
- Mini chocolate chips (¼ cup / 45g) – Optional but highly recommended. They add little pockets of melty goodness. Dark chocolate chips keep the sugar lower.
- Ground flaxseed (1 tablespoon / 7g) – Adds fiber and helps bind everything together. You won’t taste it, I promise.
- Pinch of salt – Only if your peanut butter is unsalted. Salt balances the sweetness and brings out the banana flavor.
Substitution Guidance: If you need a nut-free option for school, swap the peanut butter for sunflower seed butter. It works the same way, just has a slightly different flavor. For gluten-free, make sure your oats are certified gluten-free. You can also use almond butter or cashew butter if that’s what you have on hand. Just avoid anything too runny, it’ll make the mixture too wet.
I’ve also tried adding shredded coconut, chia seeds, and even a scoop of vanilla protein powder. All work well, just adjust the moisture level if things get too dry. A splash of milk or extra banana can fix most texture issues.
Equipment Needed
You don’t need much for this recipe, which is part of the beauty. Here’s what you’ll need:
- Large mixing bowl – Any bowl works, but a wide one makes mixing easier.
- Fork or potato masher – For mashing the banana. A fork does the job just fine.
- Measuring cups and spoons – Standard set for accurate measurements.
- Spatula or wooden spoon – For mixing everything together.
- Baking sheet or plate – To hold the rolled bites while you shape them.
- Parchment paper – Optional, but makes cleanup a breeze.
- Cookie scoop or tablespoon – For uniform-sized bites. I use a small cookie scoop, it’s faster and gives consistent results.
If you don’t have a cookie scoop, just use your hands. The mixture is sticky, so wetting your hands slightly helps. I’ve made these with just a bowl and my hands more times than I can count. No fancy equipment required.
Preparation Method
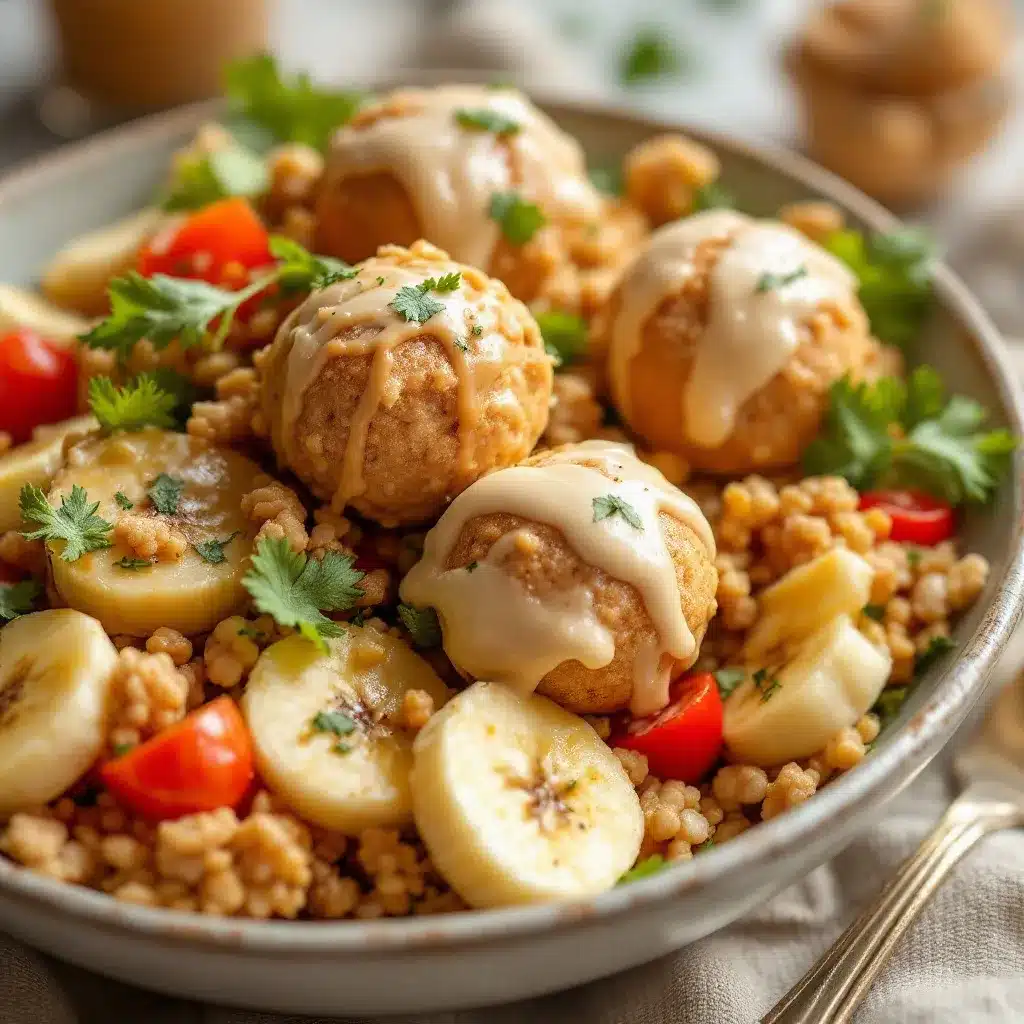
- Mash the banana. Peel your ripe banana and place it in a large mixing bowl. Use a fork to mash it until it’s smooth with just a few small lumps. You want it mostly liquid, not chunky. This should take about 30 seconds.
- Add the peanut butter and sweetener. Spoon in the peanut butter and drizzle in the honey or maple syrup. Stir until everything is well combined. The mixture should look creamy and uniform. If your peanut butter is stiff, microwave it for 10 seconds to soften it first.
- Mix in the dry ingredients. Add the rolled oats, ground flaxseed, and a pinch of salt if using. Stir until the oats are evenly distributed. The mixture will start to look less wet and more like a thick dough.
- Fold in the chocolate chips. Gently mix in the mini chocolate chips. Don’t overmix, you want them evenly distributed but not smashed into the dough.
- Chill the mixture. Cover the bowl and pop it in the fridge for 15-20 minutes. This step is optional but makes rolling much easier. The mixture firms up and becomes less sticky.
- Roll into bites. Scoop out about 1 tablespoon of the mixture and roll it between your palms to form a ball. Place each ball on a baking sheet lined with parchment paper. You should get about 16-18 bites, depending on size.
- Chill again (optional). For firmer bites, refrigerate for another 15 minutes. This helps them hold their shape better in a lunchbox.
- Store or serve. Transfer the bites to an airtight container and keep them in the refrigerator. They’ll stay fresh for up to a week, if they last that long.
Sensory cues to watch for: The mixture should hold together when pressed between your fingers. If it’s too crumbly, add a teaspoon of peanut butter or a splash of milk. If it’s too wet, add a tablespoon of oats. The texture should be like a soft cookie dough, not sticky enough to leave residue on your hands.
Personal tip: I like to make a double batch on Sunday evenings while I’m meal prepping. That way, I can grab a few each morning and toss them into lunchboxes without thinking. It takes about 10 extra minutes and saves me so much time during the week.
Cooking Tips & Techniques
Here are some things I’ve learned the hard way so you don’t have to:
Don’t skip the chill time. I once tried to roll these immediately after mixing, and it was a sticky mess. The oats need a few minutes to absorb the moisture from the banana and peanut butter. Even 10 minutes in the fridge makes a huge difference.
Wet your hands. If the mixture is still a bit sticky after chilling, lightly wet your palms with water before rolling. The balls will form more easily and won’t stick to your hands. This trick works for any no-bake recipe.
Use a cookie scoop for uniformity. Consistent-sized bites mean they’ll all set at the same time. Plus, it makes portion control easier for lunchboxes. I use a #60 scoop, which is about 1 tablespoon.
Don’t overmix. Once you add the oats, stir just until combined. Overmixing can break down the oats and make the texture mushy. You want some texture in the final bite.
Adjust for humidity. On humid days, the mixture might be stickier. Add an extra tablespoon of oats to compensate. On dry days, you might need a splash of milk. Trust your hands more than the recipe.
I once made a batch where I accidentally used crunchy peanut butter instead of creamy. It actually worked fine, just added a nice little crunch. So don’t stress if you only have crunchy on hand. These bites are forgiving.
Variations & Adaptations
These energy bites are endlessly customizable. Here are some variations I’ve tried and loved:
Chocolate Peanut Butter Banana Bites: Add 1 tablespoon of cocoa powder to the dry ingredients. It turns them into a fudgy, brownie-like treat that kids go crazy for. My daughter calls these “chocolate clouds.”
Tropical Twist: Swap the chocolate chips for dried mango or pineapple, and add 2 tablespoons of shredded coconut. It gives a summery vibe that’s perfect for warmer months.
Nut-Free School Version: Use sunflower seed butter instead of peanut butter. It’s safe for nut-free classrooms and tastes surprisingly similar. Just know that the bites might turn slightly green from a reaction between sunflower seeds and baking soda. Don’t worry, it’s harmless.
Protein-Packed Bites: Add 1 scoop of vanilla or chocolate protein powder. Reduce the oats by 2 tablespoons to keep the texture right. These are great for post-practice snacks.
Vegan Option: Use maple syrup instead of honey, and make sure your chocolate chips are dairy-free. Everything else is already plant-based.
My personal favorite variation is adding a pinch of cinnamon and a handful of chopped walnuts. It gives them a cozy, almost oatmeal-cookie vibe. I’ve been making that version all fall, and it never gets old.
Serving & Storage Suggestions
These energy bites are best served cold or at room temperature. I pack them straight from the fridge into lunchboxes, and they’re perfectly chilled by lunchtime. If you’re serving them at home, let them sit out for 5 minutes to soften slightly.
Storage: Keep the bites in an airtight container in the refrigerator. They’ll stay fresh for up to 7 days. I use a glass container with a tight-fitting lid, but any container works. Just make sure it’s sealed to prevent them from drying out.
Freezer Instructions: These freeze beautifully. Place the rolled bites on a baking sheet and freeze for 1 hour until solid. Transfer to a freezer-safe bag or container. They’ll keep for up to 3 months. To thaw, just move them to the fridge overnight or let them sit at room temperature for 15 minutes.
Lunchbox Tips: I pack 2-3 bites in a small container for each lunch. They pair well with apple slices, cheese sticks, or a yogurt tube. My kids also love them as an after-school snack with a glass of milk.
Flavor Development: The flavors actually get better after a day in the fridge. The banana and peanut butter meld together, and the oats soften slightly. So don’t be afraid to make them a day ahead. They’re even better the next day.
Nutritional Information & Benefits
Here’s the approximate nutritional breakdown for one energy bite (based on 18 bites):
- Calories: 95
- Protein: 3g
- Carbohydrates: 12g
- Fiber: 2g
- Sugar: 5g (naturally occurring from banana)
- Fat: 4g
- Iron: 4% DV
- Potassium: 3% DV
These bites are a good source of fiber from the oats and flaxseed, which helps keep kids full through the afternoon. The peanut butter provides healthy fats and protein for sustained energy. Bananas are rich in potassium, which supports muscle function and heart health. Plus, the flaxseed adds omega-3 fatty acids, which are great for brain development.
They’re naturally gluten-free if you use certified oats, and they contain no refined sugar. The only potential allergen is peanuts, which is easily swapped. I love that I can feel good about sending these to school, knowing they’re fueling my kids with real food.
Conclusion
These easy peanut butter banana energy bites for school lunches have become a lifeline in our house. They’re the snack I make when I’m too tired to bake, the treat my kids actually ask for, and the recipe I share with every parent who complains about lunchbox struggles. They’re simple, reliable, and genuinely delicious.
I hope you give them a try and make them your own. Add what you love, skip what you don’t, and don’t be afraid to experiment. That’s the beauty of a recipe like this. It’s a starting point, not a rulebook.
If you make these, I’d love to hear how they turn out. Drop a comment below, share your favorite variation, or tag me in your photos. And if you’re looking for more easy lunchbox ideas, you might also enjoy these crispy bacon-wrapped dates or this fluffy mini quiches recipe for a savory option. Happy snacking, friends!
Frequently Asked Questions
Can I use quick oats instead of rolled oats?
Yes, you can. Quick oats will give you a softer, more uniform texture. The bites won’t have the same chewy bite, but they’ll still taste great. Just reduce the chilling time slightly since quick oats absorb moisture faster.
How long do these energy bites last?
Stored in an airtight container in the refrigerator, they’ll stay fresh for up to 7 days. In the freezer, they’ll keep for up to 3 months. Just make sure they’re well-sealed to prevent freezer burn.
Can I make these without peanut butter?
Absolutely. Swap the peanut butter for any nut or seed butter you prefer. Almond butter, cashew butter, or sunflower seed butter all work well. Just avoid anything with added sugar or oil, as it can affect the texture.
Are these safe for nut-free schools?
Yes, if you use sunflower seed butter instead of peanut butter. Just be aware that sunflower seed butter can react with baking soda or other ingredients and turn green. It’s completely safe to eat, just a little surprising visually.
Can I add protein powder to these?
Yes, you can add 1 scoop of protein powder. Reduce the oats by about 2 tablespoons to keep the mixture from getting too dry. You might also need a splash of milk to bring it together. Vanilla or chocolate protein powder works best.
Pin This Recipe!
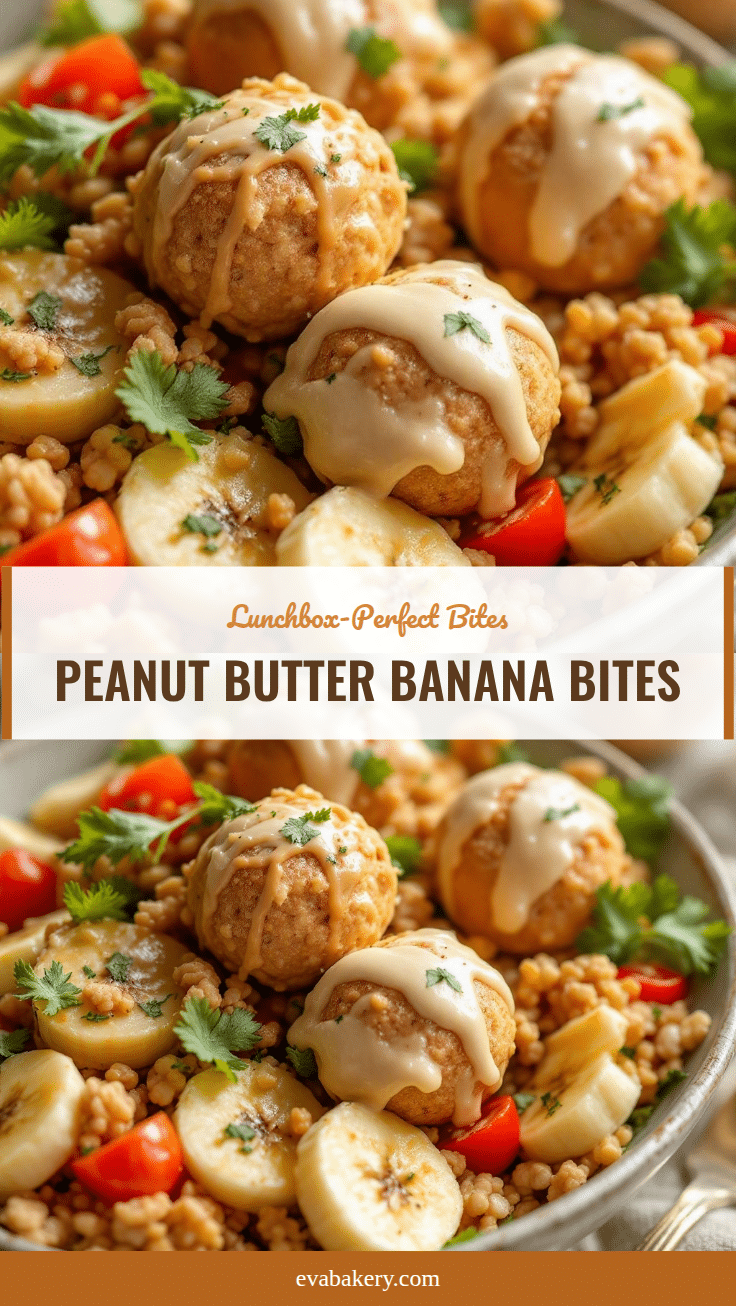
Easy Peanut Butter Banana Energy Bites for Lunch

These no-bake peanut butter banana energy bites are the perfect healthy snack for school lunches. Made with simple pantry ingredients like oats, ripe banana, and peanut butter, they come together in under 15 minutes and are naturally sweetened.
- Prep Time: 15 minutes
- Cook Time: 0 minutes
- Total Time: 15 minutes
- Yield: 16-18 bites 1x
- Category: Snack
- Cuisine: American
Ingredients
- 1 cup (90g) rolled oats
- 1 large ripe banana (about 120g mashed)
- ½ cup (130g) creamy peanut butter
- 2 tablespoons (30ml) honey or maple syrup
- ¼ cup (45g) mini chocolate chips
- 1 tablespoon (7g) ground flaxseed
- Pinch of salt (if peanut butter is unsalted)
Instructions
- Mash the banana: Peel the ripe banana and place it in a large mixing bowl. Use a fork to mash until smooth with just a few small lumps, about 30 seconds.
- Add the peanut butter and sweetener: Spoon in the peanut butter and drizzle in the honey or maple syrup. Stir until well combined and creamy. If peanut butter is stiff, microwave for 10 seconds to soften.
- Mix in the dry ingredients: Add the rolled oats, ground flaxseed, and a pinch of salt if using. Stir until the oats are evenly distributed and the mixture looks like a thick dough.
- Fold in the chocolate chips: Gently mix in the mini chocolate chips until evenly distributed. Do not overmix.
- Chill the mixture: Cover the bowl and refrigerate for 15-20 minutes. This makes rolling easier.
- Roll into bites: Scoop about 1 tablespoon of the mixture and roll between your palms to form a ball. Place on a baking sheet lined with parchment paper. You should get about 16-18 bites.
- Chill again (optional): For firmer bites, refrigerate for another 15 minutes to help them hold their shape.
- Store or serve: Transfer to an airtight container and keep in the refrigerator. They stay fresh for up to a week.
Notes
For nut-free version, use sunflower seed butter. The mixture should hold together when pressed; if too crumbly, add a teaspoon of peanut butter or splash of milk. If too wet, add a tablespoon of oats. Wet your hands slightly if the mixture is sticky when rolling. These freeze well for up to 3 months.
Nutrition
- Serving Size: 1 energy bite
- Calories: 95
- Sugar: 5
- Sodium: 50
- Fat: 4
- Saturated Fat: 1
- Carbohydrates: 12
- Fiber: 2
- Protein: 3
Keywords: energy bites, peanut butter banana, no-bake snacks, school lunch ideas, healthy snacks for kids, gluten-free snacks, vegan energy bites


