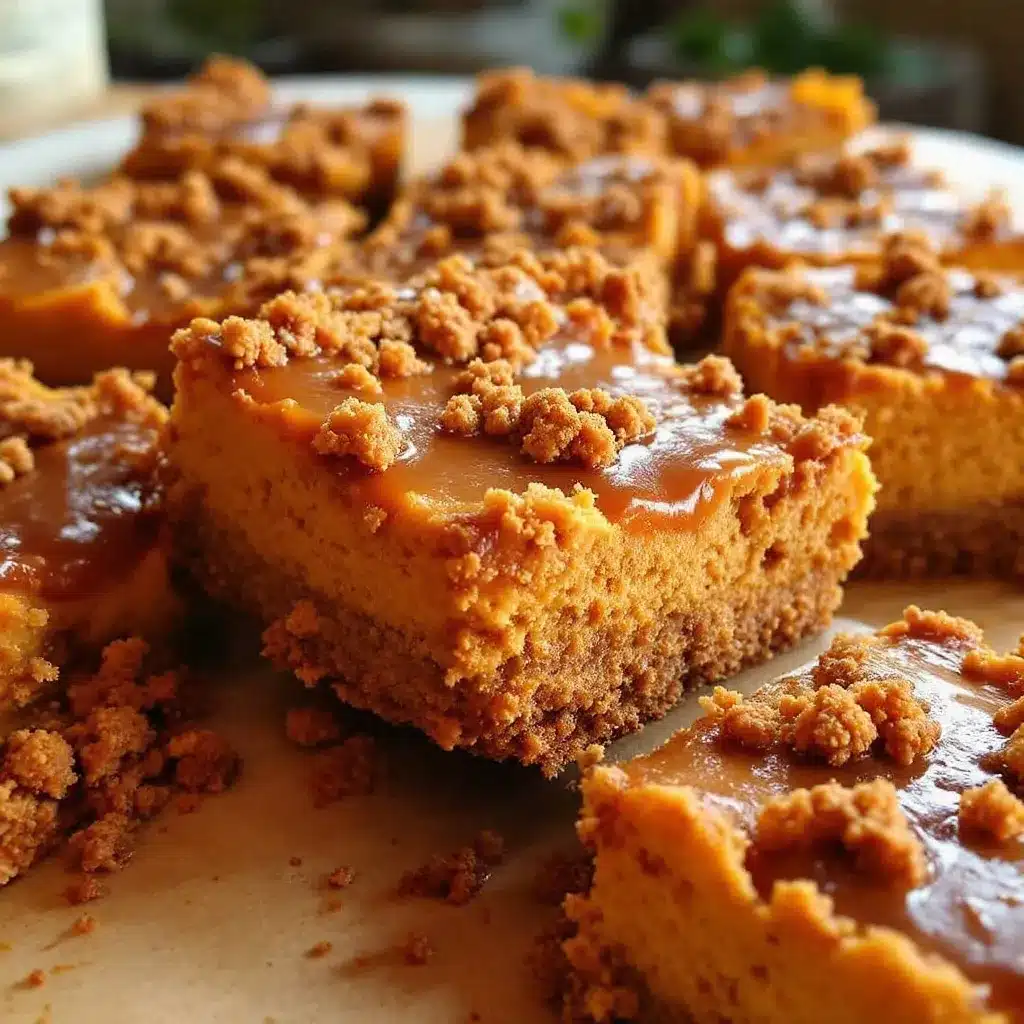
The way that top layer of pumpkin cheesecake splits just slightly as it bakes—a fine, hairline crack running through the sunset-orange surface—that’s the detail I always look for first. It tells you the filling set properly, that the cream cheese and pumpkin melded into something dense and silky instead of turning into a watery mess. I’ve pulled pans out of the oven too early and watched them wobble like Jell-O, and I’ve left them in too long until the edges went rubbery and dark. That tiny crack, right in the center? That’s the sweet spot.
I wasn’t trying to reinvent the Thanksgiving dessert table when I started messing around with these bars. Honestly, I was just tired of the whole pie drama—the blind baking, the soggy bottom, the way a beautiful pumpkin pie can crack into a canyon if you look at it wrong. So I took the filling I loved (the tangy, spiced, creamy part) and poured it over a crust made from crushed gingersnaps. No rolling pin. No pie weights. Just press, pour, bake.
The first batch came out of the oven and I stood there, fork in hand, staring at that perfect little crack. I cut a corner piece first—because the edge is always the best part—and the crust held together like it had been doing this its whole life. The ginger from the cookies cut right through the sweetness of the cheesecake, and the pumpkin tasted like fall in a way that felt honest, not cliché. These bars aren’t trying to be fancy. They’re trying to be exactly what you want them to be: a no-stress dessert that still makes people close their eyes when they take a bite.
And that’s the thing about a good recipe. It doesn’t need a backstory about grandma’s kitchen or a handwritten note on yellowed paper. Sometimes it just needs a person who got tired of pie and decided to press some cookies into a pan instead.
Why You’ll Love This Recipe
I’ve made a lot of pumpkin desserts over the years, and I mean a lot. Some were flops (a pumpkin mousse that never set, a pumpkin bread that turned into a brick), and some became staples. These cheesecake bars are the ones I keep coming back to, and here’s why they’ll earn a permanent spot in your rotation too:
- No Water Bath Needed: Traditional cheesecake requires a steamy water bath to prevent cracking. These bars? Just bake them low and slow. That hairline crack I mentioned earlier is actually desirable—it means the texture is spot-on.
- Gingersnap Crust Is a Game-Changer: Regular graham cracker crust is fine, but gingersnaps bring warmth, spice, and a little crunch that pumpkin absolutely loves. The molasses in the cookies complements the pumpkin’s earthiness perfectly.
- Portion Control Without the Guilt: Bars are inherently easier to serve than a whole cheesecake. Cut them big or small—they’re perfect for potlucks, holiday buffets, or just sneaking one from the fridge at midnight.
- Make-Ahead Friendly: These bars actually taste better the next day. The flavors meld, the texture firms up beautifully, and you free up oven space on the day of your gathering. That’s a win in my book.
- Simple Ingredients, Big Flavor: You probably already have most of what you need in your pantry. No weird extracts or hard-to-find spices. Just honest ingredients doing their job.
I’ve tested this recipe at least a dozen times, tweaking the spice ratio, adjusting the baking time, and even trying different brands of cream cheese. What I landed on is the version that works every single time. It’s the kind of dessert that makes you look like a hero in the kitchen without actually having to do much. And honestly? That’s my favorite kind of recipe.
What Ingredients You Will Need
This recipe keeps things simple. You don’t need a specialty grocery store run or a cart full of exotic spices. Everything here is likely within arm’s reach at your local market, and each ingredient plays a specific role in building that perfect balance of creamy, tangy, spicy, and sweet.
For the Gingersnap Crust
- 2 cups (about 200g) gingersnap cookie crumbs – I use Nabisco or a store-brand equivalent. Pulse them in a food processor until fine, or crush them in a zip-top bag with a rolling pin. (The latter is oddly satisfying, by the way.)
- 5 tablespoons (70g) unsalted butter, melted – Butter binds the crumbs and adds richness. For a dairy-free version, use melted coconut oil or a plant-based butter stick.
- 2 tablespoons (25g) granulated sugar – Just a touch to balance the spice of the gingersnaps.
- Pinch of salt – Don’t skip this. It sharpens all the flavors.
For the Pumpkin Cheesecake Filling
- 16 ounces (450g) cream cheese, softened – Full-fat is non-negotiable here. Low-fat cream cheese has too much water and will make the filling runny. Let it sit on the counter for at least an hour before starting.
- 1 cup (200g) granulated sugar – Enough to sweeten without overpowering the pumpkin.
- 1 cup (245g) pumpkin puree – Make sure it’s 100% pumpkin, not pumpkin pie filling. Libby’s is my go-to because it’s consistently thick and not watery.
- 3 large eggs, room temperature – Cold eggs can seize the batter and create lumps. If you forgot to take them out, place them in a bowl of warm water for 5 minutes.
- 1 teaspoon vanilla extract – Pure vanilla, not imitation. It makes a difference.
- 1 teaspoon ground cinnamon – The backbone of pumpkin spice.
- ½ teaspoon ground ginger – This echoes the gingersnap crust and ties everything together.
- ¼ teaspoon ground nutmeg – Freshly grated if you have it, but pre-ground works fine.
- ¼ teaspoon ground cloves – A little goes a long way. Too much and it tastes like a candle.
- Pinch of salt – Balances the sweetness and enhances the spices.
Optional Toppings
- Whipped cream – Homemade is best, but a good store-bought brand works in a pinch.
- Caramel sauce – A drizzle adds a lovely salty-sweet contrast.
- Toasted pecans – Chop them fine and sprinkle on top for crunch.
Ingredient Selection Tip: When buying cream cheese, look for blocks, not the spreadable tub kind. The spreadable version has added water and stabilizers that will mess with the texture. Also, if your pumpkin puree looks watery, pat it dry with a paper towel before adding it to the batter. Trust me on this one—it prevents a soggy cheesecake.
Equipment Needed
You don’t need a professional bakery setup for these bars. Most of what I use is standard kitchen gear, and I’ve included alternatives for anything you might not have.
- 9×9-inch baking pan – An 8×8 works too, but the bars will be slightly thicker and need a few extra minutes in the oven. Glass, metal, or ceramic all work.
- Parchment paper – Line the pan with two overlapping sheets, leaving a 2-inch overhang on two sides. This creates “handles” that let you lift the entire block of cheesecake out cleanly.
- Food processor or zip-top bag + rolling pin – For crushing the gingersnaps. A food processor gives a finer, more even crumb, but the bag-and-rolling-pin method works perfectly if you don’t mind a little arm work.
- Electric hand mixer or stand mixer – You need something to whip the cream cheese until smooth. A whisk and some elbow grease will work, but you’ll be at it for a while. I’ve done it—it’s not fun.
- Large mixing bowls – One for the crust, one for the filling.
- Rubber spatula – For scraping down the sides of the bowl and gently folding ingredients.
- Measuring cups and spoons – Standard set. For the cookie crumbs, pack them lightly into the cup.
- Sharp knife – For cutting clean bars. Run it under hot water and wipe it dry between cuts for the neatest edges.
Budget-Friendly Tip: If you don’t own a 9×9 pan, a 9-inch round cake pan works in a pinch. Just adjust the baking time slightly and expect a different shape. Also, skip the expensive stand mixer—a $20 hand mixer does the exact same job here.
Preparation Method
Alright, let’s get into the actual making of these bars. I’ve broken it down step by step, with all the little details that make the difference between a good cheesecake bar and a great one.
- Preheat and Prep: Preheat your oven to 350°F (175°C). Line your 9×9 pan with parchment paper, leaving overhang on two opposite sides. Lightly grease the exposed sides of the pan with butter or non-stick spray.
- Make the Crust: In a food processor, pulse the gingersnaps until they become fine crumbs. You should have about 2 cups. Transfer to a medium bowl, add the sugar and salt, and stir. Pour in the melted butter and mix with a fork until the crumbs are evenly moistened—they should look like wet sand.
- Press the Crust: Dump the crumb mixture into the prepared pan. Use the bottom of a measuring cup or a flat-bottomed glass to press it down firmly and evenly. Don’t just pat it gently—really press. A compact crust holds together when you cut the bars. Bake for 10 minutes, then set aside to cool slightly while you make the filling.
- Lower the Oven Temperature: Reduce the oven temperature to 325°F (160°C). Cheesecake bakes low and slow to prevent cracking and curdling.
- Beat the Cream Cheese: In a large mixing bowl, beat the softened cream cheese with an electric mixer on medium speed until smooth and creamy—about 2 minutes. Scrape down the sides and bottom of the bowl with a spatula. Make sure there are no lumps at this stage.
- Add Sugar and Pumpkin: Add the sugar and beat until combined, about 1 minute. Then add the pumpkin puree and mix until smooth. The batter will look thick and slightly orange.
- Add Eggs One at a Time: Crack one egg into the bowl and beat on low speed just until incorporated. Repeat with the second and third eggs. Over-mixing at this stage incorporates too much air, which can cause cracks during baking. Stop as soon as each egg disappears into the batter.
- Add Spices and Vanilla: Add the vanilla, cinnamon, ginger, nutmeg, cloves, and salt. Mix on low for about 30 seconds until everything is evenly distributed. Give the bowl one final scrape with the spatula to ensure no streaks of cream cheese remain.
- Pour and Smooth: Pour the filling over the pre-baked crust. Use the spatula to spread it evenly to the edges. Tap the pan gently on the counter a few times to release any air bubbles.
- Bake: Place the pan in the preheated 325°F oven. Bake for 40-45 minutes. The edges should look set and slightly puffed, while the center should still have a slight jiggle when you gently shake the pan. That jiggle is your friend—it means the center will stay creamy after chilling.
- Cool Completely: Remove the pan from the oven and place it on a wire rack. Let the cheesecake bars cool completely at room temperature—about 1 to 1.5 hours. Do not rush this step. If you put warm cheesecake in the fridge, condensation will form on top and make it watery.
- Chill: Once cooled, cover the pan with plastic wrap or foil and refrigerate for at least 4 hours, but preferably overnight. This is the hardest part, I know. But the wait is worth it. The bars need this time to set fully and develop their flavor.
- Slice and Serve: When fully chilled, use the parchment overhang to lift the entire block of cheesecake out of the pan. Place on a cutting board. Use a sharp knife to cut into 16 squares (4 rows by 4 rows). For the cleanest cuts, wipe the knife clean between each slice.
Troubleshooting Tip: If your cheesecake filling looks lumpy after adding the eggs, you probably beat the cream cheese when it was still too cold. Next time, let it sit out longer. For now, press the batter through a fine-mesh strainer before pouring it into the crust. It’s an extra step, but it saves the batch.
Cooking Tips & Techniques
I’ve learned most of these the hard way—by pulling cracked, sunken, or just-barely-edible cheesecakes out of the oven and muttering to myself. Here’s what I wish someone had told me from the start.
Room Temperature Is Not Optional: I know I keep saying this, but it’s because it matters that much. Cold cream cheese creates lumps that you can’t fully beat out. Cold eggs can cause the batter to separate. Set everything out on the counter at least an hour before you start. If you’re in a rush, cut the cream cheese into small cubes and microwave it in 10-second bursts until it’s soft to the touch—not melted, just soft.
The Jiggle Test: Don’t rely solely on a timer to tell you when the cheesecake is done. Give the pan a gentle shake. The edges should be firm, and the center should wobble like a relaxed wave, not like a bowl of soup. If the whole thing ripples like liquid, it needs more time. If it’s completely still, it’s overbaked.
Don’t Over-Bake: This is the most common mistake I see. Over-baked cheesecake turns dry, grainy, and develops large cracks. Remember: the cheesecake continues to cook from residual heat even after you pull it out of the oven. Take it out when the center still has that slight jiggle.
Cool Gradually: After baking, turn off the oven, crack the door open, and let the cheesecake sit inside for 30 minutes before taking it out to cool completely. This gradual cooling prevents the sudden temperature change that causes major cracking. I started doing this after my third batch came out looking like a map of the San Andreas Fault.
Use a Hot Knife: When slicing the fully chilled bars, run your knife under hot water and dry it off before each cut. The heat glides through the cheesecake without dragging or tearing. It takes an extra 30 seconds and makes your bars look bakery-perfect.
One More Thing: If you’re making these for a party, don’t stress about a small crack or two. A dollop of whipped cream or a drizzle of caramel sauce covers a multitude of sins. And honestly? Nobody cares about a crack when they’re eating something this good.
Variations & Adaptations
One of the best things about this recipe is how flexible it is. I’ve played around with it quite a bit, and here are some variations that actually work well.
Gluten-Free Version
Swap the gingersnaps for gluten-free gingersnap cookies. Many brands offer a gluten-free version now, or you can use gluten-free graham crackers combined with a teaspoon of ground ginger and a pinch of cloves. The crust will be slightly more delicate, so press it firmly and handle the bars gently when slicing.
Dairy-Free Adaptation
Use a high-quality dairy-free cream cheese alternative (I like the brand Miyoko’s for its creamy texture) and substitute the butter with melted coconut oil or a plant-based butter stick. The texture will be slightly less dense, but still delicious. Just be aware that dairy-free cream cheese can be softer, so chill the bars for a full 8 hours before slicing.
Maple-Pecan Twist
Replace the granulated sugar in the filling with ¾ cup (180ml) pure maple syrup. Reduce the vanilla to ½ teaspoon. After pouring the filling into the crust, sprinkle ½ cup of toasted, chopped pecans over the top before baking. The maple flavor pairs beautifully with the pumpkin and ginger.
Chocolate-Pumpkin Combo
Melt 4 ounces (115g) of dark chocolate and swirl it into the cheesecake batter before pouring it into the crust. Use a knife to create a marbled effect. The bitterness of the dark chocolate cuts through the sweetness and adds a whole new dimension. I tried this on a whim one rainy afternoon, and it was surprisingly fantastic.
Mini Cheesecake Bites
Line a 24-cup mini muffin tin with paper liners. Press a small amount of crust into each cup, then fill with cheesecake batter. Bake at 325°F for 15-18 minutes. These are perfect for parties or portion-controlled snacking. Just don’t expect them to last long.
Personal Variation: My favorite twist is adding a tablespoon of bourbon to the filling along with the vanilla. The warmth of the bourbon amplifies the spices without making the bars taste boozy. It’s subtle, but it adds a layer of complexity that makes people ask, “What’s in this?”
Serving & Storage Suggestions
These bars are versatile enough to work for almost any occasion, from a casual family dinner to a holiday dessert table. Here’s how to serve and store them for the best experience.
Serving Temperature: I prefer these bars straight from the fridge—cold, firm, and creamy. But they’re also lovely at room temperature, where the filling softens slightly and the spices become more pronounced. If you’re serving them at a party, let them sit out for about 15 minutes before serving to take the chill off.
Presentation Ideas: Cut the bars into neat squares and arrange them on a platter. Add a small dollop of whipped cream to each one, a light dusting of cinnamon, or a drizzle of caramel sauce. For a fancier look, place each bar in a paper cupcake liner—it makes them easy to grab and adds a festive touch. These bars pair wonderfully with a refreshing champagne punch for a truly elegant dessert spread.
Complementary Dishes: These bars are rich enough to stand alone, but they pair beautifully with a cup of hot coffee, spiced chai, or even a glass of cold milk. If you’re building a dessert table, they work alongside elegant black and gold macarons for a stunning visual contrast. For a holiday brunch, serve them next to fluffy mini quiches with buttery crusts for a sweet-and-savory balance.
Storage: Store leftover bars in an airtight container in the refrigerator for up to 5 days. Place a sheet of parchment paper between layers to prevent sticking. I’ve never had a batch last that long, but theoretically, they’ll hold up.
Freezing Instructions: These bars freeze beautifully. Once fully chilled and sliced, arrange them in a single layer on a baking sheet and freeze until solid (about 2 hours). Transfer the frozen bars to a freezer-safe container or zip-top bag, separating layers with parchment paper. They’ll keep for up to 3 months. To thaw, transfer to the refrigerator overnight or let sit at room temperature for 30 minutes.
Reheating: I don’t recommend reheating these bars—they’re meant to be served cold or at room temperature. But if you want a warm dessert, microwave a single bar for 10-15 seconds. The filling will soften and become almost pudding-like. It’s a different experience, but a pleasant one.
Flavor Development: Here’s a little secret: these bars actually taste better on day two. The spices meld with the cream cheese, the crust softens just slightly, and everything comes into balance. So don’t be afraid to make them a day ahead. Your future self will thank you.
Nutritional Information & Benefits
Let’s be honest—these are not health food. They’re a decadent dessert meant for special occasions and moments of pure indulgence. But I do think it’s helpful to know what you’re working with, especially if you’re planning around dietary needs.
| Nutrient | Per Bar (1/16 of recipe) |
|---|---|
| Calories | 285 |
| Total Fat | 18g |
| Saturated Fat | 10g |
| Cholesterol | 85mg |
| Sodium | 210mg |
| Total Carbohydrates | 28g |
| Dietary Fiber | 2g |
| Sugars | 19g |
| Protein | 5g |
| Vitamin A | 80% DV |
| Calcium | 6% DV |
| Iron | 8% DV |
Health Highlights: Pumpkin is packed with vitamin A, which supports eye health and immune function. It’s also a good source of fiber, which helps with digestion. The ginger in the crust has anti-inflammatory properties, and cinnamon may help regulate blood sugar. Of course, these benefits are balanced by the cream cheese and sugar, so moderation is key. But hey, a little pumpkin is better than no pumpkin, right?
Dietary Considerations: This recipe contains dairy, gluten, and eggs. For a gluten-free version, see the variations section above. For a dairy-free version, use plant-based alternatives as noted. The bars are nut-free as written, but check your gingersnap brand for potential cross-contamination if that’s a concern.
Personal Perspective: I don’t believe in labeling desserts as “guilt-free” or “sinful.” Food is food, and sometimes it’s meant to be enjoyed without apology. These bars are a treat, and they’re worth every single calorie. So make them, share them, and savor every bite.
Conclusion
These pumpkin cheesecake bars with gingersnap crust are the kind of dessert that makes people ask for the recipe before they’ve even finished their first bite. They’re creamy without being heavy, spiced without being overpowering, and impressive without requiring a culinary degree. The gingersnap crust adds a warmth that graham crackers just can’t match, and the filling is smooth enough to rival any full-size cheesecake.
What I love most about this recipe is how forgiving it is. You don’t need to be a pastry chef to pull it off. You just need good ingredients, a little patience, and the willingness to trust that slight jiggle in the center. If I can make these work in my tiny, oddly-shaped oven with its temperature mood swings, you can absolutely make them work in yours.
So go ahead—grab a bag of gingersnaps, a can of pumpkin, and a block of cream cheese. Press that crust down like you mean it. Pour the filling with care. And when those bars come out of the oven, golden and fragrant and just barely set, give yourself a pat on the back. You’ve earned it.
I’d love to hear how yours turn out. Did you try a variation? Add a swirl? Serve them with something unexpected? Drop a comment below and let me know. And if you’re looking for more easy, crowd-pleasing desserts, don’t miss our creamy New Year’s cheesecake with festive pomegranate topping for another show-stopping option. Happy baking, friends!
Frequently Asked Questions
Can I use pumpkin pie filling instead of pumpkin puree?
No, I wouldn’t recommend it. Pumpkin pie filling is already sweetened and spiced, which will throw off the balance of the recipe. Stick with 100% pure pumpkin puree for the best results.
Why did my cheesecake crack on top?
A few small cracks are normal and actually a good sign of proper baking. Large cracks usually happen from over-baking, sudden temperature changes, or over-mixing the batter. Let the cheesecake cool gradually in the oven with the door cracked open, and don’t skip the room temperature ingredients step.
Can I make these bars without a food processor?
Absolutely. Place the gingersnaps in a zip-top bag, seal it, and crush them with a rolling pin or even the bottom of a heavy skillet. It takes a little more elbow grease, but it works perfectly. Just make sure the crumbs are fairly fine and even.
How far in advance can I make these bars?
You can make them up to 3 days ahead and store them in the refrigerator. They actually taste better after a day or two because the flavors have time to meld. You can also freeze them for up to 3 months—just thaw overnight in the fridge before serving.
Can I use a different type of cookie for the crust?
Yes, but the flavor will change. Graham crackers work well, but you’ll lose that ginger kick. Shortbread or vanilla wafers are also good options, though you might want to add a teaspoon of ground ginger and a pinch of cloves to the crust mixture to keep some of that warm spice profile.
Pin This Recipe!
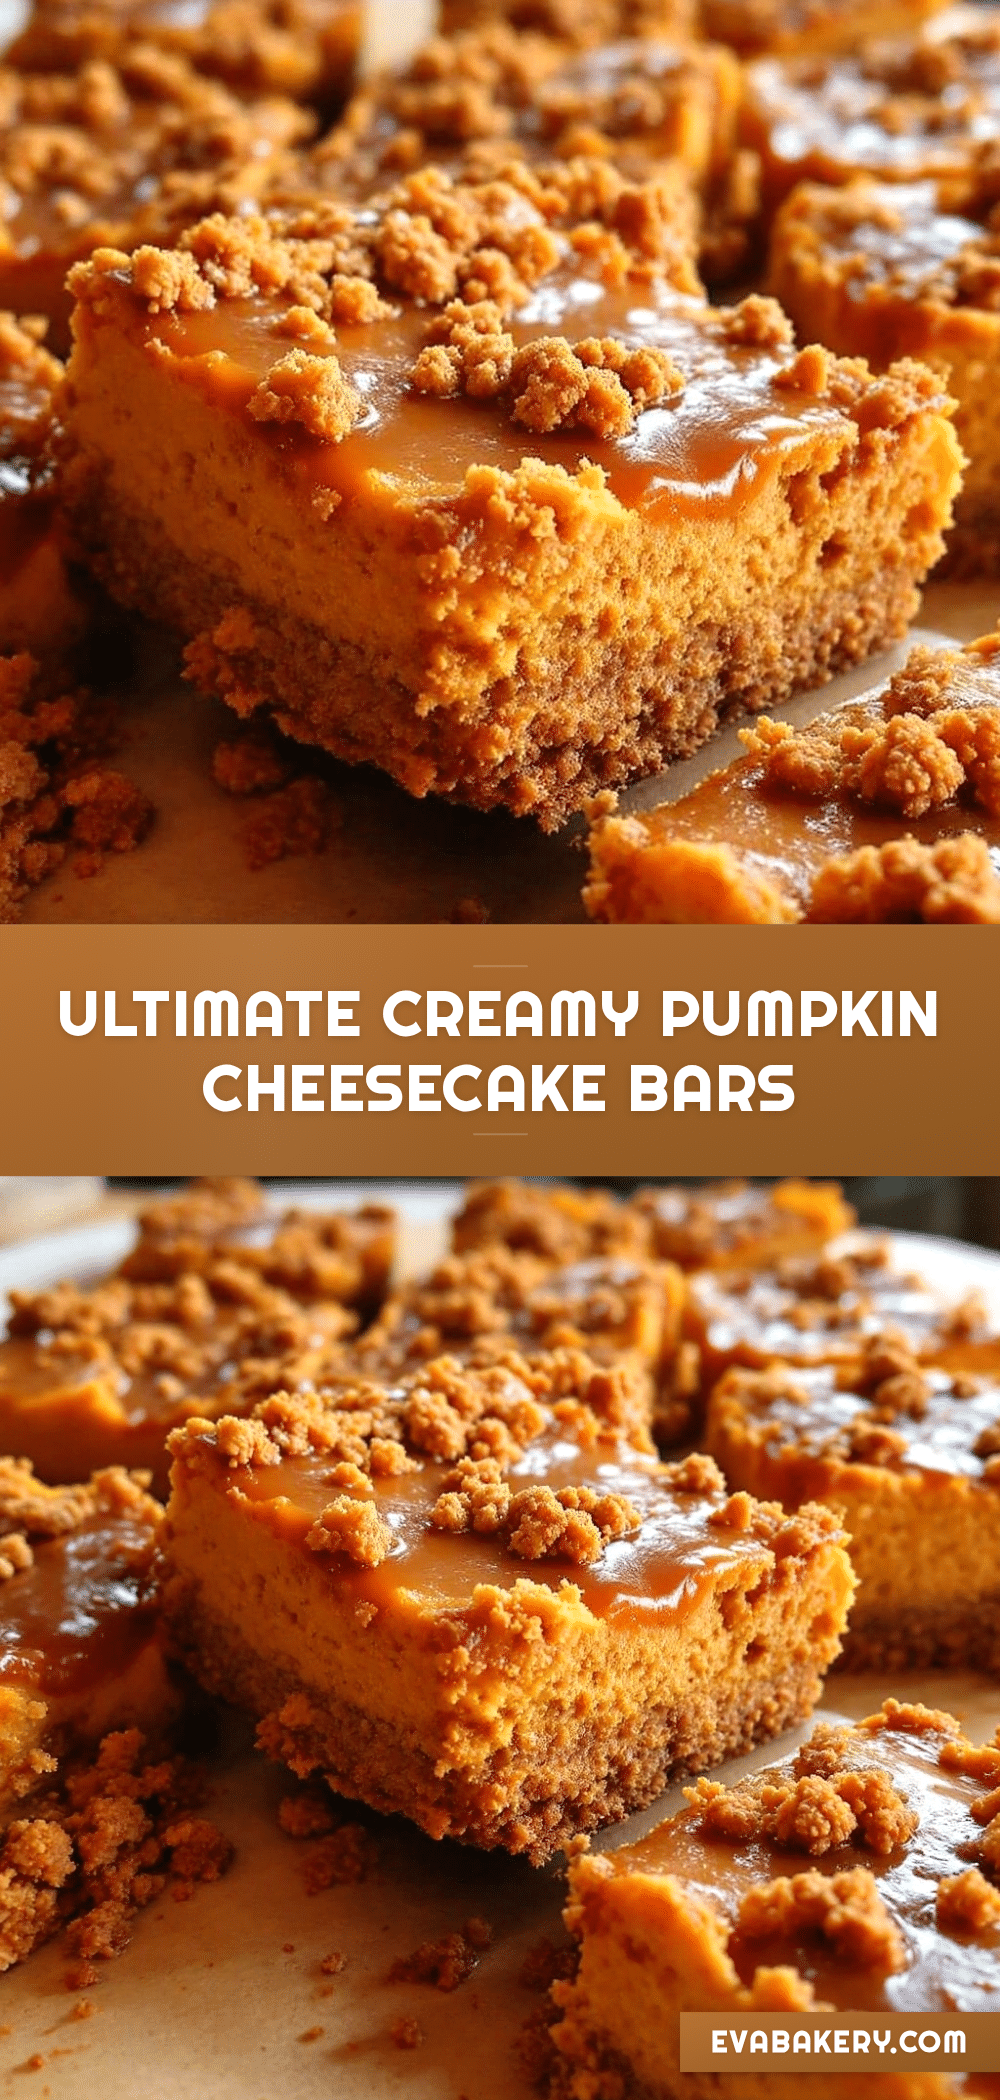
Best Pumpkin Cheesecake Bars with Gingersnap Crust
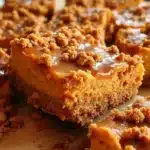
These pumpkin cheesecake bars feature a creamy, spiced pumpkin filling over a crunchy gingersnap crust. No water bath needed, and they’re make-ahead friendly for stress-free holiday entertaining.
- Prep Time: 20 minutes
- Cook Time: 45 minutes
- Total Time: 5 hours 5 minutes (includes chilling)
- Yield: 16 bars 1x
- Category: Dessert
- Cuisine: American
Ingredients
- 2 cups (about 200g) gingersnap cookie crumbs
- 5 tablespoons (70g) unsalted butter, melted
- 2 tablespoons (25g) granulated sugar
- Pinch of salt
- 16 ounces (450g) cream cheese, softened
- 1 cup (200g) granulated sugar
- 1 cup (245g) pumpkin puree
- 3 large eggs, room temperature
- 1 teaspoon vanilla extract
- 1 teaspoon ground cinnamon
- ½ teaspoon ground ginger
- ¼ teaspoon ground nutmeg
- ¼ teaspoon ground cloves
- Pinch of salt
Instructions
- Preheat oven to 350°F (175°C). Line a 9×9-inch baking pan with parchment paper, leaving overhang on two opposite sides. Lightly grease exposed sides.
- In a food processor, pulse gingersnaps into fine crumbs. Transfer to a medium bowl, add 2 tablespoons sugar and a pinch of salt, and stir. Pour in melted butter and mix with a fork until crumbs are evenly moistened (like wet sand).
- Press crumb mixture firmly into the prepared pan using the bottom of a measuring cup. Bake for 10 minutes, then set aside to cool slightly. Reduce oven temperature to 325°F (160°C).
- In a large bowl, beat softened cream cheese with an electric mixer on medium speed until smooth and creamy, about 2 minutes. Scrape down sides and bottom.
- Add 1 cup sugar and beat until combined, about 1 minute. Add pumpkin puree and mix until smooth.
- Add eggs one at a time, beating on low speed just until incorporated after each addition. Do not over-mix.
- Add vanilla, cinnamon, ginger, nutmeg, cloves, and a pinch of salt. Mix on low for about 30 seconds until evenly distributed. Scrape bowl to ensure no streaks remain.
- Pour filling over pre-baked crust. Spread evenly to edges. Tap pan gently on counter to release air bubbles.
- Bake at 325°F for 40-45 minutes. Edges should be set and slightly puffed; center should have a slight jiggle when shaken.
- Cool completely on a wire rack, about 1 to 1.5 hours. Do not rush this step.
- Cover pan with plastic wrap or foil and refrigerate for at least 4 hours, preferably overnight.
- When fully chilled, use parchment overhang to lift cheesecake out of pan. Place on cutting board. Cut into 16 squares (4×4) using a sharp knife wiped clean between cuts.
Notes
Room temperature ingredients are crucial. Let cream cheese and eggs sit out for at least 1 hour. The center should jiggle slightly when done; do not over-bake. Cool gradually by leaving cheesecake in the oven with the door cracked open for 30 minutes after baking. For clean cuts, run knife under hot water and wipe dry between slices.
Nutrition
- Serving Size: 1 bar
- Calories: 285
- Sugar: 19
- Sodium: 210
- Fat: 18
- Saturated Fat: 10
- Carbohydrates: 28
- Fiber: 2
- Protein: 5
Keywords: pumpkin cheesecake bars, gingersnap crust, pumpkin dessert, Thanksgiving dessert, easy cheesecake bars