The quiet in the kitchen after everyone had gone home was almost louder than the party had been. I was scraping the last bits of caramelized apple and buttery oat crumble from the bottom of the baking dish, and I realized I wasn’t even doing it to be tidy. I was doing it because I wanted one more bite. That’s the thing about a truly good Classic Apple Crisp with Oat Crumble Topping — it doesn’t announce itself. It just sits there, looking humble, until you take a spoonful and everything else fades away.
This particular crisp wasn’t planned for a big occasion. Honestly, it was a Tuesday night and I had a bag of apples that were starting to look a little sad. You know the ones — slightly soft, maybe a bruise or two, not quite crisp enough for snacking but perfect for baking. I had some oats in the pantry, a stick of butter, and a vague memory of my grandmother’s crumble topping. I figured I’d throw something together, maybe have it with a scoop of vanilla ice cream while watching a show. But then the smell started filling the apartment. That warm, spiced, almost caramel-like scent of apples bubbling with cinnamon and brown sugar. My neighbor knocked on the door, and I’m not kidding, she asked if I was making a pie.
I told her it was just a crisp. She left with a bowl of it. The next day, she texted me for the recipe. That’s when I knew this one was a keeper. It wasn’t complicated, it wasn’t fancy, and it certainly wasn’t a showstopper on the plate. But it was the kind of dessert that makes people close their eyes when they take a bite. It felt good to share it. It felt even better knowing I could make it again the next week without a second thought. This Classic Apple Crisp with Oat Crumble Topping isn’t just a recipe — it’s a quiet little win that keeps on giving.
Why You’ll Love This Recipe
Let’s be real for a second. There are a million apple crisp recipes out there. But this one? It’s the one you’ll actually want to make again. Not because it’s trendy or has a secret ingredient, but because it just works. Every single time.
- Quick & Easy: From start to oven in under 20 minutes. No pie crust to roll, no finicky pastry dough. Just slice, toss, sprinkle, and bake. Perfect for a weeknight craving or a last-minute dessert when company shows up.
- Simple Ingredients: You probably have everything in your kitchen right now. Apples, oats, butter, flour, brown sugar, cinnamon. No trips to a specialty store, no hunting for obscure spices.
- Perfect for Cozy Evenings: This is the dessert you make when you want the house to smell like fall, even in the middle of summer. It’s for chilly nights, Sunday dinners, or just because you had a long week.
- Crowd-Pleaser: I’ve served this at casual get-togethers and slightly more formal dinners, and the reaction is always the same. People go back for seconds. Kids love it. Adults love it. It’s the great equalizer of desserts.
- Unbelievably Delicious: The contrast is what gets you. Soft, jammy apples on the bottom, and a topping that’s buttery, crunchy, and just a little bit chewy. It’s comfort food in a bowl, no question.
What makes this version different from the rest is the ratio. I’ve tested this more times than I care to admit. Too much topping and it gets soggy. Too little and you’re just eating baked apples. This recipe nails the balance — a generous, golden crumble that stays crisp on top while the apples turn into pure, spoonable goodness. It’s not just another version. It’s the version.
This is the kind of dessert that makes you feel like you’ve got it together, even if you’re just wearing sweatpants and using a Pyrex dish. It’s simple, it’s honest, and it’s absolutely delicious.
What Ingredients You Will Need
This recipe uses simple, wholesome ingredients to deliver bold flavor and satisfying texture without the fuss. Most of these are pantry staples, which is exactly why I love making this on a whim.
For the Apple Filling
- Apples: 6 medium apples (about 2.5 pounds or 1.1 kg), peeled, cored, and sliced into ¼-inch thick pieces. I prefer a mix of Granny Smith for tartness and Honeycrisp or Fuji for sweetness. (Using a mix gives you a more complex flavor — trust me on this one.)
- Granulated Sugar: ¼ cup (50 g). Just enough to sweeten the apples without making them cloying.
- Light Brown Sugar: ¼ cup (50 g), packed. Adds a deeper, molasses-like sweetness that pairs beautifully with the cinnamon.
- Lemon Juice: 1 tablespoon (15 ml). Freshly squeezed is best. It prevents the apples from browning and brightens up all the flavors.
- All-Purpose Flour: 2 tablespoons (16 g). This thickens the juices as the apples bake, so you don’t end up with a watery mess.
- Ground Cinnamon: 1 teaspoon. The backbone of any good apple crisp.
- Ground Nutmeg: ¼ teaspoon. Optional, but it adds a warm, slightly nutty note that I love.
- Vanilla Extract: 1 teaspoon. Pure, not imitation. It rounds out the sweetness.
For the Oat Crumble Topping
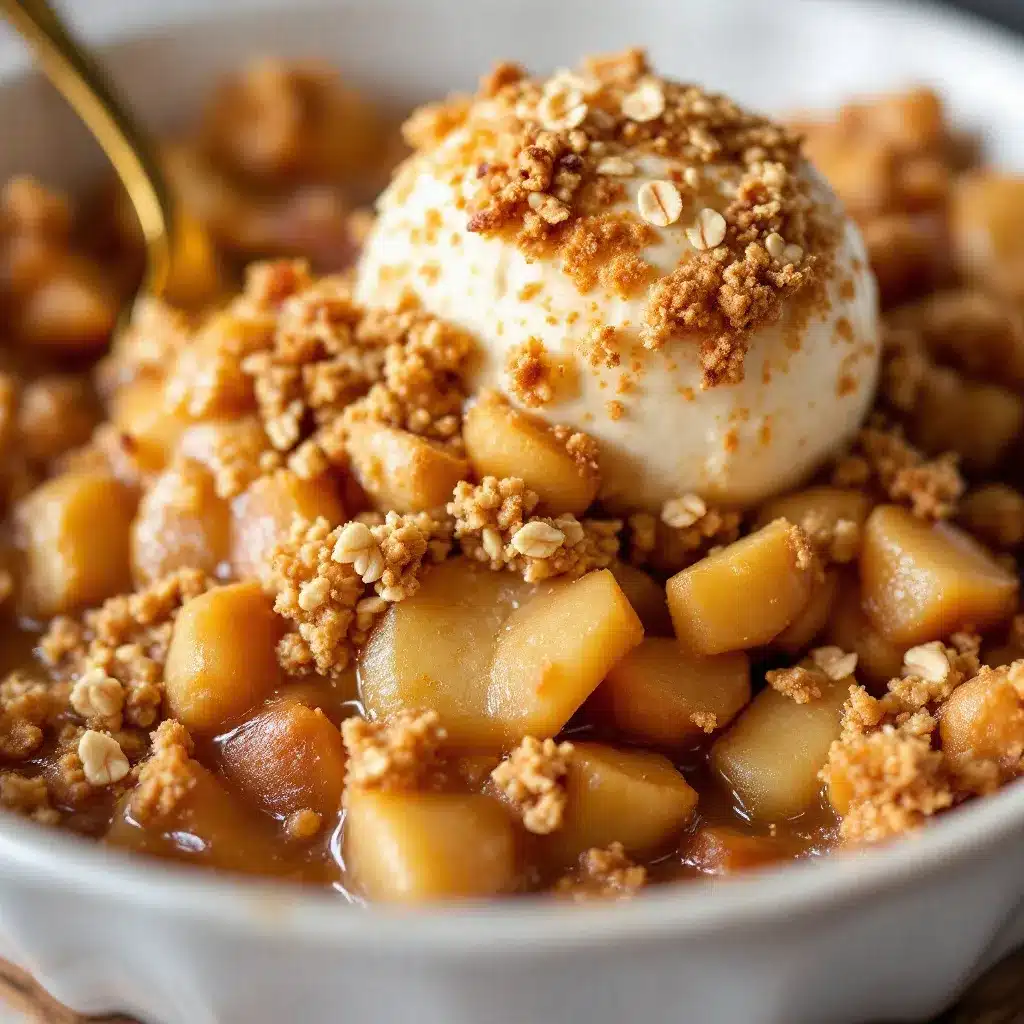
- Old-Fashioned Rolled Oats: 1 cup (90 g). Don’t use quick oats here — they’ll turn into mush. Old-fashioned oats give you that satisfying, chewy texture.
- All-Purpose Flour: ¾ cup (95 g). Provides structure to the crumble.
- Light Brown Sugar: ½ cup (100 g), packed. This is what makes the topping caramelize and get those gorgeous golden clumps.
- Granulated Sugar: ¼ cup (50 g). A little extra sweetness for the topping.
- Ground Cinnamon: ½ teaspoon. Just a hint in the topping to tie it all together.
- Salt: ¼ teaspoon. Don’t skip this — it balances the sweetness and makes the butter flavor pop.
- Unsalted Butter: ½ cup (1 stick or 113 g), melted and slightly cooled. I use unsalted so I can control the salt level. If you only have salted butter, just reduce the added salt to a pinch.
I usually buy my oats from a local bulk bin, but if you’re looking for a reliable brand, Bob’s Red Mill old-fashioned oats are my go-to. They hold their shape beautifully. For the apples, I recommend picking ones that are firm and fragrant. If they smell like nothing, they’ll taste like nothing.
Equipment Needed
You don’t need a fancy kitchen to make this crisp. Here’s what you’ll need:
- 9×13-inch Baking Dish: A standard casserole dish works perfectly. You can also use an 8×8-inch square dish for a thicker crisp, but you’ll need to increase the baking time by about 10 minutes.
- Large Mixing Bowls: One for the apples, one for the topping. Nothing fancy — any large bowl will do.
- Sharp Knife and Cutting Board: For peeling and slicing the apples. A good quality peeler is also a lifesaver.
- Measuring Cups and Spoons: For accuracy. I’ve made the mistake of eyeballing the flour before, and the topping was a dry mess. Measure properly.
- Wooden Spoon or Spatula: For mixing the filling and the topping.
- Pastry Blender or Fork: If you prefer to cut cold butter into the topping instead of using melted butter. The melted butter method is easier and works just as well, though.
If you don’t have a 9×13 dish, you can use a cast-iron skillet. It actually gives the crisp a lovely rustic look and helps the apples caramelize faster. Just make sure the skillet is oven-safe.
Preparation Method
Alright, let’s get to it. This is straightforward, but I’ll walk you through each step with the little details that make a difference.
- Preheat your oven to 350°F (175°C). Get this going first so it’s nice and hot when you’re ready to bake.
- Prepare the apples. Peel, core, and slice your apples into ¼-inch thick pieces. Don’t stress about getting them perfectly even, but try to keep them roughly the same size so they cook evenly. Place them in a large mixing bowl.
- Make the filling. Add the granulated sugar, brown sugar, lemon juice, flour, cinnamon, nutmeg, and vanilla extract to the bowl with the apples. Use a wooden spoon or your hands (I prefer my hands — it’s faster) to toss everything together until the apples are evenly coated. Let them sit for about 5 minutes. This helps the apples release some of their juices, which will create that lovely syrupy sauce as they bake.
- Make the oat crumble topping. In a separate bowl, combine the rolled oats, flour, brown sugar, granulated sugar, cinnamon, and salt. Stir with a fork to break up any clumps. Pour the melted butter over the dry ingredients and mix with the fork until everything is moistened and you have a crumbly mixture. It should look like wet sand with some larger clumps. Don’t overmix — you want those clumps for texture.
- Assemble the crisp. Pour the apple mixture into your 9×13-inch baking dish and spread it into an even layer. Sprinkle the oat crumble topping evenly over the apples. Don’t press it down — let it sit loosely on top so it can get nice and crunchy.
- Bake. Place the dish on the middle rack of your preheated oven. Bake for 40-45 minutes, or until the topping is golden brown and the filling is bubbly around the edges. If the topping is browning too quickly (around the 30-minute mark), tent the dish loosely with aluminum foil for the remaining time.
- Cool slightly before serving. Let the crisp sit on a wire rack for at least 15 minutes. This is important — the filling needs time to set up, or it’ll be runny. It will still be warm, but it’ll hold its shape better.
A quick note: If you want a deeper caramelized flavor, you can broil the crisp for the last 2-3 minutes of baking. Keep a close eye on it — it can go from golden to burnt in seconds.
Cooking Tips & Techniques
I’ve made this crisp more times than I can count, and I’ve definitely learned a few things the hard way. Here are my best tips for getting it right every time.
Don’t skip the lemon juice. I know it seems like a small thing, but it does two jobs. First, it keeps the apples from turning brown while you’re prepping. Second, it balances the sweetness and makes the apple flavor pop. Without it, the crisp can taste flat.
Use a mix of apples. I learned this from a pie-baking disaster years ago. Using all Granny Smith apples gave me a tart, firm filling that never softened properly. Using all Honeycrisp gave me a mushy, overly sweet mess. The magic is in the mix. Three tart and three sweet is my sweet spot.
Let the apples macerate. That 5-minute rest after tossing them with sugar and flour isn’t just for show. It draws out the natural juices, which combine with the flour to create a thick, almost jammy sauce. If you skip this step, you’ll end up with watery crisp.
Don’t overmix the topping. When you add the melted butter, stir just until the dry ingredients are moistened. If you keep mixing, you’ll end up with a paste instead of a crumble. You want some larger clumps and some smaller bits — that’s what gives you a crunchy, textured topping.
Watch your oven. Every oven runs a little differently. I’ve had ovens that bake fast and ovens that bake slow. Start checking your crisp at the 35-minute mark. If the topping is golden and the filling is bubbling, it’s done. If not, give it another 5-10 minutes.
One mistake I made early on was using a glass dish and not adjusting the temperature. Glass heats up slower than metal, so if you’re using a glass baking dish, you might need to add 5-10 minutes to the baking time. Just keep an eye on it.
Variations & Adaptations
This recipe is wonderfully forgiving. Here are some ways to change it up depending on what you have on hand or what you’re in the mood for.
- Gluten-Free Version: Substitute the all-purpose flour with a 1:1 gluten-free baking flour blend. For the topping, use certified gluten-free oats. The texture will be slightly different, but it still works beautifully.
- Vegan Adaptation: Use a vegan butter stick (like Earth Balance) in the topping. The filling is already vegan-friendly. It won’t be quite as rich, but it’s still delicious.
- Add Some Warmth: Add ¼ teaspoon of ground ginger or allspice to the apple filling. It gives the crisp a slightly more complex, spiced flavor that’s perfect for holiday gatherings.
- Nutty Crunch: Add ½ cup of chopped pecans or walnuts to the oat crumble topping. Toast them lightly beforehand for extra flavor. I tried this once when I had leftover pecans from a salad, and now I make it that way half the time.
- Berry Apple Crisp: Toss 1 cup of fresh or frozen blueberries or raspberries into the apple mixture before baking. The berries burst and create a beautiful purple-red sauce that’s gorgeous and delicious.
- Individual Servings: Divide the filling and topping among 6-8 ramekins. Bake for about 20-25 minutes instead of 40. Perfect for dinner parties — everyone gets their own little dish.
My personal favorite variation is adding a handful of dried cranberries to the filling. They plump up as they bake and add little bursts of tartness that play off the sweet apples. It’s not traditional, but it’s really good.
Serving & Storage Suggestions
This crisp is best served warm, straight from the oven, with a generous scoop of vanilla ice cream or a dollop of lightly sweetened whipped cream. The contrast between the warm, soft apples and the cold, creamy topping is absolutely perfect. If you’re feeling fancy, a drizzle of salted caramel sauce takes it over the top.
For a slightly less indulgent option, serve it with a spoonful of Greek yogurt or a splash of heavy cream. Honestly, even plain is fantastic — the flavors are strong enough to stand on their own.
Storage: Cover the baking dish tightly with foil or plastic wrap and store in the refrigerator for up to 4 days. The topping will lose some of its crunch, but the flavor actually gets better as the apples sit in their own juices.
Reheating: To bring back some of that crispiness, reheat individual portions in a 350°F (175°C) oven for about 10 minutes, or in the microwave for 30-60 seconds. If you’re reheating the whole dish, cover it with foil and bake at 325°F (160°C) for 15-20 minutes. Uncover for the last 5 minutes to crisp up the topping.
Freezing: You can freeze the unbaked crisp for up to 3 months. Assemble it in a freezer-safe dish (skip the glass — use a metal or foil pan), wrap it tightly in plastic wrap and then foil. When you’re ready to bake, thaw it in the refrigerator overnight, then bake as directed, adding 10-15 minutes to the baking time. The texture won’t be quite as perfect as fresh, but it’s still really good for a last-minute dessert.
One thing I’ve noticed is that the flavors meld together beautifully the next day. It’s not as crunchy, but the apple filling gets even more jammy and intense. If you have leftovers, try them cold straight from the fridge — it’s like apple crisp granola, and it’s weirdly addictive.
Nutritional Information & Benefits
Let’s be honest — this is a dessert, not a health food. But it does have some redeeming qualities. Here’s a rough breakdown per serving (based on 8 servings):
- Calories: Approximately 380-420 kcal
- Fat: 14-16 g
- Saturated Fat: 8-9 g
- Carbohydrates: 62-68 g
- Sugar: 38-42 g
- Fiber: 5-6 g
- Protein: 4-5 g
Health Benefits: Apples are a good source of dietary fiber and vitamin C. The oats in the topping provide soluble fiber, which is great for heart health. Cinnamon has anti-inflammatory properties and can help regulate blood sugar. So while this isn’t a salad, it’s not totally empty calories either.
Dietary Considerations: This recipe is vegetarian. For a vegan version, use plant-based butter. For a gluten-free version, use a 1:1 gluten-free flour blend and certified gluten-free oats. It contains gluten and dairy in its standard form.
Allergens: Contains wheat (gluten) and dairy. If you’re adding nuts, obviously that’s an allergen too.
I personally love that this dessert feels indulgent but isn’t as heavy as a pie or a cheesecake. It’s satisfying without making you feel like you need to unbutton your pants. That’s a win in my book.
FAQs
Can I use quick oats instead of old-fashioned oats?
You can, but I wouldn’t recommend it. Quick oats are more finely ground and will absorb too much moisture, turning the topping into a soft, mushy layer instead of a crunchy crumble. Stick with old-fashioned rolled oats for the best texture.
Why is my apple crisp watery?
This usually happens for one of two reasons. Either you didn’t let the apples macerate long enough to release their juices, or you didn’t use enough flour to thicken the filling. Make sure you toss the apples with the flour and let them sit for 5 minutes before baking. Also, don’t skip the cooling time after baking — it gives the filling a chance to set.
Can I make this ahead of time?
Absolutely. You can assemble the crisp (without baking) up to 24 hours in advance. Cover it and store it in the refrigerator. When you’re ready to bake, add about 10-15 minutes to the baking time since you’re starting from cold. The topping might not be quite as crunchy, but it’s still delicious.
What’s the best apple for apple crisp?
A mix is best. Granny Smith apples hold their shape well and provide tartness, while Honeycrisp or Fuji apples add sweetness and a softer texture. If you only have one type, go with Granny Smith — they’re the most reliable for baking.
Can I freeze apple crisp?
Yes, you can freeze it either baked or unbaked. For unbaked, assemble it in a freezer-safe dish, wrap it tightly, and freeze for up to 3 months. For baked, let it cool completely, then wrap and freeze. Thaw in the refrigerator overnight before reheating in the oven. The texture won’t be quite as perfect, but it’s still a great option for meal prep.
Conclusion
This Classic Apple Crisp with Oat Crumble Topping is the kind of recipe that becomes a staple. It’s not flashy, it’s not complicated, and it doesn’t require a trip to a specialty store. But it delivers every single time — a warm, comforting, absolutely delicious dessert that makes people happy. Whether you’re making it for a holiday dinner, a casual weeknight treat, or just because you have some apples that need using up, it’s a recipe you can count on.
I love that this crisp feels like a hug in a bowl. It’s simple, honest, and full of flavor. I hope you make it your own — add a little extra cinnamon, throw in some nuts, or serve it with a scoop of your favorite ice cream. The best recipes are the ones that leave room for a little personality.
If you give this recipe a try, I’d love to hear about it. Leave a comment below and let me know how it turned out, or share your own twist on it. And if you’re looking for more cozy desserts, you might also enjoy this creamy New Year’s cheesecake with pomegranate topping for another special occasion treat. Happy baking!
Pin This Recipe!
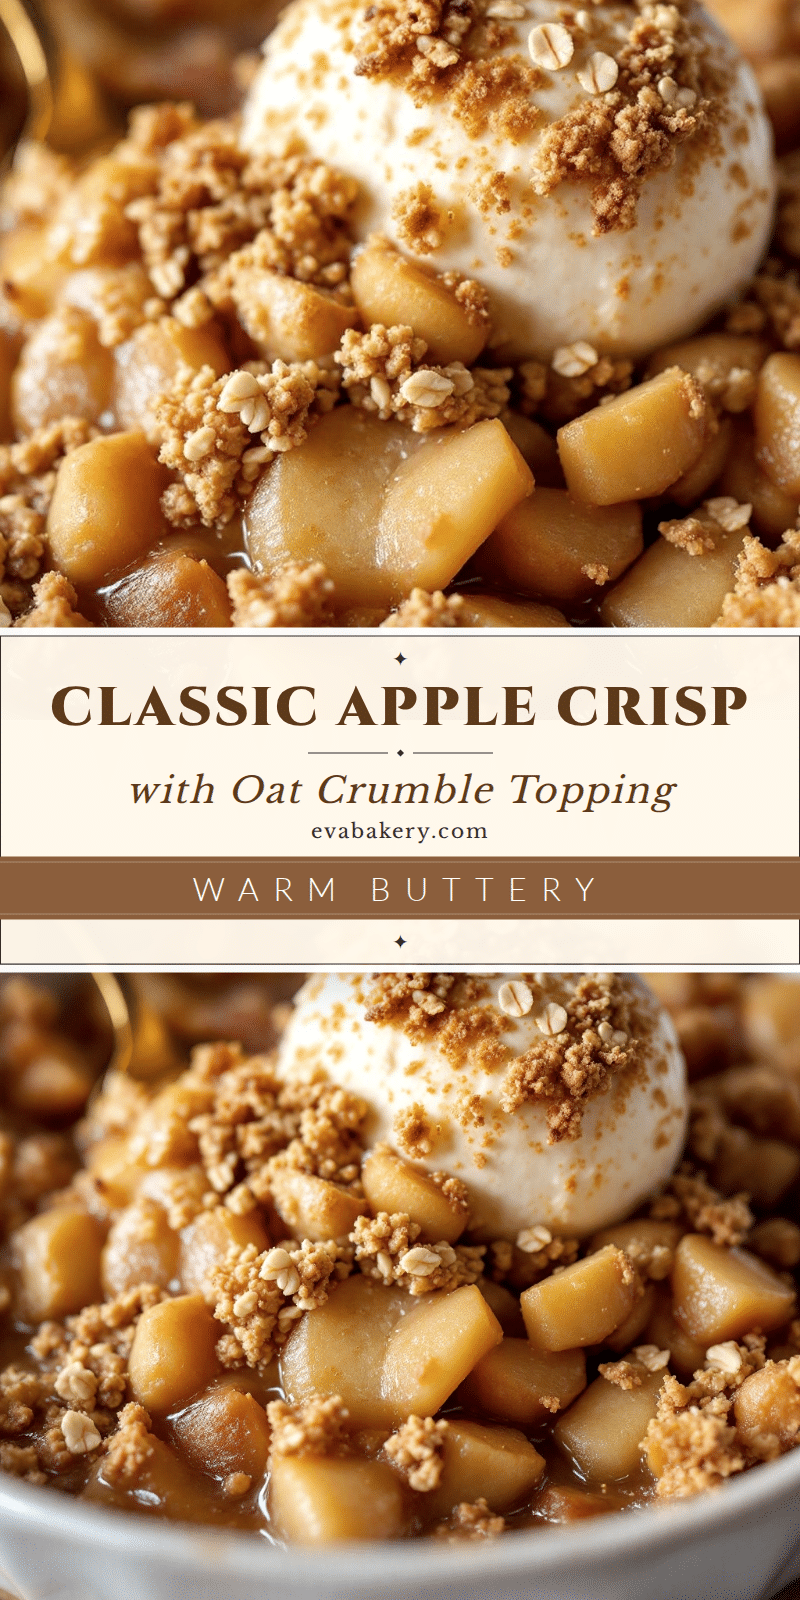
Classic Apple Crisp with Oat Crumble Topping

A warm, comforting dessert featuring soft, jammy apples under a buttery, crunchy oat crumble topping. Perfect for cozy evenings and made with simple pantry ingredients.
- Prep Time: 20 minutes
- Cook Time: 45 minutes
- Total Time: 1 hour 5 minutes
- Yield: 8 servings 1x
- Category: Dessert
- Cuisine: American
Ingredients
- 6 medium apples (about 2.5 lbs or 1.1 kg), peeled, cored, and sliced into ¼-inch thick pieces (mix of Granny Smith and Honeycrisp or Fuji recommended)
- ¼ cup (50 g) granulated sugar
- ¼ cup (50 g) light brown sugar, packed
- 1 tablespoon (15 ml) lemon juice, freshly squeezed
- 2 tablespoons (16 g) all-purpose flour
- 1 teaspoon ground cinnamon
- ¼ teaspoon ground nutmeg (optional)
- 1 teaspoon vanilla extract (pure)
- 1 cup (90 g) old-fashioned rolled oats
- ¾ cup (95 g) all-purpose flour
- ½ cup (100 g) light brown sugar, packed
- ¼ cup (50 g) granulated sugar
- ½ teaspoon ground cinnamon
- ¼ teaspoon salt
- ½ cup (1 stick or 113 g) unsalted butter, melted and slightly cooled
Instructions
- Preheat your oven to 350°F (175°C).
- Prepare the apples: Peel, core, and slice apples into ¼-inch thick pieces. Place in a large mixing bowl.
- Make the filling: Add granulated sugar, brown sugar, lemon juice, flour, cinnamon, nutmeg, and vanilla extract to the apples. Toss until evenly coated. Let sit for 5 minutes to release juices.
- Make the oat crumble topping: In a separate bowl, combine rolled oats, flour, brown sugar, granulated sugar, cinnamon, and salt. Stir with a fork. Pour melted butter over dry ingredients and mix until crumbly (like wet sand with clumps). Do not overmix.
- Assemble the crisp: Pour apple mixture into a 9×13-inch baking dish and spread evenly. Sprinkle oat crumble topping evenly over apples without pressing down.
- Bake on the middle rack for 40-45 minutes, until topping is golden brown and filling is bubbly around edges. If topping browns too quickly, tent loosely with foil after 30 minutes.
- Cool on a wire rack for at least 15 minutes before serving to allow filling to set.
Notes
For a deeper caramelized flavor, broil the crisp for the last 2-3 minutes, watching carefully. Use a mix of apples for best flavor and texture. Let apples macerate for 5 minutes to avoid watery filling. Do not overmix the topping. If using a glass dish, add 5-10 minutes to baking time. Can be assembled up to 24 hours in advance and refrigerated before baking.
Nutrition
- Serving Size: 1 serving (1/8 of re
- Calories: 400
- Sugar: 40
- Sodium: 150
- Fat: 15
- Saturated Fat: 8.5
- Carbohydrates: 65
- Fiber: 5.5
- Protein: 4.5
Keywords: apple crisp, oat crumble, apple dessert, fall dessert, easy apple crisp, classic apple crisp


