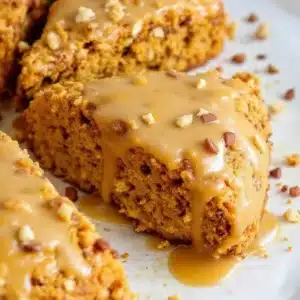
That smell — the nutty, toasty aroma of butter browning in a pan — still takes me straight to my grandmother’s kitchen on a rainy October afternoon. It wasn’t about the recipe book or the precise measurements. It was about the way the steam would fog up the windows, sealing us inside with nothing but the sound of a whisk and the crackle of heating dairy. I remember standing on a wobbly stool, watching the butter foam and settle, waiting for that specific golden hue that signals perfection. It’s a sensory trigger so strong it bypasses logic entirely and goes straight to comfort.
Back then, baking felt like magic, but mostly it felt like patience. My grandmother never rushed. She let the butter do its work, letting it transform from simple yellow fat into something deeper and more complex. That patience is what makes these cozy maple pumpkin scones so special. They aren’t just breakfast pastries; they are edible memories wrapped in flaky, buttery layers. The pumpkin adds a soft sweetness that mirrors those autumn days, while the brown butter glaze ties it all together with a rich, savory-sweet note.
I’ve made these scones hundreds of times since those childhood afternoons. Some batches are perfect, flaky, and golden. Others are a bit dense, or the glaze runs too thin. But honestly, even the slightly imperfect ones taste like home. There’s a quiet satisfaction in making something that smells like fall and tastes like warmth. It’s not about impressing anyone; it’s about creating a moment of pause in a busy day.
These scones have become my go-to for slow weekends. They pair perfectly with a hot cup of coffee or tea, sitting on the counter while the world outside gets crisp and cold. I love how the maple flavor lingers on the tongue, reminding me of those long drives through maple syrup farms. It’s a simple recipe, but it carries a lot of weight in terms of feeling. If you’re looking for a way to slow down and savor the season, this is the recipe to try. It’s not just food; it’s a hug in pastry form.
Why You’ll Love This Recipe
There is a specific kind of magic that happens when you combine brown butter with pumpkin spice. It’s not just another pumpkin recipe; it’s the result of years of tweaking, failing, and finally getting it right. I’ve tested this recipe with different flours, different sugars, and even different types of pumpkin puree to find that sweet spot (pun intended). The result is a scone that is tender yet sturdy enough to hold that thick, indulgent glaze.
- Quick & Easy: You can have these from bowl to oven in under 45 minutes. It’s perfect for those mornings when you want something homemade but don’t have hours to spare.
- Simple Ingredients: You likely have most of these items in your pantry right now. Flour, sugar, butter, pumpkin, and spices. No weird, hard-to-find ingredients.
- Perfect for Brunch: These are the ultimate weekend brunch item. Serve them with some fresh fruit or a side of bacon for a complete meal.
- Crowd-Pleaser: Kids and adults alike love the sweet maple glaze. It’s a crowd-pleaser that disappears quickly, so you might want to make a double batch.
- Unbelievably Delicious: The brown butter adds a nutty depth that regular butter can’t match. It elevates the simple pumpkin flavor into something gourmet without any extra effort.
What makes this recipe different is the technique. Most pumpkin scones are dry or dense. By using brown butter and being careful not to overwork the dough, we keep them light and airy. The glaze isn’t just sugar water; it’s a rich emulsion that sets into a soft shell. It’s the kind of treat that makes you close your eyes after the first bite. It’s comfort food reimagined—healthier, faster, but with the same soul-soothing satisfaction. Perfect for impressing guests without stress, or turning a simple meal into something memorable.
What Ingredients You Will Need
This recipe uses simple, wholesome ingredients to deliver bold flavor and satisfying texture without the fuss. The key is quality. Since there are so few ingredients, each one needs to shine. I recommend using high-quality pumpkin puree, not pumpkin pie filling, which has added sugars and spices. For the butter, I personally prefer European-style brands like Plugrá or Land O’Lakes for their higher fat content, which helps create those flaky layers. If you are gluten-sensitive, you can substitute all-purpose flour with a 1:1 gluten-free baking blend, though the texture might be slightly more crumbly.
- All-Purpose Flour (2 1/2 cups / 315g): The base of the scone. Don’t skimp on the amount; it provides structure.
- Baking Powder (1 tablespoon / 15g): Essential for lift. Make sure it’s fresh for maximum rise.
- Baking Soda (1/2 teaspoon / 3g): Helps neutralize the acidity in the pumpkin and brown butter.
- Salt (1 teaspoon / 6g): Balances the sweetness and enhances the spices.
- Ground Cinnamon (1 teaspoon / 2g): Adds warmth and classic fall flavor.
- Ground Ginger (1/2 teaspoon / 1g): A little heat to complement the pumpkin.
- Nutmeg (1/4 teaspoon / 0.5g): Use freshly grated if possible for the best aroma.
- Unsalted Butter (1 cup / 226g, cold and cubed): This is crucial. Cold butter creates steam pockets, leading to flakiness.
- Pumpkin Puree (1 cup / 240g): Make sure it’s 100% pure pumpkin, not pie filling.
- Maple Syrup (1/4 cup / 60ml): Use real maple syrup, not pancake syrup, for authentic flavor.
- Large Egg (1 large, room temperature): Acts as the binder for the dough.
- Heavy Cream (1/4 cup / 60ml): Adds richness and helps the dough come together.
For the brown butter glaze, you’ll need powdered sugar (1 cup / 120g), the browned butter you made earlier (1/4 cup / 57g), and a splash of heavy cream or milk (1-2 tablespoons) to adjust consistency. If you want a dairy-free option, you can swap the heavy cream for coconut cream, but the flavor profile will change slightly.
Equipment Needed
You don’t need a fancy kitchen to make these scones, but having the right tools helps. A large mixing bowl is essential for combining the dry ingredients. I use a pastry cutter or two forks to cut in the butter, but a food processor works too if you’re in a hurry. Be careful not to over-process, as the butter will warm up.
A baking sheet lined with parchment paper is non-negotiable for even baking and easy cleanup. Silicone baking mats are a great alternative if you prefer reusability, but parchment paper gives a bit more grip for the dough. A cooling rack is important so the bottoms don’t get soggy from trapped steam. For the glaze, a small saucepan is needed to brown the butter. A whisk is handy for mixing the glaze smooth. If you don’t have a saucepan, you can use a microwave-safe bowl, but you’ll need to watch it closely to prevent burning.
Preparation Method
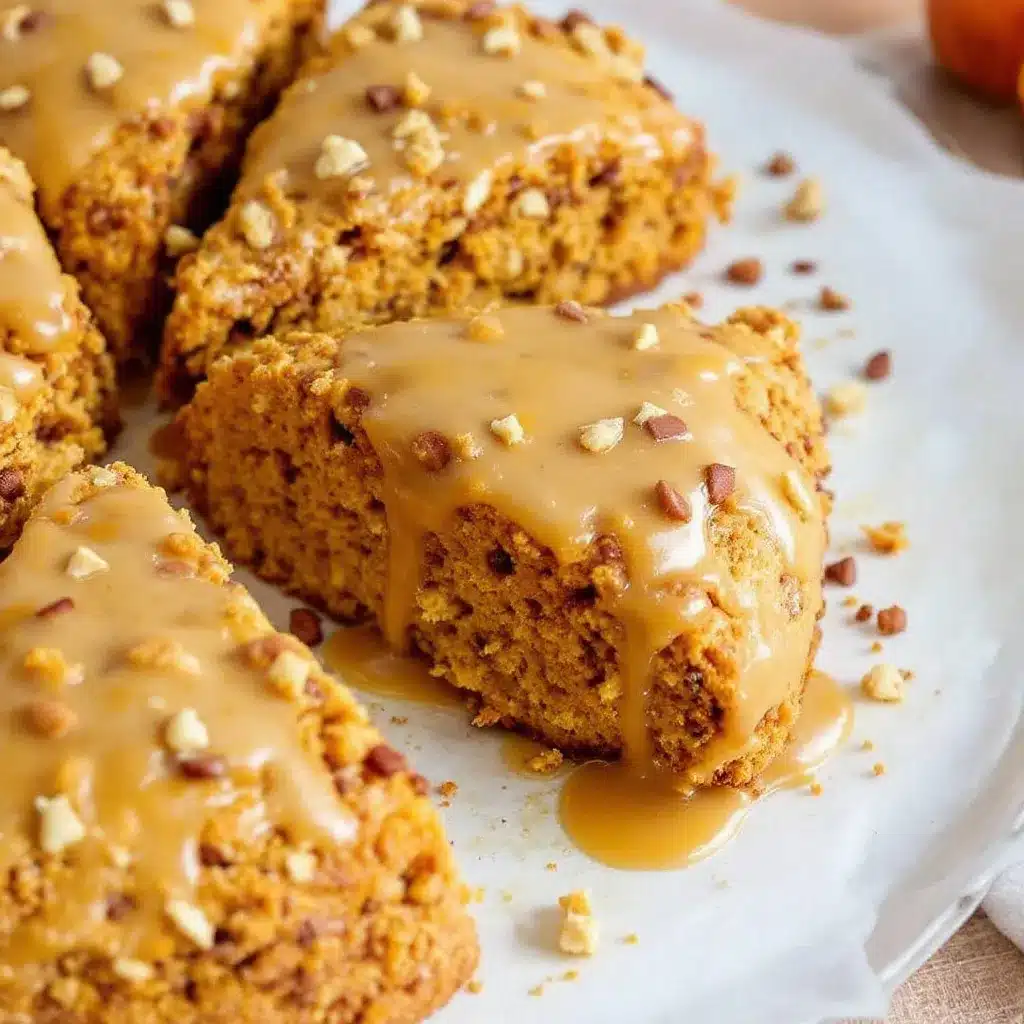
- Preheat and Prep: Start by preheating your oven to 400°F (200°C). Line a large baking sheet with parchment paper. This ensures your scones don’t stick and bake evenly. It’s a small step that makes a big difference.
- Mix Dry Ingredients: In a large bowl, whisk together the flour, baking powder, baking soda, salt, cinnamon, ginger, and nutmeg. Make sure there are no lumps of baking powder, as they can leave bitter spots in the finished scone.
- Cut in the Butter: Add the cold, cubed butter to the dry ingredients. Use a pastry cutter, two forks, or your fingers to work the butter into the flour until the mixture resembles coarse crumbs with some pea-sized pieces of butter remaining. Those pea-sized pieces are key for flaky layers. Don’t overwork this step!
- Combine Wet Ingredients: In a separate small bowl, whisk together the pumpkin puree, maple syrup, egg, and heavy cream until smooth. This mixture should be uniform and free of lumps.
- Bring Dough Together: Pour the wet ingredients into the dry ingredients. Use a spatula or your hands to gently fold the mixture together. Stop as soon as the dough starts to come together. It should look shaggy and sticky. Overmixing leads to tough scones, so trust your instincts and stop early.
- Shape the Dough: Turn the dough out onto a lightly floured surface. Gently pat it into a circle about 1 inch thick. Do not knead it. Just press it together. Cut the circle into 8 wedges, like a pizza.
- Bake: Place the wedges on the prepared baking sheet, leaving a little space between them. Bake for 18-22 minutes, or until the scones are golden brown on top and a toothpick inserted into the center comes out clean. The edges should be crisp.
- Make the Brown Butter Glaze: While the scones bake, brown the butter. Melt the butter in a small saucepan over medium heat. Swirl it constantly. It will foam, then quiet down, and finally turn golden brown with a nutty smell. Be careful not to burn it. Pour it into a bowl to stop the cooking. Whisk in the powdered sugar and enough heavy cream to reach a drizzling consistency.
- Glaze: Let the scones cool for 5-10 minutes on a wire rack. Drizzle the warm brown butter glaze over the tops. The warmth will help the glaze set slightly without running off completely.
Cooking Tips & Techniques
The biggest mistake people make with scones is overmixing the dough. I learned this the hard way when my first batch came out looking like hockey pucks. The gluten in the flour develops when you mix it, which makes bread chewy but scones tough. You want a tender crumb, so handle the dough as little as possible. If the dough feels too sticky, add a sprinkle of flour, but it should still be tacky.
Another tip is to keep everything cold. If your butter melts before it hits the oven, you lose those flaky layers. If your kitchen is warm, chill the dough in the fridge for 15 minutes before baking. This re-solidifies the butter and helps the scones hold their shape. Also, don’t skip the brown butter step. It adds a depth of flavor that regular butter just can’t match. The nutty notes pair perfectly with the maple and pumpkin.
Timing is everything. Watch your scones closely in the last few minutes of baking. Oven temperatures can vary, so use the toothpick test. If the toothpick comes out with wet batter, give them another 2-3 minutes. If it comes out clean, they are done. Pulling them out too early can result in a gummy center.
Variations & Adaptations
While the classic maple pumpkin flavor is my favorite, there are plenty of ways to customize these scones. For a spicier kick, add a pinch of cayenne pepper to the dough. It sounds weird, but it enhances the pumpkin flavor beautifully. You can also add 1/2 cup of chopped pecans or walnuts to the dough for extra crunch and nuttiness.
If you want to switch up the glaze, try a cream cheese glaze. Mix cream cheese, powdered sugar, and a splash of milk for a tangier contrast to the sweet pumpkin. For a dairy-free version, use coconut oil instead of butter in the dough and coconut milk in the glaze. The flavor will be slightly coconutty, which works well with pumpkin.
I also tried adding a swirl of brown sugar into the dough before baking. It creates little pockets of caramelized sweetness inside the scone. It’s a bit messier to make, but the result is worth it. You can also use maple sugar instead of maple syrup in the dough for a more intense maple flavor, though you may need to adjust the liquid content slightly.
Serving & Storage Suggestions
These scones are best served warm, right after glazing. They pair wonderfully with a black coffee or a spiced chai latte. If you’re serving them for brunch, add some fresh berries or a side of scrambled eggs for a balanced meal. The glaze can be sticky, so serve them on a nice plate with napkins handy.
For storage, keep leftover scones in an airtight container at room temperature for up to 2 days. If you need to store them longer, freeze them in a freezer-safe bag for up to 3 months. To reheat, simply warm them in the oven at 350°F (175°C) for 5-10 minutes. This restores the flakiness. You can also microwave them for 30 seconds, but they won’t be as crisp. The flavors actually meld nicely over the first day, making them slightly more moist and flavorful.
Nutritional Information & Benefits
Each scone contains approximately 350 calories, with a good balance of carbohydrates and fats. The pumpkin puree adds a boost of Vitamin A, which is great for eye health and immunity. The brown butter provides healthy fats that help with satiety, keeping you full longer. While these are a treat, the use of real maple syrup offers antioxidants compared to refined white sugar. For those watching their sugar intake, you can reduce the maple syrup in the dough by half and rely more on the glaze for sweetness. They are naturally gluten-free if you use a gluten-free flour blend, making them accessible to more people.
Conclusion
These cozy maple pumpkin scones with brown butter glaze are more than just a recipe; they are a celebration of the fall season. They are easy to make, incredibly delicious, and perfect for sharing with friends and family. I love how they fill the house with that warm, nutty scent. It’s a simple pleasure that brings joy to ordinary mornings. I encourage you to try this recipe and make it your own. Add nuts, change the spices, or try a different glaze. The possibilities are endless.
Please share your results in the comments below. I love seeing how you adapt the recipe to your tastes. If you make these, tag me on social media so I can see your creations. Happy baking, and enjoy every bite of this cozy treat.
FAQs
Can I use pumpkin pie filling instead of pure pumpkin puree?
No, you should avoid using pumpkin pie filling. It contains added sugars and spices that will throw off the balance of the recipe. Stick to 100% pure pumpkin puree for the best results.
How do I keep my scones from being too dense?
The key is to handle the dough as little as possible. Overmixing develops gluten, which makes scones tough. Also, ensure your butter is cold and cut into pea-sized pieces before mixing.
Can I freeze the unbaked scones?
Yes, you can. Shape the scones and place them on the baking sheet. Freeze them solid, then transfer to a freezer bag. Bake them directly from frozen, adding a few extra minutes to the baking time.
What type of maple syrup should I use?
Use real maple syrup, not pancake syrup. Real maple syrup has a complex flavor that enhances the scones. Grade A or Grade B both work well, though Grade B has a stronger flavor.
Can I make these scones ahead of time?
You can make the dough ahead and refrigerate it overnight. Let it come to room temperature before shaping and baking. The glaze should be made fresh for the best texture.
Related Recipes
If you enjoy these scones, you might also like my fluffy mini quiches for a savory brunch option. For a sweet treat, try these perfect black and gold macarons for a more elegant dessert.
Pin This Recipe!
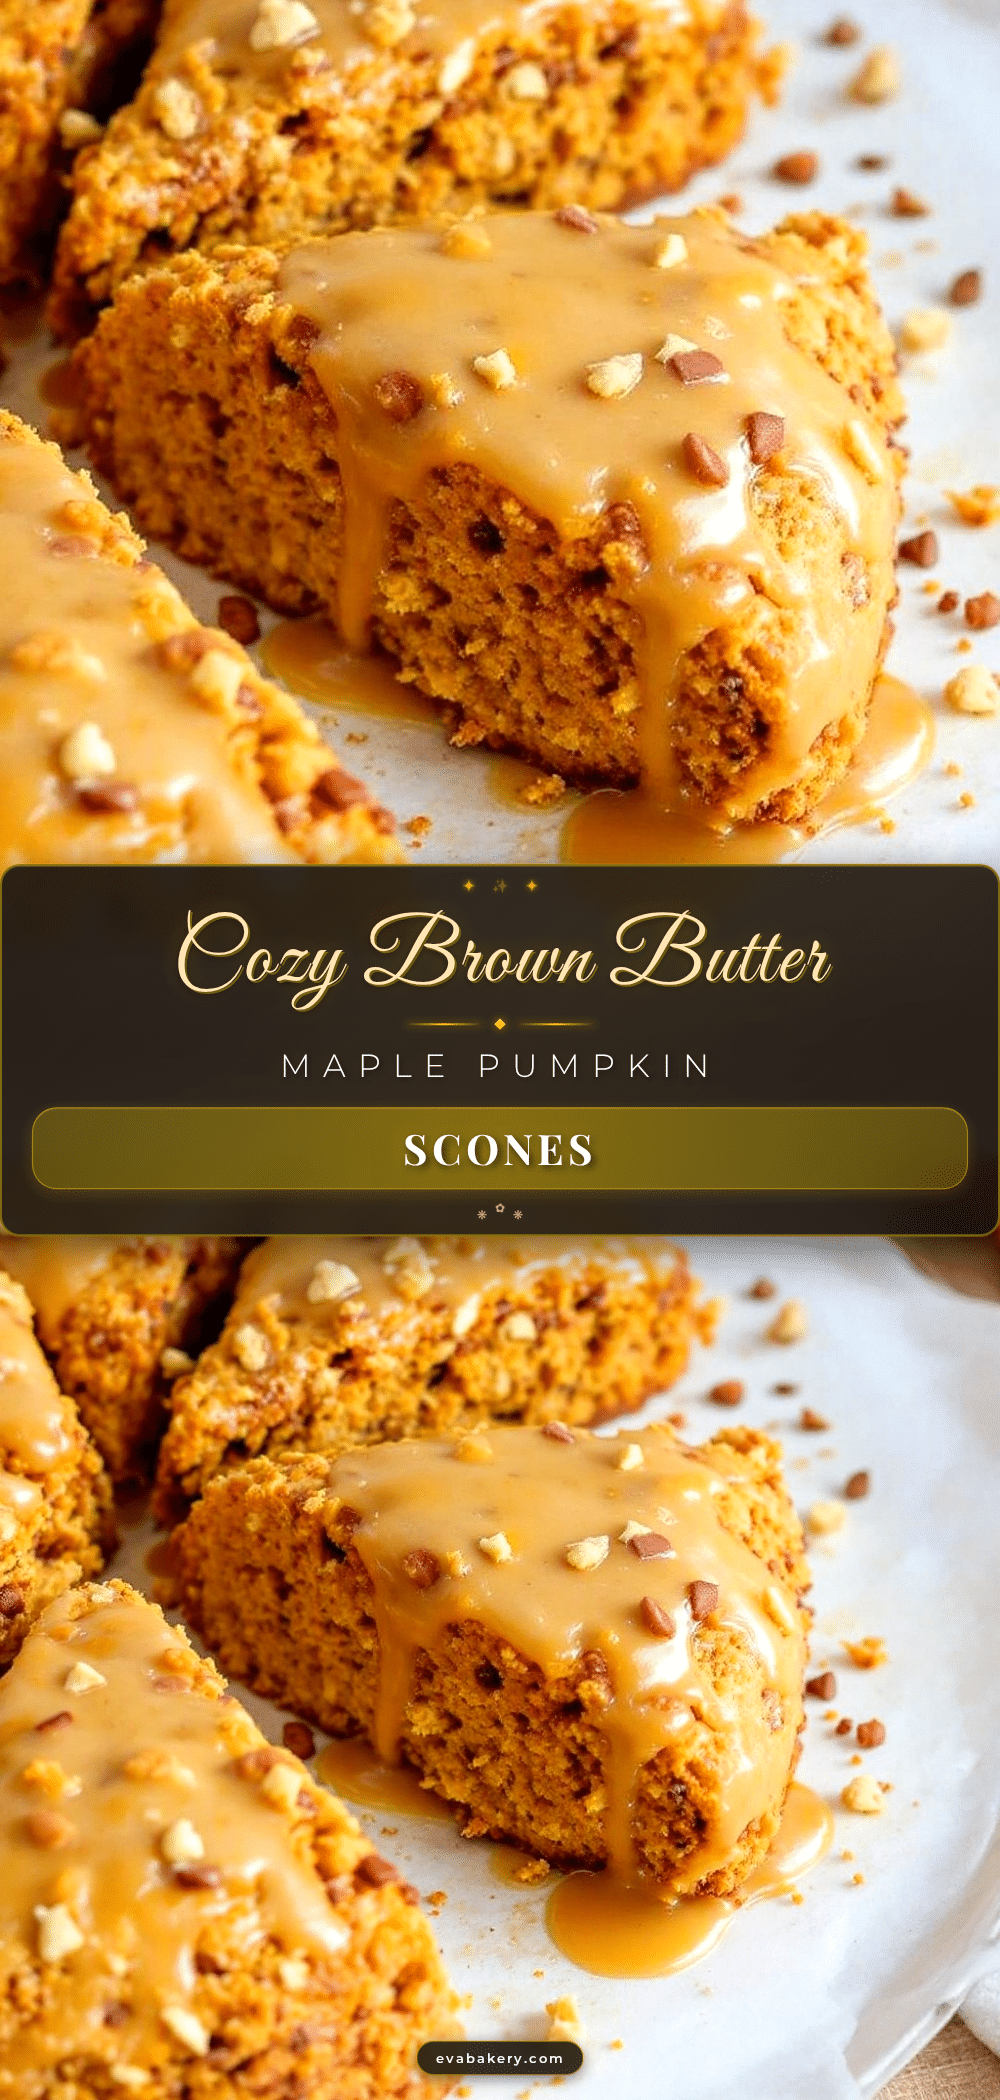
Cozy Maple Pumpkin Scones: Easy Fall Baking
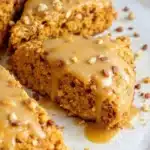
Flaky, tender pumpkin scones made with brown butter and topped with a rich maple glaze. These cozy fall treats are quick to make and perfect for weekend brunch.
- Prep Time: 15 minutes
- Cook Time: 22 minutes
- Total Time: 45 minutes
- Yield: 8 servings 1x
- Category: Breakfast
- Cuisine: American
Ingredients
- 2 1/2 cups (315g) All-Purpose Flour
- 1 tablespoon (15g) Baking Powder
- 1/2 teaspoon (3g) Baking Soda
- 1 teaspoon (6g) Salt
- 1 teaspoon (2g) Ground Cinnamon
- 1/2 teaspoon (1g) Ground Ginger
- 1/4 teaspoon (0.5g) Nutmeg
- 1 cup (226g) Unsalted Butter, cold and cubed
- 1 cup (240g) Pumpkin Puree
- 1/4 cup (60ml) Maple Syrup
- 1 Large Egg, room temperature
- 1/4 cup (60ml) Heavy Cream
- 1 cup (120g) Powdered Sugar (for glaze)
- 1/4 cup (57g) Browned Butter (for glaze)
- 1–2 tablespoons Heavy Cream or Milk (for glaze)
Instructions
- Preheat oven to 400°F (200°C) and line a large baking sheet with parchment paper.
- In a large bowl, whisk together flour, baking powder, baking soda, salt, cinnamon, ginger, and nutmeg.
- Add cold, cubed butter to the dry ingredients. Use a pastry cutter or forks to work the butter into the flour until it resembles coarse crumbs with pea-sized pieces of butter remaining.
- In a separate small bowl, whisk together pumpkin puree, maple syrup, egg, and heavy cream until smooth.
- Pour wet ingredients into dry ingredients. Gently fold with a spatula until the dough just comes together; it should look shaggy and sticky. Do not overmix.
- Turn dough onto a lightly floured surface and gently pat into a circle about 1 inch thick. Cut into 8 wedges.
- Place wedges on the prepared baking sheet, leaving space between them. Bake for 18-22 minutes until golden brown and a toothpick comes out clean.
- While scones bake, brown the butter in a small saucepan over medium heat until golden and nutty. Pour into a bowl to stop cooking.
- Whisk powdered sugar and browned butter together. Add heavy cream or milk to reach a drizzling consistency.
- Let scones cool for 5-10 minutes on a wire rack, then drizzle with the warm brown butter glaze.
Notes
Ensure butter is cold for flaky layers. Do not overmix the dough to avoid tough scones. Use 100% pure pumpkin puree, not pie filling. For gluten-free, use a 1:1 gluten-free baking blend. Scones can be frozen unbaked or baked and stored for up to 2 days.
Nutrition
- Serving Size: 1 scone
- Calories: 350
- Sugar: 22
- Sodium: 320
- Fat: 18
- Saturated Fat: 11
- Carbohydrates: 42
- Fiber: 2
- Protein: 5
Keywords: pumpkin scones, maple glaze, brown butter, fall baking, brunch recipe, easy scones, autumn treats