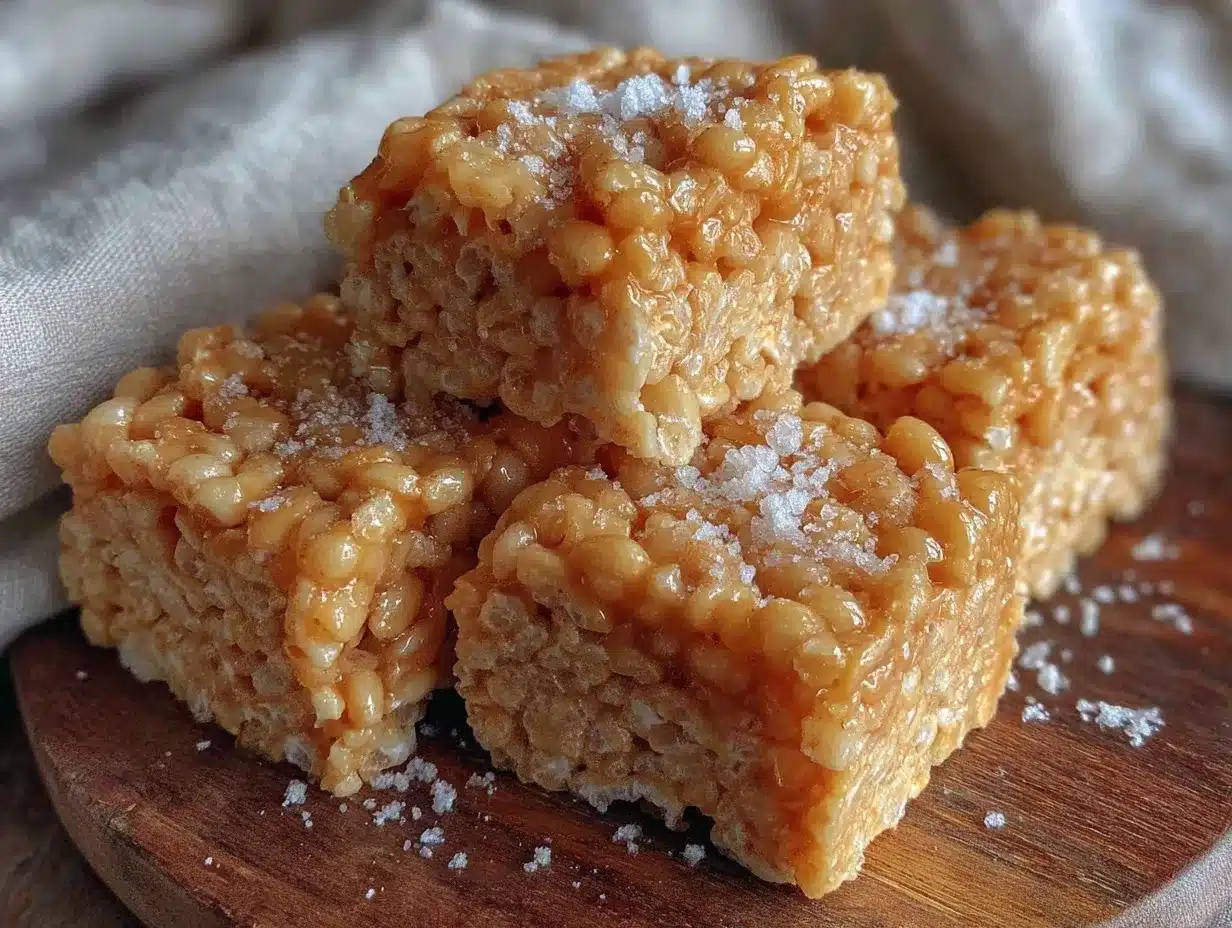
Let me tell you, the moment you unwrap a Quick Rice Krispies Treat and catch that sweet, buttery scent mingling with the marshmallow’s soft aroma, your mouth just starts watering. The first time I whipped these up, I was knee-high to a grasshopper, helping my grandma in the kitchen on a rainy afternoon. Honestly, there’s something magical about the way the marshmallows melt into those crispy little puffed rice squares—the kind of moment where you pause, take a deep breath, and just smile because you know you’re onto something truly special.
I still remember how my family couldn’t stop sneaking them off the cooling tray (and I can’t really blame them). It’s dangerously easy to pop one after another, and before you know it, the whole batch is history. These Quick Rice Krispies Treats have become a staple for potlucks, last-minute sweet fixes, and even as a nostalgic gift wrapped in wax paper. You know what? I wish I’d discovered this recipe years ago because it’s pure, nostalgic comfort that’s ready in a flash.
Whether you’re brightening up your Pinterest cookie board or searching for a sweet treat for your kids, these treats deliver on gooey, chewy goodness without any fuss. I’ve tested this recipe more times than I can count (in the name of research, of course), and it never fails to impress. If you’re looking for a snack that feels like a warm hug, you’re going to want to bookmark this one.
Why You’ll Love This Recipe
Honestly, these Quick Rice Krispies Treats hit the sweet spot between simplicity and deliciousness. As someone who’s made these countless times, I can say they’re a real winner for busy days or when you need a fast, comforting snack that pleases every crowd.
- Quick & Easy: Whips up in under 15 minutes, perfect for busy weeknights or last-minute cravings.
- Simple Ingredients: No fancy trips to specialty stores—just pantry staples you probably already have.
- Perfect for Any Occasion: Great for potlucks, school snacks, after-school treats, or cozy movie nights.
- Crowd-Pleaser: Kids and adults alike keep coming back for more—can’t argue with that!
- Unbelievably Delicious: The combo of crispy cereal and gooey marshmallows is next-level comfort food.
What makes this recipe stand out? It’s all about the balance. I use just the right amount of butter so the treats aren’t greasy but still rich enough to melt in your mouth. Plus, melting the marshmallows slowly over low heat keeps everything silky smooth without burning or sticking. You won’t find a dry, crumbly Rice Krispies treat here—just pure gooey goodness.
This recipe isn’t just good—it’s the kind that makes you close your eyes after the first bite and grin like a kid. It’s comfort food reimagined—fast, fuss-free, but packed with that same nostalgic satisfaction. Whether you want to impress guests without the stress or just treat yourself, this recipe’s got your back.
What Ingredients You Will Need
This recipe uses simple, wholesome ingredients to deliver bold flavor and satisfying texture without the fuss. Everything is easy to find and often already hanging out in your pantry. Here’s what you’ll need:
- Rice Krispies Cereal (6 cups / 150 grams) – The classic puffed rice that gives crunch and lightness.
- Marshmallows (10 ounces / 283 grams) – Use regular marshmallows for that signature gooey texture. Mini marshmallows work great too.
- Unsalted Butter (4 tablespoons / 60 grams) – Softened; adds richness and helps meld the marshmallows and cereal.
- Vanilla Extract (1 teaspoon / 5 ml) – Just a splash for subtle warmth and depth.
- Salt (a pinch) – Balances out the sweetness and brings all flavors together.
For the butter, I personally love using KerryGold when I want a rich, creamy flavor, but any good-quality unsalted butter will do just fine. If you’re in a pinch, margarine can work, but the flavor won’t be quite as luscious. When it comes to marshmallows, brands like Jet-Puffed or Campfire are my go-to for consistent melting and flavor.
Thinking about mixing it up? Feel free to add a handful of chocolate chips or swap half the Rice Krispies for Cocoa Krispies to give a chocolatey twist. For a gluten-free option, double-check that your cereal is certified gluten-free, as some brands may vary.
Equipment Needed
- Large Saucepan: Essential for melting butter and marshmallows gently. A heavy-bottomed pan works best to prevent scorching.
- Wooden Spoon or Heat-Resistant Spatula: For stirring the marshmallow mixture smoothly.
- 9×13 Inch Baking Dish (23×33 cm): For pressing the treats into shape. If you don’t have this size, a similar pan will work.
- Non-stick Spray or Parchment Paper: To grease or line the baking dish, so the treats come out cleanly.
- Measuring Cups and Spoons: For precise ingredient amounts.
If you don’t own a 9×13 inch pan, an 8×8 inch can work, but the treats will be thicker and might need a slightly longer setting time. For stirring, a silicone spatula is my personal favorite—it scrapes the sides well and withstands heat without melting.
Preparation Method
- Prepare Your Pan (5 minutes): Lightly grease a 9×13 inch baking dish with non-stick spray or line it with parchment paper for easy removal later.
- Melt Butter (3-4 minutes): In a large saucepan over low heat, melt 4 tablespoons (60 grams) of unsalted butter slowly. Watch closely so it doesn’t brown or burn.
- Add Marshmallows (5-7 minutes): Once the butter is melted, add 10 ounces (283 grams) of marshmallows. Stir continuously with a wooden spoon or heat-resistant spatula until the marshmallows are completely melted and smooth. This should take about 5–7 minutes. Be patient here—low heat is key to avoid scorching.
- Stir in Flavorings (30 seconds): Remove the pan from heat and stir in 1 teaspoon (5 ml) of vanilla extract and a pinch of salt. This little touch really brightens the flavor.
- Add Cereal (1-2 minutes): Immediately add 6 cups (150 grams) of Rice Krispies cereal to the melted marshmallow mixture. Gently fold the cereal in with a spatula until all the pieces are coated evenly in that gooey goodness. Don’t overmix—you want every bite crispy and chewy.
- Press Into Pan (3-5 minutes): Transfer the mixture into your prepared pan. Using a buttered spatula or wax paper, press the mixture down firmly and evenly. Be careful not to press too hard, or your treats will turn dense instead of light and chewy.
- Cool and Set (30 minutes): Let the treats sit at room temperature until completely cool and set—about 30 minutes. Then, slice into squares and enjoy!
If you notice the marshmallows aren’t melting smoothly, lower the heat and stir a bit longer; rushing this step can lead to clumps or burning. Also, pressing the mixture while still warm makes shaping easier, but don’t wait too long or it will harden and be tough to handle.
Cooking Tips & Techniques
One of the trickiest parts is melting the marshmallows just right. Low and slow is your best friend here. I’ve learned the hard way that cranking up the heat to rush things only scorches the marshmallow and ruins the texture.
Use a heavy-bottomed pan to distribute heat evenly. Stir constantly as the marshmallows melt to prevent sticking or burning on the bottom. If you see the mixture bubbling aggressively, turn down the heat immediately.
When it comes to pressing the treats into the pan, don’t press too firmly! The treats should feel light and chewy, not rock-hard. I like to butter my hands or use a piece of wax paper to gently press the mixture flat without compacting it.
Timing is everything here. You want to work quickly once the marshmallow is melted because it starts to set fast. Have your cereal measured and ready before you start melting to avoid scrambling.
Lastly, don’t skip the pinch of salt—it balances the sweetness and cuts through the richness, making the flavor pop just perfectly.
Variations & Adaptations
It’s easy to make these Quick Rice Krispies Treats your own by trying a few simple tweaks!
- Chocolate Drizzle: Melt some semi-sweet chocolate chips and drizzle over the top for a pretty and tasty finish.
- Peanut Butter Swirl: Stir in ½ cup (125 grams) creamy peanut butter with the melted marshmallows for a rich, nutty twist.
- Fruit and Nut Mix: Add ½ cup (75 grams) of dried cranberries and chopped nuts (walnuts or almonds) for texture and bursts of flavor.
- Gluten-Free Option: Use a certified gluten-free puffed rice cereal to keep the treats safe for gluten-sensitive eaters.
- Mini Marshmallows Only: For a faster melt and lighter texture, swap regular marshmallows for mini ones.
I once tried swapping half the Rice Krispies for puffed quinoa to add a protein boost and a slightly nutty crunch. It was surprisingly good and made the snack feel a little more grown-up!
Serving & Storage Suggestions
These treats are best served at room temperature—soft, chewy, and gooey with every bite. They make an excellent snack for lunchboxes, after-school munchies, or paired with a cold glass of milk for a true nostalgic treat.
If you want to dress them up for a party, cut them into fun shapes with cookie cutters or stack them with layers of fresh fruit and whipped cream for a playful dessert.
Store leftover treats in an airtight container at room temperature for up to 3 days. Avoid the fridge, as it can dry them out. For longer storage, wrap tightly and freeze for up to 6 weeks. To enjoy, thaw at room temperature for 30 minutes—it’ll taste almost fresh-baked.
Over time, the flavors meld beautifully, and the treats get just a bit chewier, which some folks love. Just keep them sealed tight to avoid any stale bites.
Nutritional Information & Benefits
Each serving (about one square from a 9×13 pan cut into 12 pieces) contains roughly:
| Calories | 150-180 kcal |
|---|---|
| Fat | 5-7 grams |
| Carbohydrates | 28-32 grams |
| Protein | 1-2 grams |
| Sugar | 15-20 grams |
While these treats are definitely a sweet indulgence, using real butter and quality marshmallows means you’re avoiding artificial fillers or excessive preservatives common in processed snacks. Rice Krispies cereal is low in fat and provides a light crunch without heaviness.
For those with dietary restrictions, this recipe can be adapted gluten-free with the right cereal and vegan by swapping butter for coconut oil and using vegan marshmallows. Just keep an eye on allergens if serving to kids or guests with sensitivities.
Conclusion
All in all, this Quick Rice Krispies Treats recipe is a no-brainer for anyone needing a fast, gooey snack fix that hits all the right notes. It’s simple, satisfying, and honestly, a little bit addictive. I love how easily you can customize it to fit your mood or diet, yet it always delivers that classic, nostalgic flavor that reminds you of childhood.
Give it a try, tweak it your way, and don’t be shy about sharing your favorite spins in the comments below! These treats have been a joy in my kitchen for years, and I’m pretty sure they’ll find a happy spot in yours too. So go ahead—grab your marshmallows and let’s get snacking!
FAQs
Can I use a microwave to melt the marshmallows?
Absolutely! Just melt the butter and marshmallows in a microwave-safe bowl in 30-second intervals, stirring in between until smooth. Be careful not to overheat, or the marshmallows may burn.
How do I keep Rice Krispies Treats from getting too hard?
Don’t over-press the mixture in the pan and avoid refrigerating them. Store at room temperature in an airtight container to keep them soft and chewy.
Can I add mix-ins like chocolate chips or nuts?
Yes! Fold in your favorite add-ins right after mixing the cereal with the marshmallow mixture for extra flavor and texture.
Are there vegan versions of this recipe?
Yes, use vegan marshmallows and swap butter with coconut oil or a plant-based margarine. Just check the labels to ensure they’re truly vegan.
What’s the best way to cut these treats without them sticking?
Use a knife sprayed lightly with non-stick spray or warm the knife under hot water and dry it before slicing. This helps prevent sticking and keeps your cuts clean.
Pin This Recipe!
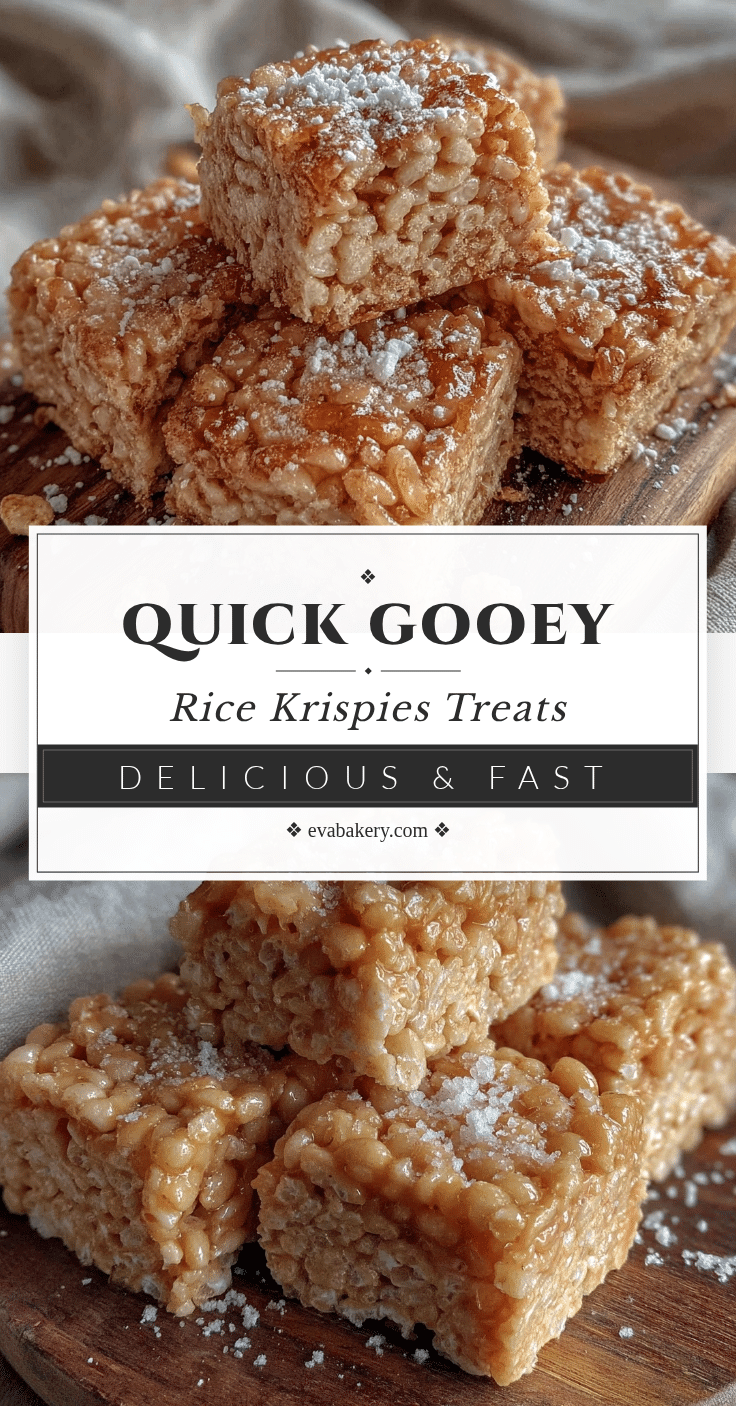
Quick Rice Krispies Treats Recipe for the Best Gooey Snack Fix
A fast and easy recipe for classic gooey Rice Krispies Treats that are perfect for snacks, potlucks, and nostalgic comfort food.
- Prep Time: 5 minutes
- Cook Time: 15 minutes
- Total Time: 40 minutes
- Yield: 12 servings 1x
- Category: Snack
- Cuisine: American
Ingredients
- 6 cups (150 grams) Rice Krispies Cereal
- 10 ounces (283 grams) Marshmallows (regular or mini)
- 4 tablespoons (60 grams) Unsalted Butter, softened
- 1 teaspoon (5 ml) Vanilla Extract
- Pinch of Salt
Instructions
- Lightly grease a 9×13 inch baking dish with non-stick spray or line it with parchment paper.
- In a large saucepan over low heat, melt 4 tablespoons (60 grams) of unsalted butter slowly, being careful not to brown or burn it.
- Add 10 ounces (283 grams) of marshmallows to the melted butter. Stir continuously with a wooden spoon or heat-resistant spatula until marshmallows are completely melted and smooth, about 5–7 minutes.
- Remove the pan from heat and stir in 1 teaspoon (5 ml) of vanilla extract and a pinch of salt.
- Immediately add 6 cups (150 grams) of Rice Krispies cereal to the marshmallow mixture. Gently fold the cereal in until evenly coated, about 1–2 minutes. Do not overmix.
- Transfer the mixture into the prepared pan. Using a buttered spatula or wax paper, press the mixture down firmly and evenly without compacting it, about 3–5 minutes.
- Let the treats cool and set at room temperature for about 30 minutes before slicing into squares and serving.
Notes
Melt marshmallows slowly over low heat to avoid burning. Press treats gently to keep them light and chewy. Store at room temperature in an airtight container for up to 3 days or freeze for up to 6 weeks. For vegan version, use vegan marshmallows and coconut oil instead of butter.
Nutrition
- Serving Size: One square (1/12th o
- Calories: 165
- Sugar: 18
- Sodium: 90
- Fat: 6
- Saturated Fat: 4
- Carbohydrates: 30
- Protein: 1.5
Keywords: Rice Krispies Treats, marshmallow treats, quick snack, gooey treats, easy dessert, kid-friendly snack


