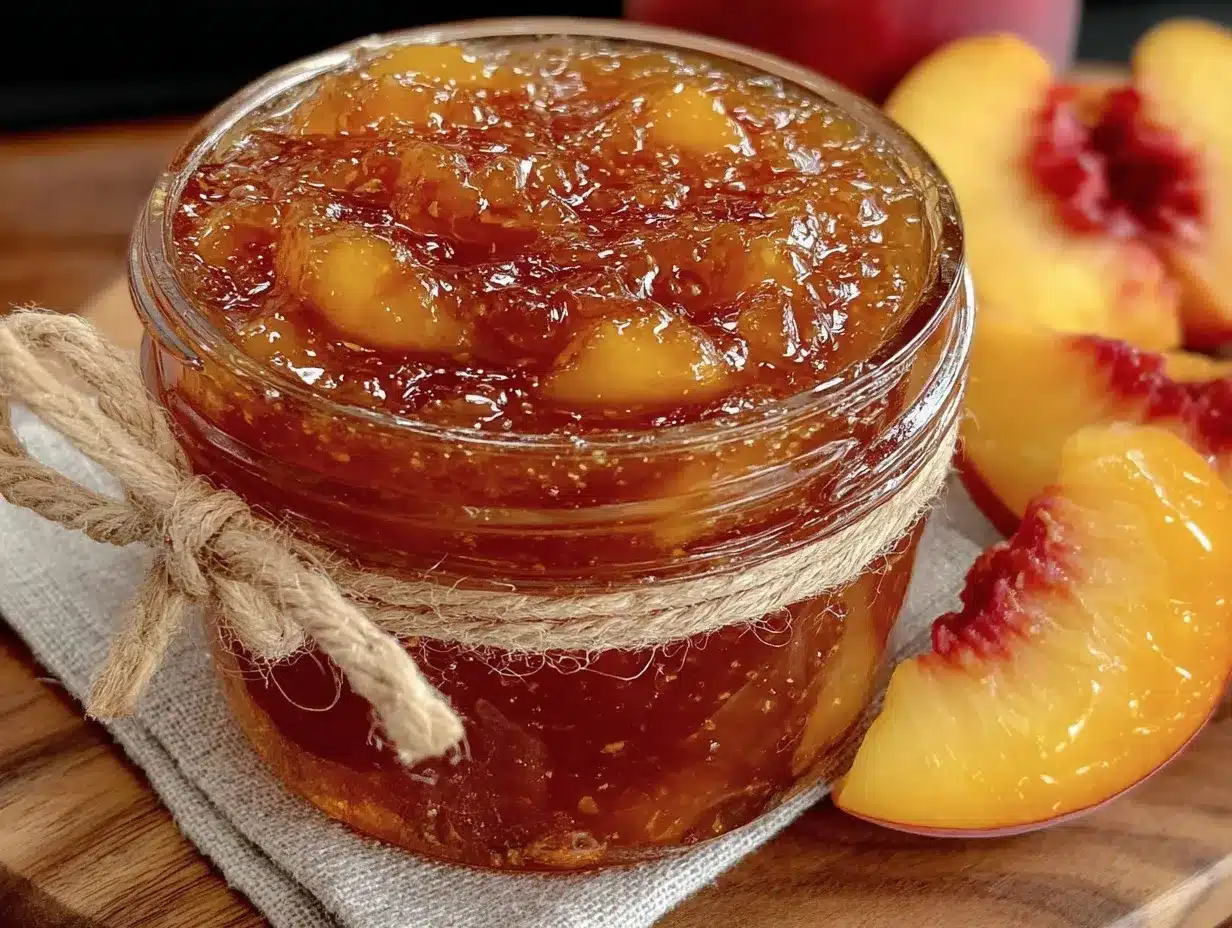
The summer sun was just starting to dip below the horizon when I found myself standing in my kitchen, a bowl of ripe peaches staring back at me. I’d picked up a small basket from the farmer’s market earlier that day, thinking I’d just snack on them fresh. But you know how it goes—one peach led to another, and suddenly I realized I had a serious peach situation on my hands. I didn’t want to waste even a slice, so I decided to make a small batch of homemade peach jam. Honestly, I wasn’t sure if it would turn out; I’m not exactly a canning pro, and the idea of boiling jars and sterilizing lids felt like a whole weekend project. But as the sweet, fragrant aroma filled the kitchen, that skepticism quickly faded.
What started as a spur-of-the-moment experiment turned into a little obsession that week—I made that easy homemade peach jam three times in just five days. Each batch was a bit better than the last, and soon friends were messaging me asking for my “secret recipe.” There’s something deeply satisfying about preserving the juicy, sun-kissed flavor of peaches in a jar, especially when you don’t need a mountain of fruit or hours of prep. This recipe is perfect for small batch canning, so you can enjoy the taste of summer without feeling overwhelmed by a giant yield. Plus, it’s insanely simple.
By the time the last jar was sealed, I realized this easy homemade peach jam recipe had quietly become one of those kitchen staples I turn to whenever I want something sweet, homemade, and just a little nostalgic. It’s a recipe that’s stuck around because it’s approachable, forgiving, and honestly, just plain delicious.
Why You’ll Love This Recipe
After testing this easy homemade peach jam recipe multiple times, I can say it’s one of those rare gems that’s both foolproof and incredibly rewarding. I’ve seen plenty of jam recipes, but this one feels like just the right balance between rich peach flavor and the perfect spreadable texture. Here’s why it might become your jam too:
- Quick & Easy: You can have your peach jam ready in under an hour, making it ideal for busy evenings or spontaneous weekend projects.
- Simple Ingredients: No weird additives or preservatives—just peaches, sugar, lemon, and pectin if you want that classic jam set. You probably already have everything in your pantry.
- Perfect for Small Batches: Unlike big canning recipes, this one is designed for small amounts, so you’re not stuck with a dozen jars if you don’t want to.
- Crowd-Pleaser: Everyone from kids to grandparents has given this jam two thumbs up, especially on freshly toasted bread or swirled into yogurt.
- Unbelievably Delicious: The peaches keep their brightness and sweetness without turning mushy, giving you a fresh, vibrant taste every time.
What sets this apart is the gentle cooking method that preserves the peach’s natural aroma, paired with just the right squeeze of lemon to brighten everything up. Plus, if you’re like me and not a huge jam-making expert, the small batch approach takes a lot of the pressure off. It’s a recipe that feels like it’s been made in someone’s cozy kitchen—not a factory.
What Ingredients You Will Need
This easy homemade peach jam recipe calls for straightforward ingredients that come together to create something truly special. The peaches are the star, of course, but every other ingredient plays a vital role in balancing sweetness, texture, and shelf life. Here’s what you’ll need:
- Fresh ripe peaches (about 2 pounds / 900 grams, peeled and chopped) – Choose peaches that are fragrant and slightly soft but not mushy. I prefer local, in-season peaches for the best flavor.
- Granulated sugar (1 to 1¼ cups / 200-250 grams) – Adjust based on how sweet your peaches are. I like to use organic cane sugar for a more natural sweetness.
- Lemon juice (2 tablespoons / 30 ml, freshly squeezed) – Adds brightness and helps with natural preservation.
- Fruit pectin (optional, about 1 tablespoon) – I include this for a thicker, spreadable jam. You can leave it out if you prefer a looser texture, but the jam will take longer to set.
- Water (¼ cup / 60 ml) – To help dissolve the pectin and sugar evenly.
For pectin, I recommend trusted brands like Sure-Jell or Ball Real Fruit Pectin. If you want to skip commercial pectin, you can experiment with natural alternatives like chia seeds, but the texture will be different.
Seasonal tip: When peaches aren’t in season, try swapping them with nectarines or even apricots for a twist. Just keep the same weight and sweetness adjustments.
Equipment Needed
Making this easy homemade peach jam recipe doesn’t require fancy equipment, which is part of what makes it so approachable. Here’s what you’ll want to have on hand:
- Medium saucepan: Preferably heavy-bottomed to prevent burning during simmering.
- Mixing bowl: For prepping and mixing your peaches and ingredients.
- Jar funnel: This little tool makes filling your jars cleaner and easier.
- Glass jars with lids: Small half-pint (8 oz / 240 ml) jars are perfect for small batch canning.
- Wooden spoon or heatproof spatula: For stirring the jam without scratching your cookware.
- Ladle: To transfer jam into jars safely.
If you don’t own a jar funnel, a wide-mouth funnel or even a clean measuring cup with a spout can work in a pinch. For sterilizing jars, you can boil them or use your dishwasher’s sanitize cycle. I’ve found that reusing jars from store-bought jam is perfectly fine after thorough cleaning and sterilization.
Preparation Method
- Prepare the peaches: Start by peeling the peaches. The easiest way is to blanch them in boiling water for 30 seconds, then immediately transfer to ice water—the skins should slip off easily. Pit and chop the peaches into roughly ½-inch (1.25 cm) pieces. This helps maintain texture and prevents the jam from turning too smooth.
- Combine ingredients: In your saucepan, place the chopped peaches, sugar, lemon juice, and water. If using pectin, mix it with a couple tablespoons of sugar from the measured amount to prevent clumping, then add it to the pot.
- Cook the jam: Bring the mixture to a boil over medium heat, stirring frequently. Once boiling, reduce heat slightly and let it simmer for about 20-25 minutes. You’ll notice the peaches soften and the liquid thicken. Stir regularly to avoid burning, and use the back of your spoon to gently mash some peaches if you prefer a less chunky jam.
- Check the set: To test if the jam is ready, place a small spoonful on a cold plate and let it sit for a minute. If it wrinkles when pushed with your finger, it’s good. If not, keep simmering and test again every 5 minutes.
- Sterilize jars: While the jam cooks, sterilize your jars and lids by boiling them in water for 10 minutes or running them through a dishwasher sanitize cycle. Keep them warm until ready to fill.
- Fill jars: Using a ladle and funnel, carefully pour the hot jam into the warm jars, leaving about ¼-inch (0.6 cm) headspace. Wipe rims clean with a damp cloth to ensure a good seal.
- Seal jars: Screw on the lids firmly but not overly tight. Let them cool at room temperature overnight. You should hear the satisfying pop of jars sealing as they cool.
- Store or refrigerate: Once cooled, store your jam in a cool, dark place. Refrigerate after opening.
Pro tip: If you want to speed things up, you can mash peaches more before cooking, but I find leaving some chunks adds a nice, homemade feel. Also, stirring constantly in the last 5 minutes keeps the jam from sticking or burning.
Cooking Tips & Techniques
Jam-making sounds intimidating, but honestly, once you get a feel for the rhythm, it’s pretty relaxing. Here are some tips I’ve picked up:
- Peeling peaches: Blanching is the quickest way, but if you’re in a rush, peeling with a sharp paring knife works too—just peel thinly to avoid losing too much fruit.
- Consistent stirring: This is key to prevent scorching. I usually set a timer for every 3-4 minutes to remind myself to stir well.
- Test the jam’s set: The cold plate test is my go-to. If your kitchen is cold, jam might set faster, so always test before deciding.
- Adjust sweetness: Taste your peaches before cooking. If they’re super sweet, you can dial back the sugar a bit.
- Small batches mean less waste: Since this recipe is for about 3-4 small jars, it’s perfect for those who want to avoid a fridge full of opened jam that goes uneaten.
I once burned a batch by leaving the jam unattended for a few minutes—lesson learned: don’t multitask too hard during the simmering stage! And if your jam doesn’t set right away, don’t panic. Sometimes it needs a day or two to thicken fully.
Variations & Adaptations
This recipe is wonderfully flexible. Here are a few ways to switch things up:
- Spicy Peach Jam: Add a pinch of cayenne or a splash of ginger juice during cooking for a warm, spicy kick.
- Herb-Infused: Toss in a few fresh basil or rosemary leaves towards the end of cooking for a fragrant twist.
- Low-Sugar Version: Cut back on sugar and use natural pectin or chia seeds to help set the jam without losing sweetness completely.
- Vegan & Pectin-Free: Skip commercial pectin and increase cooking time slightly, stirring often, or use chia seeds to thicken naturally.
One variation I tried was adding a splash of vanilla extract at the end—it gave the jam a cozy, almost dessert-like vibe that made it perfect for spooning over pancakes. Also, if you want to try a different fruit combo, mixing peaches with a handful of fresh raspberries can create a beautiful color and flavor contrast.
Serving & Storage Suggestions
This peach jam is best enjoyed fresh but stores beautifully too. Here’s how I like to serve and keep it:
- Serving: Spread it thick on warm toast or biscuits. It’s also fantastic stirred into plain yogurt or dolloped on a scoop of vanilla ice cream.
- Pairings: Goes great alongside a flaky mini quiche or a simple cheese plate. For a refreshing drink, a spoonful stirred into sparkling water makes a quick peach soda.
- Storage: Unopened jars keep for up to a year in a cool, dark spot. Once opened, refrigerate and use within 3 weeks for best flavor.
- Reheating: Warm the jam slightly before serving if it’s been in the fridge—it softens the texture and enhances the aroma.
Over time, the flavors meld and deepen, so if you’re patient, you might find your jam tastes even better a week or so after canning. But honestly, it rarely lasts that long in my house!
Nutritional Information & Benefits
This easy homemade peach jam is a sweet treat with a wholesome feel. On average, one tablespoon (20 grams) contains approximately:
| Nutrient | Amount |
|---|---|
| Calories | 50 |
| Carbohydrates | 13g |
| Sugars | 12g |
| Fiber | 0.3g |
| Vitamin C | 5% DV |
Peaches add vitamin C and antioxidants, and by making jam yourself, you avoid preservatives and excessive sugars found in many store-bought versions. This recipe is naturally gluten-free and can be tailored to be low-sugar or vegan. Just keep in mind the sugar is crucial for preservation and texture unless you plan to refrigerate and consume quickly.
From a wellness perspective, I appreciate that this jam lets me enjoy fruit’s natural sweetness with minimal fuss and no mystery ingredients. It’s a small way to add homemade goodness to your day.
Conclusion
This easy homemade peach jam recipe for small batch canning is a little kitchen victory that’s hard to beat. It’s simple, satisfying, and just the right size for those who want fresh jam without committing to a whole pantry full of jars. Whether you’re new to canning or just want a quick, sweet project, this recipe makes the process approachable and fun.
Feel free to tweak the sweetness, try a new flavor twist, or share a jar with your favorite people. I love this jam because it’s a reminder that sometimes the best treats are the ones you make with your own hands, in your own time. If you’ve enjoyed this recipe, you might appreciate how it pairs so well with a crisp prosciutto wrapped asparagus appetizer or a refreshing fruit cocktail—yes, I’m looking at you, champagne punch enthusiasts!
Go ahead, give it a try—and keep a jar handy for those moments when you want a little taste of summer, anytime.
FAQs
Can I use frozen peaches for this jam recipe?
Yes, you can use thawed frozen peaches, but they might release more water, so cook the jam a bit longer to reach the right consistency.
How long does homemade peach jam last?
Unopened and properly canned jars last up to a year in a cool, dark place. Once opened, refrigerate and use within 3 weeks.
Do I have to use pectin?
No, pectin is optional. Without it, the jam will be looser and take longer to set, but it will still taste delicious.
Is it necessary to sterilize the jars?
Yes, sterilizing jars helps prevent spoilage and ensures your jam stays fresh longer.
Can I reduce the sugar for a healthier jam?
You can reduce sugar a bit, but it affects preservation and texture. For low-sugar options, consider refrigerating and consuming quickly.
Pin This Recipe!
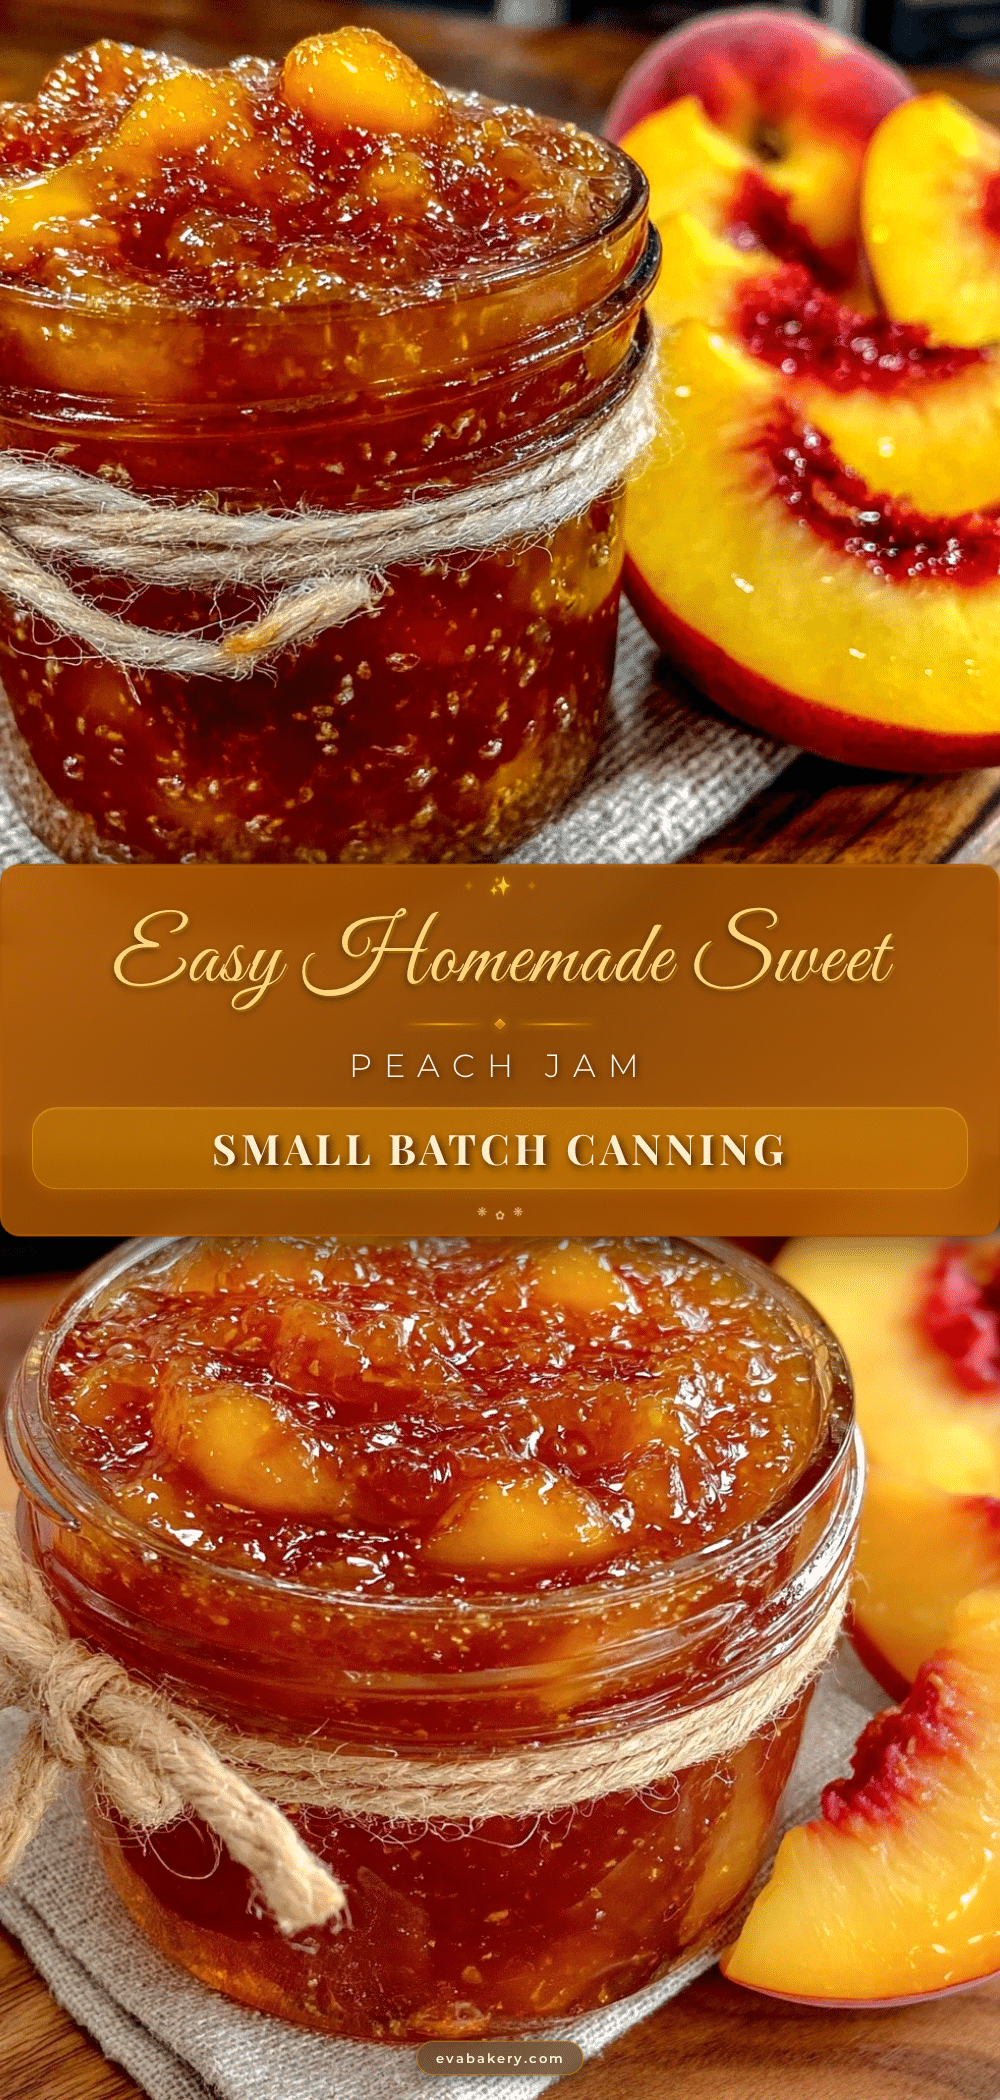
Easy Homemade Peach Jam Recipe for Small Batch Canning Tips
A simple and quick recipe for making small batches of delicious homemade peach jam, perfect for preserving the fresh flavor of summer peaches without overwhelming quantities.
- Prep Time: 15 minutes
- Cook Time: 25 minutes
- Total Time: 40 minutes
- Yield: 3 to 4 half-pint jars (8 oz / 240 ml each) 1x
- Category: Preserves
- Cuisine: American
Ingredients
- 2 pounds (900 grams) fresh ripe peaches, peeled and chopped
- 1 to 1¼ cups (200–250 grams) granulated sugar
- 2 tablespoons (30 ml) freshly squeezed lemon juice
- 1 tablespoon fruit pectin (optional)
- ¼ cup (60 ml) water
Instructions
- Prepare the peaches by blanching them in boiling water for 30 seconds, then immediately transfer to ice water to slip off the skins easily. Pit and chop peaches into roughly ½-inch pieces.
- In a medium saucepan, combine chopped peaches, sugar, lemon juice, and water. If using pectin, mix it with a couple tablespoons of sugar first to prevent clumping, then add to the pot.
- Bring the mixture to a boil over medium heat, stirring frequently. Reduce heat slightly and simmer for 20-25 minutes, stirring regularly and gently mashing some peaches if a less chunky texture is desired.
- Test the jam set by placing a spoonful on a cold plate; if it wrinkles when pushed with a finger, it is ready. If not, continue simmering and test every 5 minutes.
- Sterilize jars and lids by boiling for 10 minutes or using a dishwasher sanitize cycle. Keep jars warm until filling.
- Using a ladle and funnel, pour hot jam into warm jars, leaving about ¼-inch headspace. Wipe rims clean.
- Screw on lids firmly but not overly tight. Let jars cool at room temperature overnight until sealed.
- Store unopened jars in a cool, dark place for up to a year. Refrigerate after opening and use within 3 weeks.
Notes
Blanch peaches for easy peeling. Stir frequently to prevent burning. Test jam set with cold plate method. Pectin is optional but helps jam set faster. Adjust sugar based on peach sweetness. Sterilize jars properly to prevent spoilage. Jam thickens more after cooling and may improve in flavor after a week.
Nutrition
- Serving Size: 1 tablespoon (20 gra
- Calories: 50
- Sugar: 12
- Carbohydrates: 13
- Fiber: 0.3
Keywords: peach jam, homemade jam, small batch canning, easy peach jam, fruit preserves, summer recipes, jam recipe


