Stirring a pot on the stove while a timer ticks down on a forgotten batch of cookies. The smell of warm, nutty brown butter fills the kitchen, mixing with a faint hint of melting chocolate chips. Half a tray of burnt edges and a hasty rescue later, these Brown Butter Chocolate Chip Cookies with Soft Chewy Centers were born—not from perfection, but from a chaotic evening where the only option was to improvise fast. Honestly, the way the butter browned just right—nuttier and deeper than plain melted butter—turned out to be a game changer. The soft, chewy centers contrasted with slightly crisp edges, making the whole ordeal worth the flurry.
It’s funny how sometimes the best recipes come from what felt like a total mess at first. The aroma alone was enough to calm down the kitchen chaos, and when I took that first bite, I knew these cookies would be my go-to, especially when I’m short on time but craving something homemade. There’s something quietly satisfying about biting into a cookie that’s soft and chewy, but with a complex depth of flavor thanks to browned butter. These cookies aren’t just another chocolate chip cookie—they have this warm, almost caramelized personality that turns a simple sweet treat into a comforting little moment.
After numerous tweaks and a few burnt batches, I trust this recipe to deliver every single time. It’s the kind of cookie that brings you back to the kitchen for just one more, even when you’re trying to convince yourself to stick to a “just one” rule. The secret? The way the butter is cooked down before mixing, and a few little tricks that keep the centers soft but the edges snappy. This recipe stuck around for all the right reasons—and I bet it’ll become a favorite for you too.
Why You’ll Love This Recipe
Trust me, once you try these Brown Butter Chocolate Chip Cookies with Soft Chewy Centers, you’ll understand why they’ve become a staple in my kitchen. I’ve tested this recipe over many rushed weeknights and lazy weekends alike, and it works like a charm every time. Here’s why I think you’ll love making them as much as eating them:
- Quick & Easy: These cookies come together in under 30 minutes, perfect for when you need a fast dessert fix or an unexpected craving hits.
- Simple Ingredients: You probably already have everything on hand—no fancy trips to specialty stores needed.
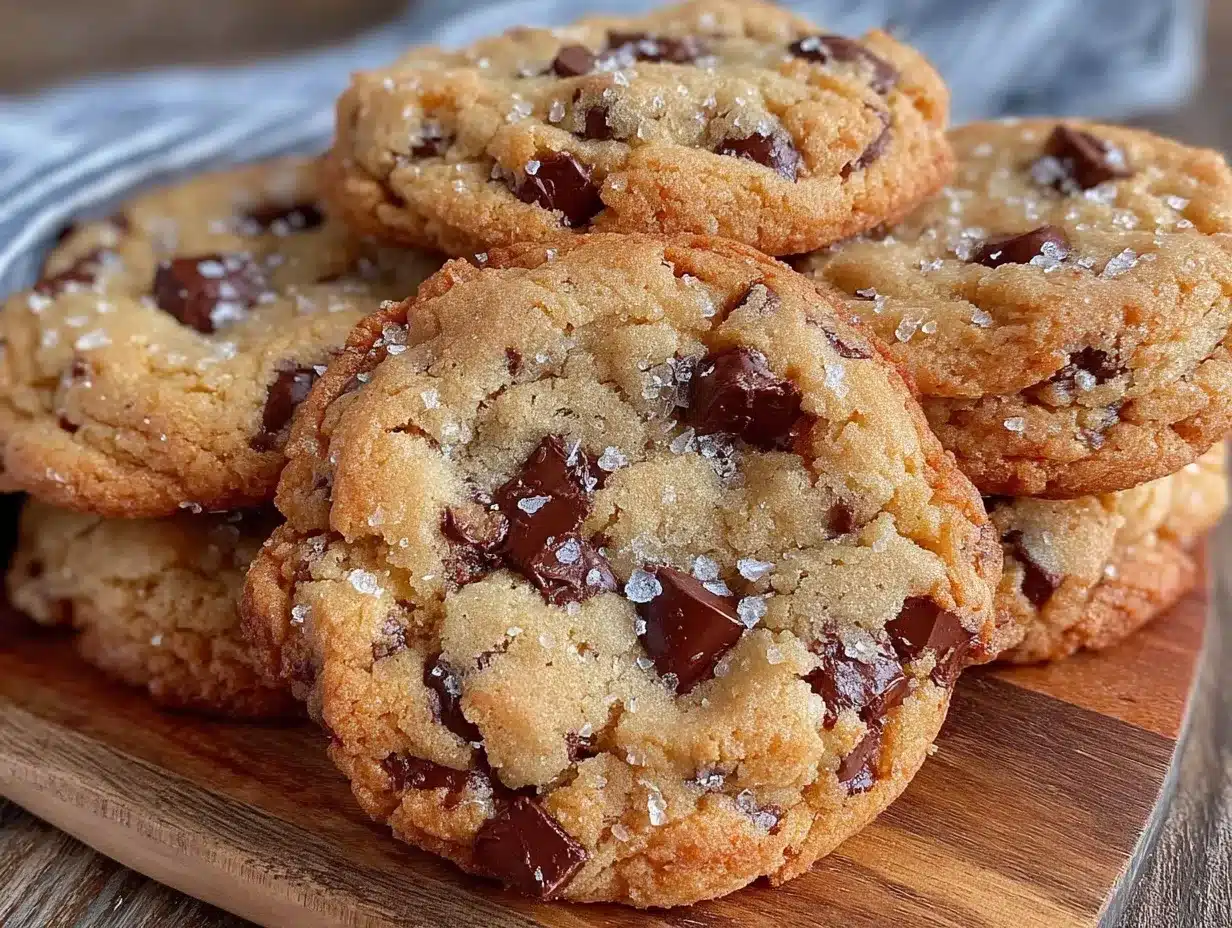
- Soft & Chewy Texture: The centers stay tender and chewy, while the edges crisp up just enough to create that perfect bite.
- Rich Brown Butter Flavor: Brown butter adds a deep, toasty note that sets this cookie apart from your everyday chocolate chip.
- Crowd-Pleaser: These cookies vanish fast at family gatherings and always earn compliments, even from the pickiest eaters.
- Perfect for Any Occasion: Whether it’s a cozy night in or a last-minute treat for guests, these cookies fit right in.
This recipe isn’t just your run-of-the-mill cookie. The browned butter is the real MVP—it gives the dough a subtle nuttiness that pairs beautifully with melty chocolate chips. I also like to use a mix of semi-sweet and dark chocolate chunks for texture and flavor variety. Plus, I’ve found that chilling the dough briefly helps keep those centers irresistibly soft. Honestly, it’s like a warm hug in cookie form.
And hey, if you’re into pairing your cookies with a drink, you might want to try them alongside a refreshing champagne punch from my champagne punch recipe—the combo is surprisingly delightful for a casual get-together.
What Ingredients You Will Need
This recipe uses simple, wholesome ingredients to deliver bold flavor and satisfying texture without the fuss. Most of these are pantry staples, which is great when you need to whip up something quick and delicious. Here’s what you’ll need to make the magic happen:
- Unsalted butter (1 cup / 225g) – browned to bring out that nutty, caramel flavor that defines the cookie.
- Granulated sugar (¾ cup / 150g) – adds sweetness and helps with the cookie’s crisp edges.
- Light brown sugar (¾ cup / 165g), packed – for moisture and that classic chewy texture.
- Large eggs (2, room temperature) – binding everything together and adding richness.
- Pure vanilla extract (1½ teaspoons) – the flavor enhancer that rounds out the dough.
- All-purpose flour (2 ½ cups / 315g) – the structure of the cookie; I recommend King Arthur for consistent results.
- Baking soda (1 teaspoon) – leavens the cookies just enough to stay soft.
- Salt (1 teaspoon) – balances the sweetness and highlights the brown butter’s complexity.
- Chocolate chips or chunks (2 cups / 340g) – semi-sweet or a mix of semi-sweet and dark for richer flavor; Ghirardelli chips work wonderfully.
If you want to switch things up, you can swap the all-purpose flour for a gluten-free blend (just make sure it includes xanthan gum). For dairy-free baking, try coconut oil instead of butter, but be warned—it won’t have quite the same brown butter taste. Also, if you prefer, you can add chopped nuts for extra texture, but I usually keep it classic.
Equipment Needed
- Heavy-bottomed saucepan or skillet: Essential for browning the butter evenly without burning it.
- Heatproof spatula or wooden spoon: For stirring the butter as it browns and scraping every last bit of flavor into the dough.
- Mixing bowls: One large for the dough, plus smaller ones if you like to separate wet and dry ingredients.
- Electric mixer or hand whisk: While you can mix by hand, a stand mixer or hand mixer speeds things up and ensures creamy sugar and butter integration.
- Measuring cups and spoons: For precise ingredient amounts, which really matter in baking.
- Baking sheets: Use heavy-duty, rimmed sheets lined with parchment paper or silicone mats for even baking and easy cleanup.
- Cooling rack: Helps cookies cool quickly and prevents sogginess on the bottoms.
If you don’t have a heavy-bottomed pan, use the thickest skillet you own to avoid hot spots. For browning butter, patience is key—keep stirring and watch carefully so it doesn’t burn, which ruins the flavor. Silicone mats are my personal favorite for baking cookies because they help get a nice bottom crust without sticking.
Preparation Method
- Brown the butter: Place 1 cup (225g) of unsalted butter in a heavy-bottomed saucepan over medium heat. Stir constantly with a heatproof spatula or wooden spoon. The butter will foam, then turn a golden brown with fragrant nutty aroma (about 5-7 minutes). Remove from heat as soon as it reaches a deep amber color to avoid burning. Transfer to a heatproof bowl and let cool slightly (about 10 minutes).
- Mix sugars and browned butter: Once the butter is warm but not hot, whisk in ¾ cup (150g) granulated sugar and ¾ cup (165g) packed light brown sugar until smooth and creamy.
- Add eggs and vanilla: Beat in 2 large eggs, one at a time, followed by 1½ teaspoons pure vanilla extract. The mixture will look glossy and rich.
- Combine dry ingredients: In a separate bowl, sift together 2 ½ cups (315g) all-purpose flour, 1 teaspoon baking soda, and 1 teaspoon salt.
- Incorporate dry into wet: Gradually add the dry ingredients to the wet mixture, mixing just until combined. Avoid overmixing to keep the cookies tender.
- Fold in chocolate chips: Gently fold in 2 cups (340g) chocolate chips or chunks with a spatula, making sure they’re evenly distributed.
- Chill the dough (optional but recommended): Cover the bowl with plastic wrap and refrigerate for at least 30 minutes. This helps control spread and enhances flavor.
- Preheat oven and prepare baking sheets: Preheat your oven to 350°F (175°C). Line baking sheets with parchment paper or silicone mats.
- Scoop dough: Using a cookie scoop or tablespoon, drop rounded balls of dough about 2 inches apart on the sheet.
- Bake: Bake for 10-12 minutes, rotating pans halfway through if baking multiple sheets. Cookies should be golden around the edges but still soft in the center.
- Cool: Let cookies cool on the pan for 5 minutes before transferring to a cooling rack to finish cooling.
Pro tip: If your kitchen feels warm, chilling your dough longer can prevent cookies from spreading too thin. Also, every oven runs a bit differently, so start checking cookies a minute or two earlier than the recipe time.
Cooking Tips & Techniques
Browning butter is the secret weapon here, but it can be intimidating if you’ve never done it before. Keep the butter moving in the pan—stir constantly and watch for the color change. It goes from yellow to foamy white to a toasty golden brown, then to dark brown quickly, so stay close!
Another tip: use a light-colored pan so you can see the butter’s color clearly. I learned the hard way with a dark pan where the butter burned without me noticing.
When mixing dough, don’t overdo it. Overmixing flour develops gluten, and that leads to tougher cookies—definitely not what you want for soft, chewy centers. Mix just until the flour disappears.
Chilling the dough is not only about controlling spread; it also deepens the flavor. I’ve found that even a quick 30-minute chill makes a noticeable difference.
Finally, when baking, pull the cookies out just as the edges set but the centers still look a bit underdone. They’ll continue to cook slightly on the hot baking sheet and stay soft inside.
And if you’re curious about adding some savory bites to your dessert spread, pairing these cookies with crispy prosciutto-wrapped asparagus bites makes for a fun sweet-and-savory combo at any party.
Variations & Adaptations
Feel free to make this recipe your own with some tweaks I’ve tried and loved:
- Nutty upgrade: Toss in ½ cup chopped toasted pecans or walnuts for crunch and extra depth.
- Salted caramel twist: Add a sprinkle of flaky sea salt on top of each cookie before baking to contrast the sweetness beautifully.
- Gluten-free: Substitute the all-purpose flour with a 1:1 gluten-free baking blend. The texture stays great, though the cookies might spread a little more.
- Dairy-free: Use coconut oil browned gently in place of butter. It won’t have the exact brown butter flavor but still yields a tasty cookie.
- Chocolate variety: Swap the chocolate chips for white chocolate or mix in peanut butter chips for different flavor profiles.
Personally, I once added a teaspoon of cinnamon to the dry ingredients for a warm, cozy note that was surprisingly addictive. It’s fun to make these cookies your own while keeping that signature soft, chewy center intact.
Serving & Storage Suggestions
Serve these cookies slightly warm so the chocolate is melty and the centers are gooey. They’re perfect on their own or with a cold glass of milk. If you want to get fancy, a scoop of vanilla ice cream on the side turns them into a quick dessert treat.
For storing, place cooled cookies in an airtight container at room temperature. They stay fresh and chewy for about 4-5 days. If you want to keep them longer, they freeze well—just pop the dough balls into the freezer and bake from frozen, adding a couple minutes to the bake time.
Reheating is easy: microwave a cookie for 10-15 seconds to revive that soft, fresh-baked feel. The flavors actually develop and mellow a bit after a day or two, so leftovers might surprise you with even richer tastes.
Nutritional Information & Benefits
Each Brown Butter Chocolate Chip Cookie contains roughly 180-200 calories, with about 10 grams of fat, 25 grams of carbohydrates, and 2 grams of protein. These cookies are a treat, so moderation is key.
The unsalted butter provides a source of fat that supports satiety, and the chocolate chips add antioxidants thanks to their cocoa content. Using brown butter enhances the flavor, meaning you can enjoy smaller portions without feeling deprived.
Gluten-free or dairy-free adaptations make these cookies accessible for various dietary needs, and you can control sweetness by adjusting sugar levels slightly. I always think of these cookies as a little joy in a busy day—comfort food that feels indulgent but is made from simple, real ingredients.
Conclusion
These Brown Butter Chocolate Chip Cookies with Soft Chewy Centers are truly a recipe worth keeping close. They’re simple enough for a rushed weeknight bake but special enough to impress friends and family. The brown butter lends a rich, comforting flavor that you just can’t get from ordinary cookies, and the texture hits that perfect soft-and-chewy spot every time.
Feel free to experiment with mix-ins or tweaks to make them your own—whether that means adding nuts, sea salt, or trying a gluten-free version. This recipe has been a lifesaver in my kitchen, bringing warmth and sweetness with minimal fuss.
If you’re interested in pairing your cookies with a festive drink, the sparkling New Year’s sangria is a delightful match for celebrations. I’d love to hear how you make these cookies your own, so don’t hesitate to share your adaptations in the comments below. Happy baking!
FAQs
Can I use salted butter instead of unsalted for this recipe?
Yes, but reduce the added salt to about ½ teaspoon to avoid over-salting the dough.
How do I know when the butter is properly browned?
Look for a golden-brown color with a nutty aroma and small brown flecks forming at the bottom of the pan. Don’t let it turn dark brown or black, or it will taste burnt.
Can I skip chilling the dough?
You can, but chilling helps control spread and improves flavor. If you’re in a hurry, just bake the dough right away and expect slightly thinner cookies.
What’s the best way to store leftover cookies?
Keep them in an airtight container at room temperature for up to 5 days. For longer storage, freeze the baked cookies or dough balls.
Can I substitute different types of chocolate?
Absolutely! Use milk, dark, white chocolate, or even peanut butter chips depending on your taste. Mixing types adds extra interest.
Pin This Recipe!
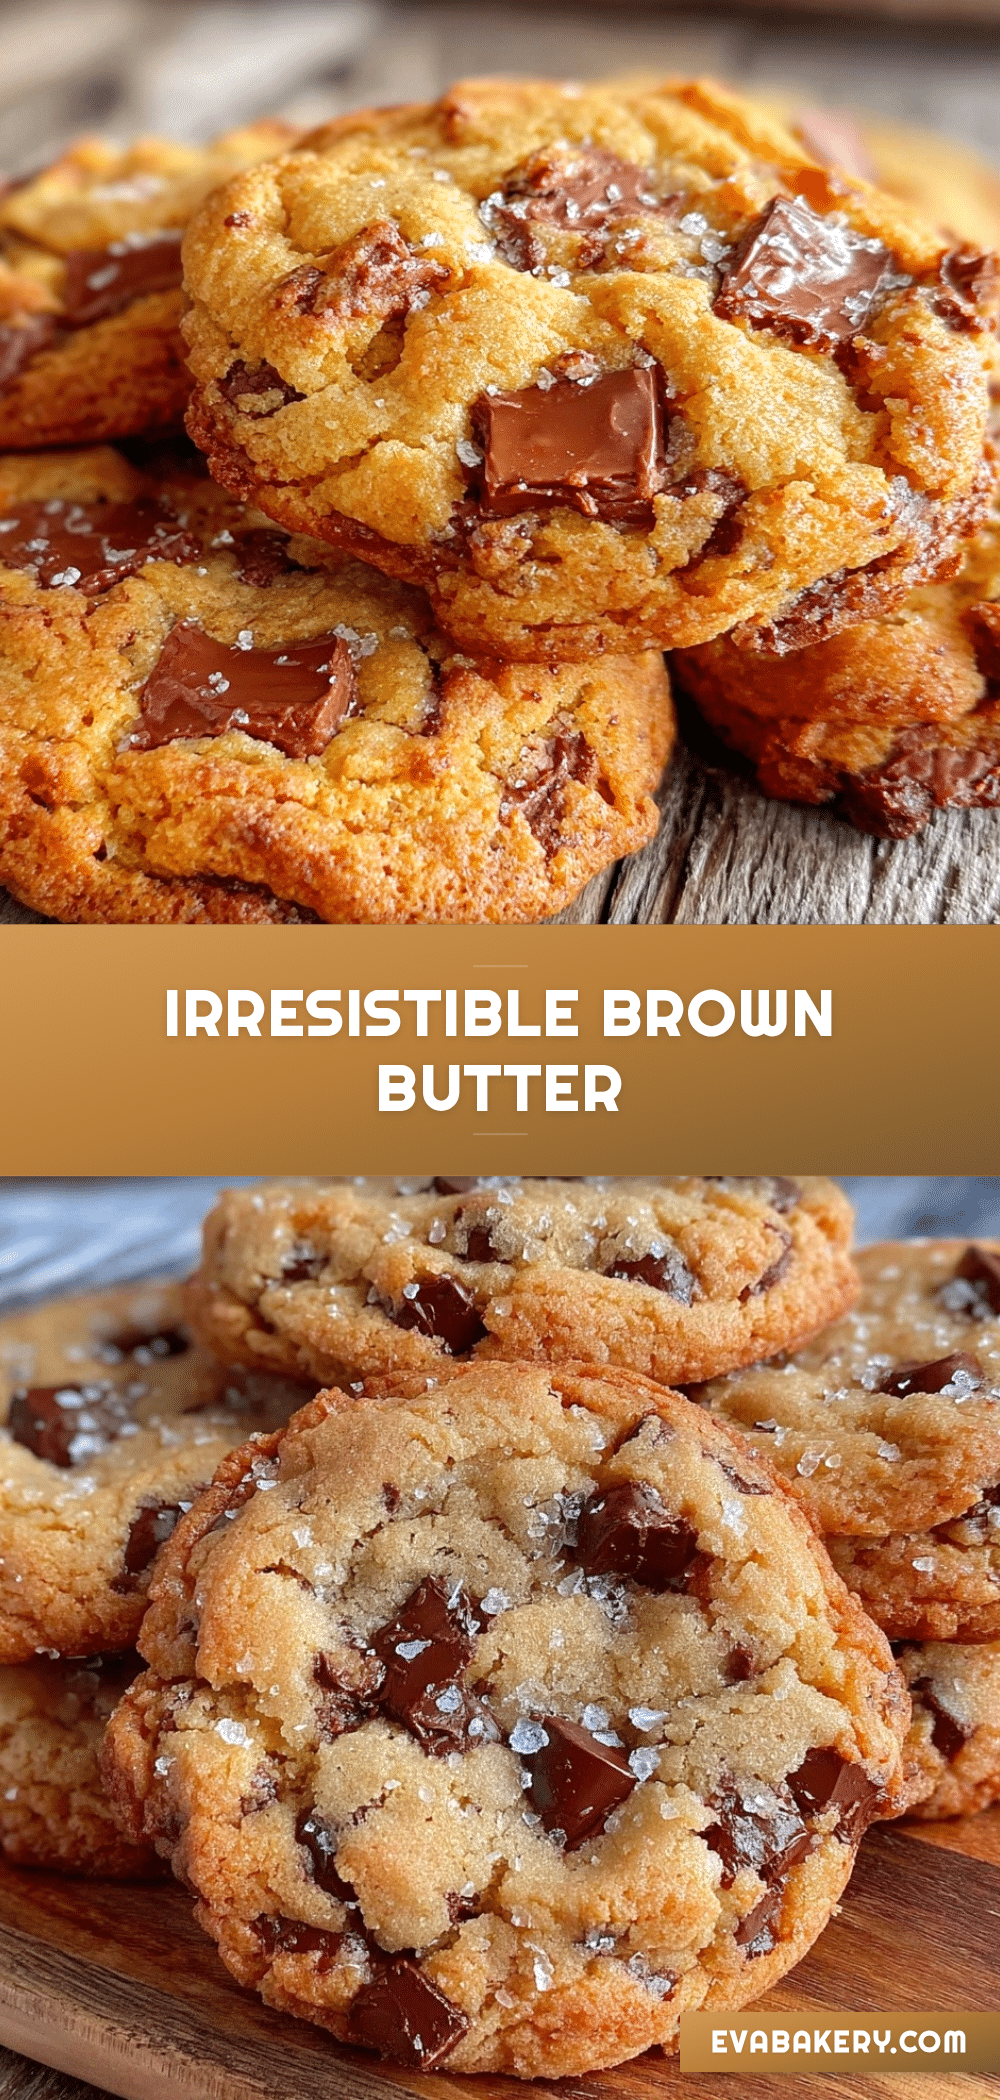
Brown Butter Chocolate Chip Cookies Recipe Easy Soft Chewy Centers

These Brown Butter Chocolate Chip Cookies feature a rich, nutty brown butter flavor with soft, chewy centers and slightly crisp edges, perfect for a quick and satisfying homemade treat.
- Prep Time: 15 minutes
- Cook Time: 12 minutes
- Total Time: 42 minutes
- Yield: 24 cookies 1x
- Category: Dessert
- Cuisine: American
Ingredients
- 1 cup (225g) unsalted butter, browned
- 3/4 cup (150g) granulated sugar
- 3/4 cup (165g) packed light brown sugar
- 2 large eggs, room temperature
- 1 1/2 teaspoons pure vanilla extract
- 2 1/2 cups (315g) all-purpose flour
- 1 teaspoon baking soda
- 1 teaspoon salt
- 2 cups (340g) chocolate chips or chunks (semi-sweet or mix of semi-sweet and dark)
Instructions
- Brown the butter: Place 1 cup (225g) of unsalted butter in a heavy-bottomed saucepan over medium heat. Stir constantly with a heatproof spatula or wooden spoon until the butter foams, turns golden brown with a nutty aroma (about 5-7 minutes). Remove from heat and transfer to a heatproof bowl to cool slightly (about 10 minutes).
- Mix sugars and browned butter: Whisk in 3/4 cup (150g) granulated sugar and 3/4 cup (165g) packed light brown sugar into the warm butter until smooth and creamy.
- Add eggs and vanilla: Beat in 2 large eggs, one at a time, followed by 1 1/2 teaspoons pure vanilla extract until the mixture is glossy and rich.
- Combine dry ingredients: In a separate bowl, sift together 2 1/2 cups (315g) all-purpose flour, 1 teaspoon baking soda, and 1 teaspoon salt.
- Incorporate dry into wet: Gradually add the dry ingredients to the wet mixture, mixing just until combined to avoid overmixing.
- Fold in chocolate chips: Gently fold in 2 cups (340g) chocolate chips or chunks evenly.
- Chill the dough (optional but recommended): Cover the bowl with plastic wrap and refrigerate for at least 30 minutes to control spread and enhance flavor.
- Preheat oven and prepare baking sheets: Preheat oven to 350°F (175°C). Line baking sheets with parchment paper or silicone mats.
- Scoop dough: Drop rounded balls of dough about 2 inches apart on the prepared baking sheets using a cookie scoop or tablespoon.
- Bake: Bake for 10-12 minutes, rotating pans halfway through if baking multiple sheets. Cookies should be golden around the edges but soft in the center.
- Cool: Let cookies cool on the baking sheet for 5 minutes before transferring to a cooling rack to finish cooling.
Notes
Use a light-colored pan to better monitor butter browning. Stir constantly to avoid burning. Chilling dough helps control spread and enhances flavor. Pull cookies from oven when edges are set but centers look slightly underdone; they will continue cooking on the hot sheet. For gluten-free, substitute flour with a 1:1 gluten-free blend including xanthan gum. For dairy-free, use browned coconut oil instead of butter but flavor will differ.
Nutrition
- Serving Size: 1 cookie
- Calories: 190
- Sugar: 16
- Sodium: 150
- Fat: 10
- Saturated Fat: 6
- Carbohydrates: 25
- Fiber: 1
- Protein: 2
Keywords: brown butter cookies, chocolate chip cookies, soft chewy cookies, easy cookie recipe, homemade cookies, quick dessert


