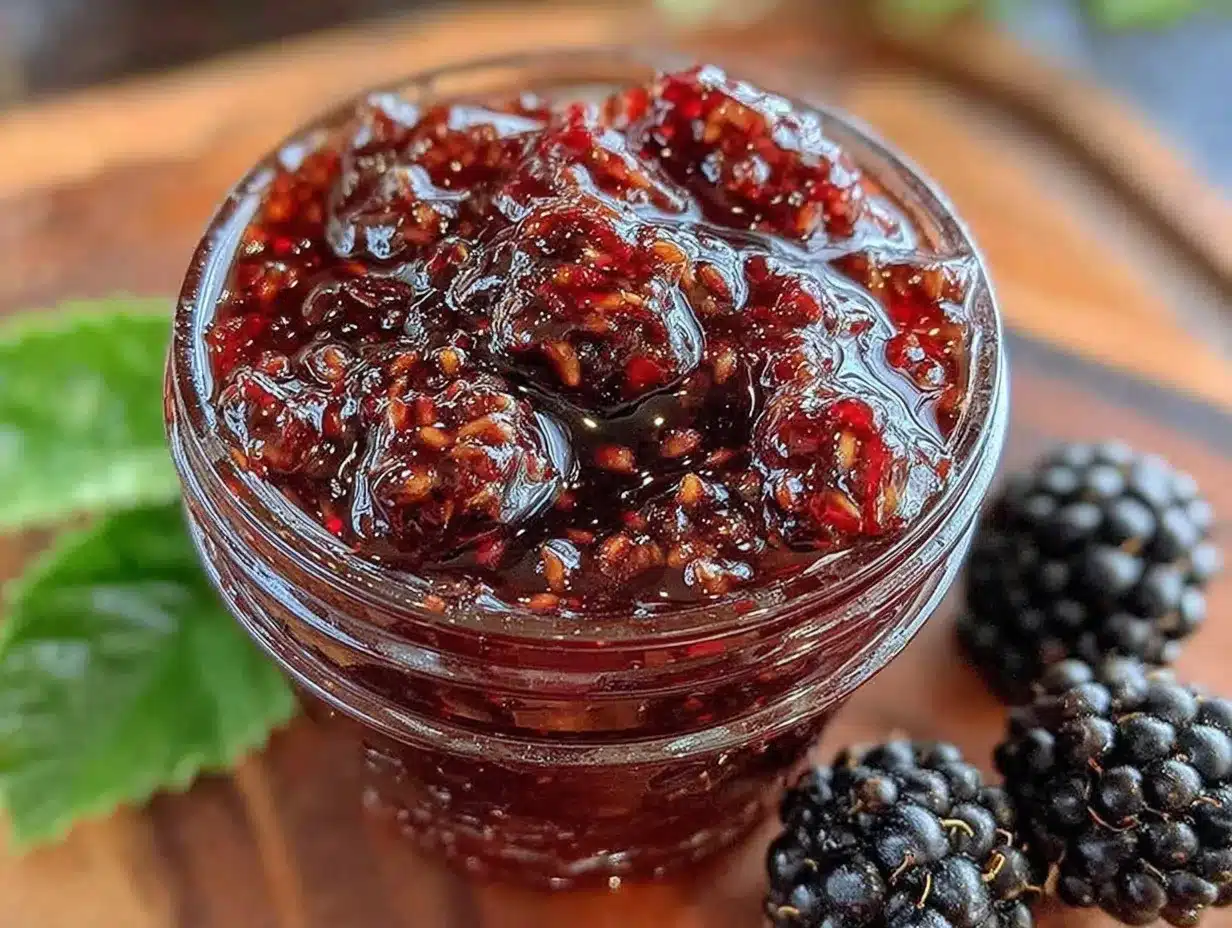
Let me tell you, the sweet, fruity aroma of mulberries simmering gently on the stove is enough to make anyone’s mouth water. There’s something about homemade old fashioned sweet mulberry jam that just wraps you up in a cozy, nostalgic hug. The first time I made this jam, I was knee-high to a grasshopper, helping my grandma pick berries in her backyard while the sun set lazily behind the hills. I was instantly hooked — the kind of moment where you pause, take a deep breath, and just smile because you know you’re onto something truly special.
Years ago, I stumbled upon this recipe tucked inside a weathered family cookbook, and honestly, I wish I’d discovered it sooner. It’s dangerously easy and delivers pure, nostalgic comfort with every spoonful. My family couldn’t stop sneaking dollops of this homemade old fashioned sweet mulberry jam off the counter while it cooled (and I can’t really blame them). Whether you’re looking to brighten up your Pinterest cookie board or want a sweet treat for your kids, this jam is perfect for any occasion.
After testing this recipe multiple times (in the name of research, of course), it has become a staple for family gatherings and gifting. Honestly, it feels like a warm hug in a jar, and you’re going to want to bookmark this one for sure.
Why You’ll Love This Recipe
This homemade old fashioned sweet mulberry jam is more than just a spread — it’s a little jar of joy crafted with love and tested to perfection. Here’s why it stands out:
- Quick & Easy: Comes together in under an hour, making it perfect for those busy weekends or last-minute jam cravings.
- Simple Ingredients: No fancy trips to specialty stores — just mulberries, sugar, lemon juice, and a hint of vanilla. Pantry staples that pack a punch.
- Perfect for Gifting: Great for holiday baskets, potlucks, or as a thoughtful homemade gift that shows you care.
- Crowd-Pleaser: Kids and adults alike rave about the sweet, balanced flavor and luscious texture.
- Unbelievably Delicious: The old fashioned method of slow cooking the mulberries preserves their natural sweetness, while the subtle vanilla adds a lovely twist.
This isn’t just another jam recipe floating around — it’s the best version I’ve found after tinkering with countless jams to get the perfect consistency and flavor. The secret? Slow simmering and a touch of lemon juice to brighten the sweetness. It’s comfort food reimagined — simple, soulful, and downright addictive. Whether you want to impress guests without stress or just savor a quiet morning with toast and a cup of coffee, this jam has got your back.
What Ingredients You Will Need
This recipe uses simple, wholesome ingredients to deliver bold flavor and satisfying texture without the fuss. Most are probably already sitting in your kitchen.
- Fresh Mulberries (about 4 cups / 600g) – ripe, firm, and washed. If you can’t find fresh, frozen mulberries work too, just thawed.
- Granulated Sugar (2 cups / 400g) – classic white sugar for that perfect sweet balance. I like Domino for consistent results.
- Fresh Lemon Juice (2 tablespoons) – brightens the jam and helps with natural preservation.
- Vanilla Extract (1 teaspoon) – adds warmth and depth to the flavor. Use pure vanilla extract if you can.
- Pectin (optional, 1 tablespoon) – if you prefer a thicker jam, pectin helps, but this recipe thickens beautifully without it.
- Water (1/4 cup / 60ml) – just a splash to help the berries start cooking evenly.
Note: For a dairy-free or vegan-friendly jam, this recipe is naturally suitable as it contains no animal products. If you want to play around, try swapping sugar with coconut sugar for a richer taste.
Equipment Needed
- Large Heavy-Bottomed Pot – essential for even heating and preventing the jam from scorching. A Dutch oven works wonders here.
- Wooden Spoon or Heat-Resistant Silicone Spatula – for stirring without scratching your pot.
- Fine Mesh Strainer or Food Mill (optional) – if you prefer seedless jam, this is your best friend.
- Glass Jars with Lids – sterilized for storing your jam. Mason jars are classic and reusable.
- Measuring Cups and Spoons – for precise ingredient amounts.
If you don’t have a food mill or strainer, no worries — the jam will be chunkier but just as delicious. For budget-friendly options, regular saucepans can substitute, but watch the heat carefully to avoid burning. I’ve personally tried using enamel pots and stainless steel ones, and both work fine as long as you stir often.
Preparation Method
- Prepare the Mulberries: Rinse about 4 cups (600g) of fresh mulberries gently under cold water to remove any dirt or stems. Drain well and set aside. (Tip: If using frozen berries, thaw completely before starting.) (5 minutes)
- Combine Ingredients: In a large heavy-bottomed pot, add the mulberries, 2 cups (400g) granulated sugar, 1/4 cup (60ml) water, and 2 tablespoons fresh lemon juice. Stir gently to combine. (2 minutes)
- Heat and Dissolve Sugar: Place the pot over medium heat and stir occasionally until the sugar dissolves completely and the mixture begins to bubble. You’ll notice the berries start to release their juice. (10 minutes)
- Simmer the Jam: Lower the heat slightly to maintain a gentle simmer. Cook uncovered, stirring frequently to prevent sticking, for about 30-40 minutes. The jam will thicken and reduce. (You’ll see it start to coat the back of your spoon.) Watch for foaming and skim if needed.
- Add Vanilla: Once the jam has thickened, stir in 1 teaspoon of pure vanilla extract. This step really brings out a warm, comforting depth in the flavor. (1 minute)
- Test for Doneness: To check if the jam is ready, place a small spoonful on a chilled plate and tilt it. If it wrinkles and doesn’t run, you’re good to go. If it’s still runny, simmer a bit longer and test again every 5 minutes.
- Optional Straining: For a smoother texture, press the jam through a fine mesh strainer or food mill to remove seeds. Otherwise, leave as is for that rustic, old fashioned charm.
- Jar the Jam: Pour the hot jam into sterilized glass jars, leaving about 1/4 inch headspace. Wipe rims clean, seal with lids, and let cool to room temperature. Store in the fridge or process in a water bath for longer shelf life. (10 minutes)
Pro tip: Stir often and keep the heat moderate to avoid burning. The first time I rushed this step, the jam scorched, and trust me — the smell sticks around! Patience here really pays off.
Cooking Tips & Techniques
Making homemade old fashioned sweet mulberry jam is straightforward, but a few tricks can make all the difference. Here’s what I’ve learned from trial and error:
- Use Fresh, Ripe Mulberries: The natural sweetness of ripe berries means less sugar is needed, and your jam tastes fresher.
- Don’t Rush the Simmering: Slow cooking allows water to evaporate and the jam to thicken naturally. Cranking the heat leads to uneven cooking or burnt bits.
- Stir Frequently: Mulberries can stick and burn quickly, so keep a close eye and stir often to keep everything moving.
- Test Consistency: The spoon test on a chilled plate is your best bet. Remember, jam thickens further as it cools.
- Skim Foam: Some foam may appear while cooking — remove it with a spoon for a clearer, prettier jam.
- Use Lemon Juice: This helps with natural pectin setting and balances the sweetness. Don’t skip it!
I once tried skipping the lemon juice and ended up with a jam that just wouldn’t set — lesson learned! Also, multitasking by prepping jars while the jam cooks saved me from the last-minute scramble.
Variations & Adaptations
Old fashioned jam recipes are wonderfully forgiving and adaptable. Here are some ideas to customize this mulberry jam recipe:
- Low-Sugar Version: Reduce sugar by up to 25% and add a tablespoon of chia seeds to help thicken naturally.
- Spiced Mulberry Jam: Add a cinnamon stick or a pinch of ground cardamom during simmering for a cozy twist.
- Mixed Berry Jam: Combine mulberries with blackberries or raspberries for a richer berry flavor and color.
- Vegan-Friendly Pectin Substitute: Use agar-agar powder instead of commercial pectin if you want a plant-based thickener.
Personally, I tried adding a splash of balsamic vinegar once for a tangy edge — it was surprisingly good! Adjust sweetness and spices to your taste, and feel free to experiment with other seasonal berries.
Serving & Storage Suggestions
This homemade old fashioned sweet mulberry jam is best served at room temperature on freshly toasted bread, warm scones, or swirled into yogurt. It also pairs beautifully with creamy cheeses like brie or cream cheese, making it a star on any cheese board.
Store your jam in sterilized glass jars in the refrigerator for up to 3 weeks. For longer storage, process sealed jars in a boiling water bath for 10 minutes and keep in a cool, dark place for up to a year.
To reheat, gently warm the jam in a small saucepan or microwave until it softens, stirring occasionally. Over time, the flavors develop and deepen, making the jam even more luscious after a few days in the fridge.
Nutritional Information & Benefits
A 1-tablespoon (20g) serving of this homemade old fashioned sweet mulberry jam contains approximately:
| Calories | 50 |
|---|---|
| Carbohydrates | 13g |
| Sugars | 12g |
| Fat | 0g |
| Protein | 0g |
Mulberries are rich in vitamin C, iron, and antioxidants, which support immune health and fight free radicals. This jam is naturally gluten-free and can be made low-carb by reducing sugar or using sugar substitutes. Just be mindful of allergies, especially to mulberries or vanilla.
From a wellness perspective, making your own jam means avoiding preservatives and artificial additives — a small but meaningful step towards cleaner eating.
Conclusion
If you’re craving a sweet, luscious jam that tastes like it came straight from Grandma’s kitchen, this homemade old fashioned sweet mulberry jam is your answer. It’s simple, honest, and full of heart — everything you want in a recipe you’ll keep coming back to. Customize it with your favorite spices or berries and make it your own. Honestly, I love this recipe because it’s like bottling up summer sunshine.
Give it a try, share your tweaks, and tell me how it turns out! Don’t forget to comment below, share with friends, and keep this little jar of happiness close at hand.
Frequently Asked Questions
Can I use frozen mulberries for this jam?
Yes! Just thaw them completely and drain excess juice before cooking. The jam may take a little longer to thicken.
Do I need to add pectin for this recipe?
Pectin is optional. The natural pectin in mulberries and lemon juice usually thickens the jam nicely, but adding pectin can help if you prefer a firmer set.
How long does homemade mulberry jam last?
Refrigerated, it lasts up to 3 weeks. Properly canned jars can last for a year when stored in a cool, dark place.
Can I make this jam without sugar?
You can reduce sugar or substitute with natural sweeteners, but sugar helps with preservation and texture. Adding chia seeds can help thicken low-sugar versions.
What’s the best way to sterilize jars?
Wash jars with hot soapy water, rinse well, and boil them in water for 10 minutes. Let them air dry on a clean towel before filling.
Pin This Recipe!
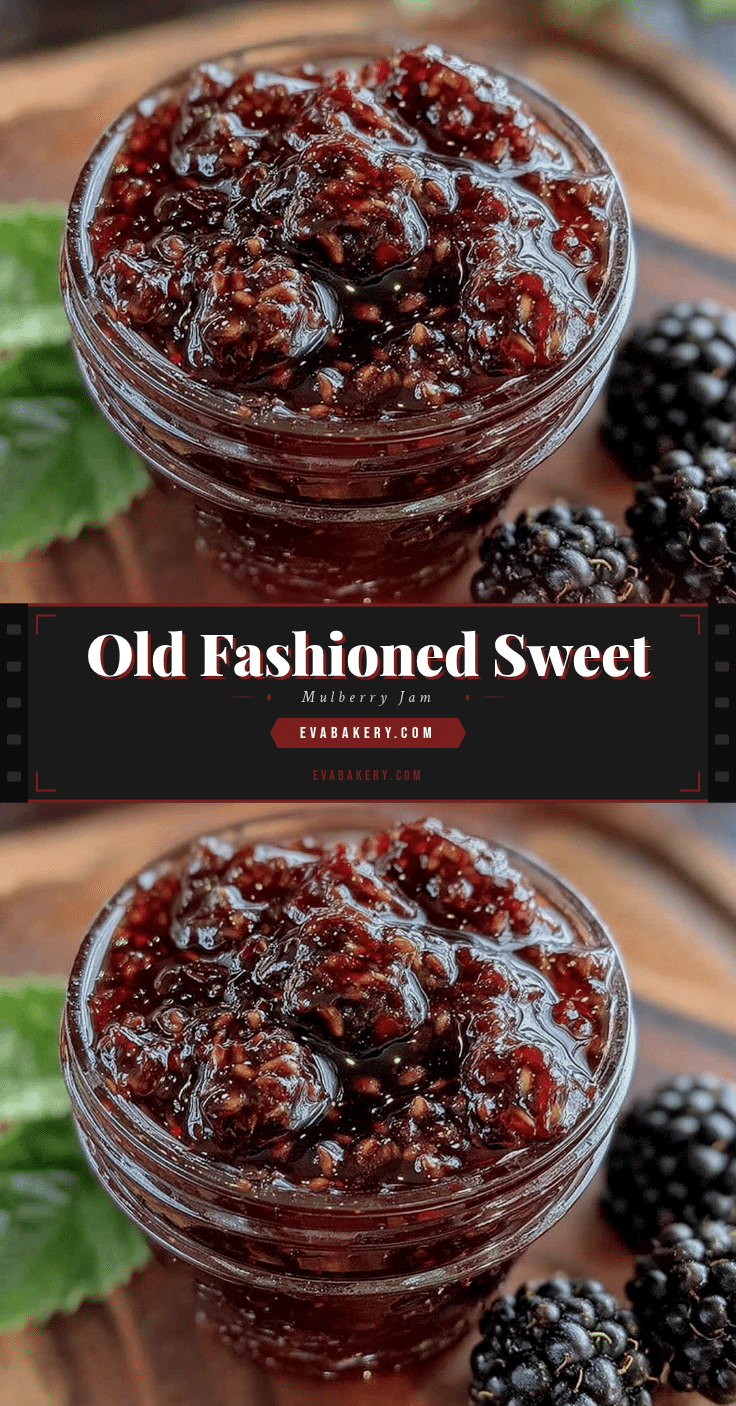
Homemade Old Fashioned Sweet Mulberry Jam
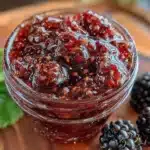
A nostalgic, easy-to-make mulberry jam recipe using simple ingredients and slow simmering for a luscious, sweet spread perfect for gifting or enjoying at home.
- Prep Time: 7 minutes
- Cook Time: 40 minutes
- Total Time: 47 minutes
- Yield: About 3 cups (approximately 12 servings of 1 tablespoon each) 1x
- Category: Preserves
- Cuisine: American
Ingredients
- 4 cups (600g) fresh mulberries, ripe and washed (or thawed frozen mulberries)
- 2 cups (400g) granulated sugar
- 2 tablespoons fresh lemon juice
- 1 teaspoon pure vanilla extract
- 1 tablespoon pectin (optional)
- 1/4 cup (60ml) water
Instructions
- Rinse about 4 cups (600g) of fresh mulberries gently under cold water to remove any dirt or stems. Drain well and set aside. If using frozen berries, thaw completely before starting.
- In a large heavy-bottomed pot, add the mulberries, 2 cups (400g) granulated sugar, 1/4 cup (60ml) water, and 2 tablespoons fresh lemon juice. Stir gently to combine.
- Place the pot over medium heat and stir occasionally until the sugar dissolves completely and the mixture begins to bubble, about 10 minutes.
- Lower the heat slightly to maintain a gentle simmer. Cook uncovered, stirring frequently to prevent sticking, for about 30-40 minutes until the jam thickens and coats the back of a spoon. Skim foam if needed.
- Stir in 1 teaspoon of pure vanilla extract and cook for another minute.
- Test for doneness by placing a small spoonful on a chilled plate; if it wrinkles and doesn’t run, the jam is ready. If still runny, simmer longer and test every 5 minutes.
- Optional: For a smoother texture, press the jam through a fine mesh strainer or food mill to remove seeds.
- Pour the hot jam into sterilized glass jars, leaving about 1/4 inch headspace. Wipe rims clean, seal with lids, and let cool to room temperature. Store in the fridge or process in a water bath for longer shelf life.
Notes
Stir often and keep heat moderate to avoid burning. Use fresh ripe mulberries for best natural sweetness. Lemon juice helps with natural pectin setting and balances sweetness. Skim foam during cooking for clearer jam. Pectin is optional. For seedless jam, strain before jarring. Store refrigerated up to 3 weeks or canned up to 1 year.
Nutrition
- Serving Size: 1 tablespoon (20g)
- Calories: 50
- Sugar: 12
- Carbohydrates: 13
Keywords: mulberry jam, homemade jam, old fashioned jam, sweet jam, fruit preserves, easy jam recipe, mulberries, jam recipe, slow simmer jam