The crackle. That’s what I was after. Not the taste at first, not even the sweetness—just that specific, satisfying sound when your teeth break through the thin shell of dried royal icing and hit the soft, dark cookie underneath. Honestly, I spent three batches chasing that exact noise. My kitchen looked like a crime scene dusted for fingerprints, except the powder was black cocoa and the fingerprints were mine. But when I finally bit into a leg—yes, a spider leg—and heard that perfect snap, I knew I had it. These Perfect Black Cocoa Spider Cookies aren’t just Halloween decorations you can eat. They’re a texture experience disguised as a baking project.
I remember the first time I tried making a version of these. I was rushing, using regular cocoa powder, and the cookies came out looking like sad, brown mud pies. Not exactly spooky. Then I discovered black cocoa powder—the same stuff that gives Oreos their dark color—and everything changed. The color goes from “eh, that’s kind of dark” to “did you just bake a void?” in one scoop. It’s dramatic in the best way. And the royal icing? That’s where the spiderweb crackle comes from. You pipe it on, let it dry, and when you bite in, the whole thing shatters like thin ice.
I’ve learned a few things the hard way so you don’t have to. Like how the dough needs to chill long enough that your fingers don’t leave prints, and how the icing has to be the exact right consistency—too thick and it looks lumpy, too thin and it runs off the cookie like a sad waterfall. These Perfect Black Cocoa Spider Cookies with Royal Icing are the result of trial, error, and way too much black powder on my counter. But they’re worth it. Trust me on this one.
Why You’ll Love This Recipe
I’ve tested this recipe six times. Six. My neighbors have been eating spider cookies for two weeks, and they’re not complaining. Here’s why this version beats every other Halloween cookie I’ve tried:
- Bold Black Color: Black cocoa powder gives you that deep, dramatic Oreo-like color without artificial food coloring. One bite and you’ll taste the difference.
- Perfect Crackle Texture: The royal icing dries hard and thin, creating that satisfying snap when you bite in. It’s not chewy—it’s crisp, and that’s the whole point.
- Simple Ingredients: You probably have most of these in your pantry. No weird stabilizers or hard-to-find extracts. Just butter, sugar, flour, and that magic black cocoa.
- Kid-Friendly Fun: My niece helped me pipe the spider legs on the last batch. She made some lopsided, and honestly, those were the cutest ones. Perfect for a Halloween baking session.
- Stays Fresh for Days: These cookies hold up well in an airtight container. The icing stays crackly, the cookie stays soft, and they taste just as good on day three as they do fresh.
- Crowd-Pleaser at Parties: I brought a plate to a Halloween get-together, and they disappeared before the punch bowl was even touched. People were asking for the recipe before they finished chewing.
What makes these different from other spider cookies? It’s the black cocoa. Regular cocoa just doesn’t give you that intense, dramatic color. And the royal icing technique—letting it dry fully before stacking or storing—is the secret to that crackle. I’ve tried shortcuts, and they don’t work. Trust the process, and you’ll get cookies that look like they came from a bakery display.
These aren’t just cookies. They’re the kind of treat that makes people stop mid-conversation and say, “Wait, you made those?” They’re impressive without being fussy, spooky without being scary, and delicious without being complicated. That’s my sweet spot.
What Ingredients You Will Need
This recipe uses straightforward ingredients, but a few key players make all the difference. Let me walk you through what you need and why each one matters.
For the Cookies:
- Unsalted butter, softened (1 cup / 226g) – I use unsalted so I control the salt level. Let it sit out for about an hour until it’s soft but not melty.
- Granulated sugar (1 cup / 200g) – Regular white sugar gives the cookies structure and sweetness. No need for anything fancy.
- Large egg (1, room temperature) – Room temperature eggs incorporate better into the butter-sugar mixture. Take it out of the fridge 30 minutes before starting.
- Vanilla extract (1 teaspoon) – Pure vanilla is best, but imitation works in a pinch. Adds warmth to the deep cocoa flavor.
- All-purpose flour (1 ¾ cups / 220g) – Spoon and level your flour—don’t scoop directly from the bag or you’ll pack in too much and get dry cookies.
- Black cocoa powder (½ cup / 50g) – This is the star. Regular cocoa won’t give you that dark, Oreo-like color. I recommend Rodelle or King Arthur brands for the deepest color. It’s a bit more expensive, but worth it for the drama.
- Baking powder (½ teaspoon) – Helps the cookies spread just enough without puffing up too much.
- Salt (¼ teaspoon) – Balances the sweetness and enhances the chocolate flavor.
For the Royal Icing:
- Powdered sugar (2 cups / 240g) – Sift it first to avoid lumps. Trust me, nobody wants lumpy spider legs.
- Meringue powder (2 tablespoons) – This stabilizes the icing and helps it dry hard. You can find it in the baking aisle or online. (adds that perfect crackle texture)
- Water (3-4 tablespoons) – Add slowly. You want a consistency that’s thick enough to hold its shape but thin enough to pipe smoothly.
- Black gel food coloring (optional) – The icing will be pale without it, so I add a tiny drop for extra darkness. Wilton brand works great.
- Candy eyeballs (24-30, for decoration) – These are optional but make the spiders come alive. Find them at craft stores or online.
Ingredient Tips from My Kitchen: I’ve tried this with Dutch-process cocoa, and while it’s better than natural cocoa, it still doesn’t match the black cocoa’s color payoff. If you can only find Dutch-process, add an extra tablespoon and your cookies will be dark gray instead of black—still spooky, just less dramatic. For the meringue powder, I’ve used Wilton for years and never had a problem. If you’re vegan, aquafaba (chickpea water) can replace the meringue powder, but the texture will be slightly softer.
Equipment Needed
You don’t need a professional bakery setup for these, but a few tools make the process smoother. Here’s what I use:
- Stand mixer or hand mixer – A stand mixer with paddle attachment is easiest for creaming butter and sugar, but a hand mixer works fine too. I’ve made these with both.
- Mixing bowls – One large bowl for the dough, one medium bowl for dry ingredients, and one small bowl for icing.
- Whisk – For combining dry ingredients evenly.
- Rubber spatula – For scraping down the bowl and folding in flour without overmixing.
- Baking sheets – Two standard half-sheet pans work well. Line them with parchment paper or silicone baking mats.
- Parchment paper or silicone baking mats – Parchment is cheaper and disposable; silicone mats are reusable and non-stick. Both work.
- Cooling rack – Essential for letting cookies cool evenly before icing. A wire rack is best.
- Piping bags or zip-top bags – For the royal icing. I use disposable piping bags with a small round tip (Wilton #2 or #3), but a zip-top bag with a tiny corner snipped off works perfectly for home bakers.
- Small offset spatula – Helpful for spreading icing if you want a smooth finish, but not necessary.
- Plastic wrap – For chilling the dough.
- Measuring cups and spoons – Accurate measurements matter in baking. Use the spoon-and-level method for flour.
Budget-Friendly Tip: If you don’t have piping tips, just snip a tiny corner off a zip-top bag. I did that for years before I invested in proper tips. Works like a charm.
Preparation Method
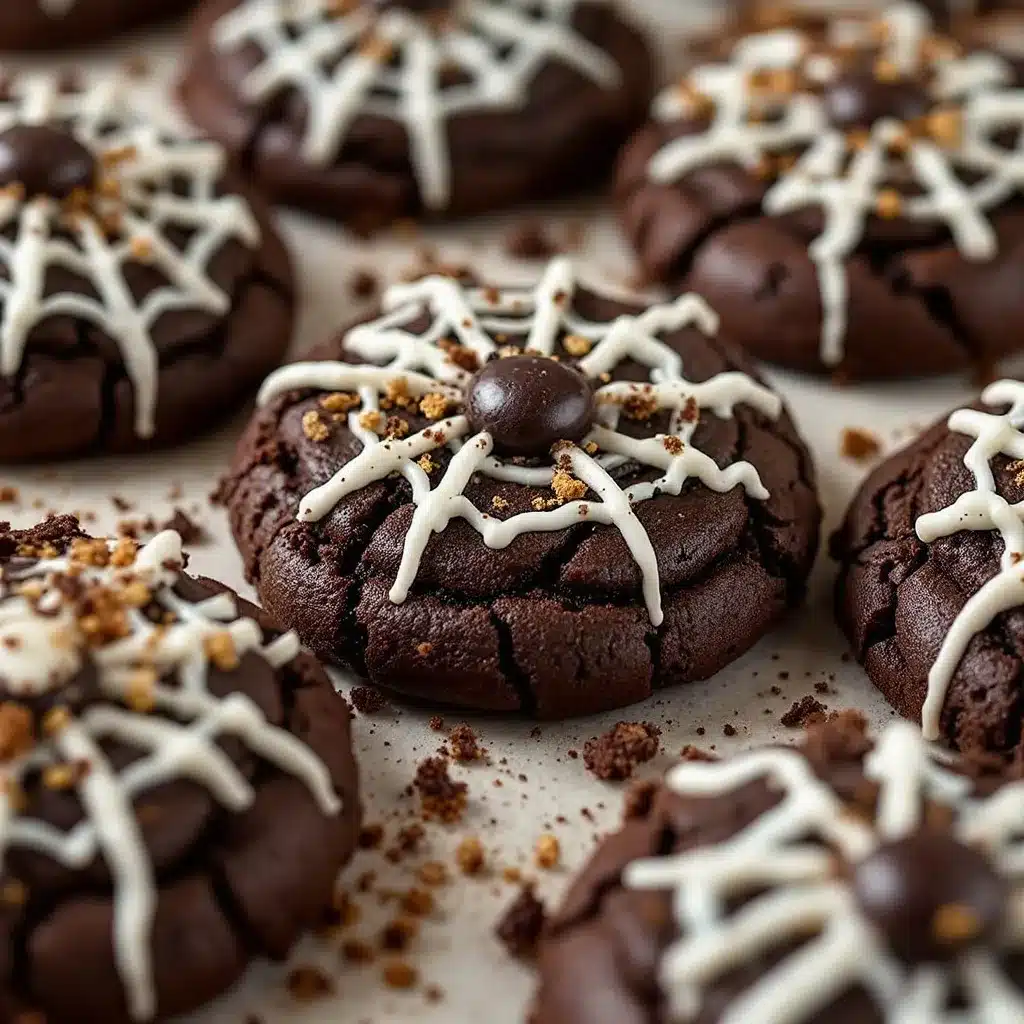
Let’s get baking. I’ll walk you through each step with the details I wish someone had told me the first time.
Step 1: Cream the Butter and Sugar (5 minutes)
In your mixing bowl, beat the softened butter and granulated sugar together on medium speed until light and fluffy, about 3-4 minutes. Scrape down the sides of the bowl halfway through. You want the mixture to look pale and airy—this incorporates air that helps the cookies spread nicely.
Step 2: Add Egg and Vanilla (2 minutes)
Add the room-temperature egg and vanilla extract. Beat on medium speed until fully combined, about 1 minute. The mixture might look slightly curdled at this point—that’s normal, especially if your egg was a little cold. Don’t panic.
Step 3: Combine Dry Ingredients (2 minutes)
In a separate bowl, whisk together the all-purpose flour, black cocoa powder, baking powder, and salt. Whisking ensures everything is evenly distributed. I’ve skipped this step before and ended up with a pocket of baking powder in one cookie—not fun.
Step 4: Mix Dry into Wet (3 minutes)
Add the dry ingredients to the wet mixture in two additions, mixing on low speed after each until just combined. Scrape down the bowl between additions. Stop as soon as the flour disappears—overmixing develops gluten and makes tough cookies. The dough will look very dark and slightly sticky.
Step 5: Chill the Dough (1 hour minimum)
Wrap the dough in plastic wrap and flatten it into a disc. Refrigerate for at least 1 hour, or up to 3 days. Chilling is crucial—it firms up the butter so the cookies don’t spread into flat puddles in the oven. I once skipped this step and ended up with cookies that looked like dark pancakes. Learn from my mistake.
Step 6: Preheat and Prep (10 minutes)
Preheat your oven to 350°F (175°C). Line two baking sheets with parchment paper or silicone mats.
Step 7: Shape the Cookies (10 minutes)
Scoop tablespoons of dough (about 1.5 tablespoons each) and roll them into balls. Place them 2 inches apart on the prepared baking sheets. Flatten each ball slightly with the palm of your hand—they should be about ½ inch thick. If the dough is too sticky to handle, chill it for another 15 minutes.
Step 8: Bake (10-12 minutes)
Bake one sheet at a time in the center rack. The cookies will look puffed and slightly cracked on top when done. They should be set around the edges but still soft in the center. Don’t overbake—they continue cooking on the hot sheet after you pull them out. Let them cool on the baking sheet for 5 minutes, then transfer to a wire rack to cool completely. (Your kitchen will smell incredible at this point.)
Step 9: Make the Royal Icing (5 minutes)
While the cookies cool, make the icing. In a medium bowl, whisk together the powdered sugar and meringue powder. Add 3 tablespoons of water and whisk until smooth. The icing should be thick but flow slightly—think honey consistency. If it’s too thick, add water a teaspoon at a time. If too thin, add more powdered sugar. Add a tiny drop of black gel food coloring if you want darker icing. Transfer to a piping bag or zip-top bag.
Step 10: Decorate the Spiders (15-20 minutes)
Once cookies are completely cool, pipe eight spider legs on each cookie—four on each side, curving outward. Pipe a small circle in the center for the body. Place two candy eyeballs on the wet icing. Let the icing dry completely, about 2-3 hours at room temperature. Don’t rush this—stacking them too early smudges the legs.
Cooking Tips & Techniques
I’ve made every mistake in the book so you don’t have to. Here’s what I’ve learned:
Don’t Overmix the Dough. I know I said it before, but it’s worth repeating. Overmixing develops gluten, and gluten makes cookies tough. Mix until the flour just disappears, then stop. Your cookies will be tender and soft.
Chill the Dough Thoroughly. This is non-negotiable. Warm dough spreads too much in the oven, and your spiders will look more like blobs than cookies. I chill mine for at least 2 hours if I have the time. Overnight is even better—the flavors develop more.
Use a Light Hand with the Icing. Royal icing should be thin enough to pipe but thick enough to hold its shape. If it’s too runny, the legs will spread into puddles. If it’s too thick, you’ll get lumpy lines. Test a small squirt on a piece of parchment paper before piping on the cookies. Adjust as needed.
Let the Icing Dry Completely. This is where patience pays off. If you stack the cookies before the icing is fully dry, the legs will smudge and the eyeballs will slide off. I leave mine out overnight. In a pinch, 2-3 hours works if the room isn’t humid.
Work in Batches. Don’t try to decorate all 24 cookies at once. Pipe legs on 6 cookies, add eyeballs, then move to the next batch. The icing sets faster when you work in smaller groups.
My Biggest Failure: The first time I made these, I used regular cocoa powder and the cookies came out brown. I was so disappointed. Then I tried black cocoa and it was like night and day—literally. The color went from “mud” to “midnight.” Don’t skip the black cocoa. It’s the whole point.
Variations & Adaptations
Once you’ve mastered the basic recipe, here are some fun ways to switch it up:
- Gluten-Free Version: Swap the all-purpose flour with a 1:1 gluten-free baking blend. I’ve used Bob’s Red Mill with good results. The texture will be slightly more crumbly, but the flavor stays the same.
- Vegan Adaptation: Use vegan butter (I like Miyoko’s) and replace the egg with a flax egg (1 tablespoon ground flaxseed + 3 tablespoons water, let sit for 5 minutes). For the icing, use aquafaba instead of meringue powder—3 tablespoons of chickpea water whisked until frothy, then add powdered sugar.
- Peanut Butter Spider Cookies: Add ¼ cup of creamy peanut butter to the dough along with the butter. The peanut butter flavor pairs beautifully with the dark cocoa. Just reduce the butter by 2 tablespoons to keep the texture right.
- Mint Chocolate Spiders: Add ½ teaspoon of peppermint extract to the dough instead of vanilla. The cool mint with the dark cocoa is a classic combination—think Thin Mints, but homemade and spooky.
- Spiced Halloween Cookies: Add 1 teaspoon of pumpkin pie spice to the dry ingredients. The warm spices contrast nicely with the dark cocoa and give the cookies a fall twist. I tried this last October and it was a hit.
My Personal Favorite Variation: I made a batch with a pinch of cayenne pepper in the dough—just enough to add a tiny kick at the end. The heat sneaks up on you after the sweetness fades. My friends called them “spicy spiders” and ate the whole plate in one sitting.
Serving & Storage Suggestions
These cookies are best when the icing is fully dry and the cookie is still soft. Here’s how to serve and store them:
Serving Temperature: Room temperature is ideal. The cookie stays soft and the icing stays crackly. If you’ve refrigerated them, let them sit out for 15-20 minutes before serving. They pair beautifully with a cold glass of milk or a warm mug of coffee. For a Halloween party, arrange them on a black or orange platter with some fake spiderwebs for effect.
Complementary Dishes: These cookies are perfect on a Halloween dessert table next to black and gold macarons for an elegant spooky spread. They also go great with a refreshing champagne punch for an adult Halloween gathering. For a non-alcoholic option, try them with apple cider or hot chocolate.
Storage Instructions: Store the cookies in an airtight container at room temperature for up to 5 days. Layer them between sheets of parchment paper to prevent the icing from sticking. Do not refrigerate—the moisture in the fridge can soften the royal icing and make it tacky.
Freezer Instructions: You can freeze the baked, undecorated cookies for up to 3 months. Wrap them tightly in plastic wrap and place in a freezer-safe bag. Thaw at room temperature, then decorate with fresh royal icing. The icing doesn’t freeze well, so always add it after thawing.
Flavor Development: Honestly, these cookies taste even better on day two. The black cocoa flavor deepens as it sits, and the texture of the cookie softens slightly while the icing stays crisp. If you can resist eating them all on day one, you’ll be rewarded on day two.
Nutritional Information & Benefits
Let’s be real—these are cookies, not health food. But here’s what you’re getting per cookie (based on 24 servings):
- Calories: Approximately 150 per cookie
- Fat: 8g (mostly from butter, which adds richness)
- Carbohydrates: 20g (sugar and flour, the usual suspects)
- Protein: 2g (from the egg and flour)
- Fiber: 1g (from the black cocoa powder)
- Sugar: 12g (includes both granulated sugar and powdered sugar in the icing)
Health Highlights: Black cocoa powder is rich in antioxidants called flavonoids, which are linked to heart health and reduced inflammation. It also contains less fat than regular cocoa powder, so these cookies are slightly lighter than traditional chocolate cookies. Plus, the meringue powder in the icing adds a small amount of protein—every little bit counts, right?
Dietary Considerations: This recipe contains dairy (butter), eggs, and gluten (flour). For a dairy-free version, use vegan butter. For egg-free, use a flax egg. For gluten-free, use a 1:1 gluten-free flour blend. The royal icing is naturally dairy-free and egg-free if you use meringue powder (which is made from dried egg whites).
My Wellness Perspective: I believe in balance. These cookies are a treat for special occasions, not an everyday snack. Enjoy them mindfully, share them with people you love, and don’t stress about the sugar content. Life’s too short for guilt—especially when there are spider cookies involved.
Conclusion
These Perfect Black Cocoa Spider Cookies with Royal Icing are everything I want in a Halloween treat—dramatic, delicious, and just a little bit spooky. The black cocoa gives them that deep, mysterious color that makes people do a double-take, and the royal icing crackles with every bite. They’re fun to make, even more fun to decorate, and absolutely irresistible once they’re done.
I hope you give these a try and make them your own. Maybe you’ll add extra eyeballs, or pipe on some spiderwebs, or experiment with different flavor variations. That’s the beauty of baking—you can always tweak and adjust until it feels like yours. If you make these, I’d love to hear about it. Drop a comment below, share a photo, or tag me in your Halloween baking adventures. Nothing makes me happier than seeing someone else fall in love with a recipe I’ve worked so hard to perfect.
Go forth and bake some spiders. Your kitchen is about to get wonderfully weird.
Frequently Asked Questions
Can I make these cookies ahead of time?
Yes! You can bake the cookies up to 3 days ahead and store them in an airtight container. Decorate them with royal icing the day you plan to serve them for the best texture and appearance.
Why are my cookies spreading too much?
Your dough likely wasn’t chilled enough. Make sure to refrigerate it for at least 1 hour, or up to overnight. If the dough feels sticky when you shape it, pop it back in the fridge for 15 minutes.
Can I use regular cocoa powder instead of black cocoa?
You can, but your cookies will be dark brown instead of black. The flavor will also be less intense and slightly more bitter. If you want that deep Oreo-like color and taste, black cocoa is worth the investment.
How do I get the royal icing to dry faster?
Keep the cookies in a dry, well-ventilated area. Humidity is the enemy of royal icing. You can also use a fan on low speed nearby to circulate air, but don’t point it directly at the cookies or the icing might crack.
Can I freeze the decorated cookies?
I don’t recommend it. The royal icing can become sticky or lose its crackle when thawed. Instead, freeze the undecorated cookies and add fresh icing after they’ve thawed at room temperature.
Pin This Recipe!
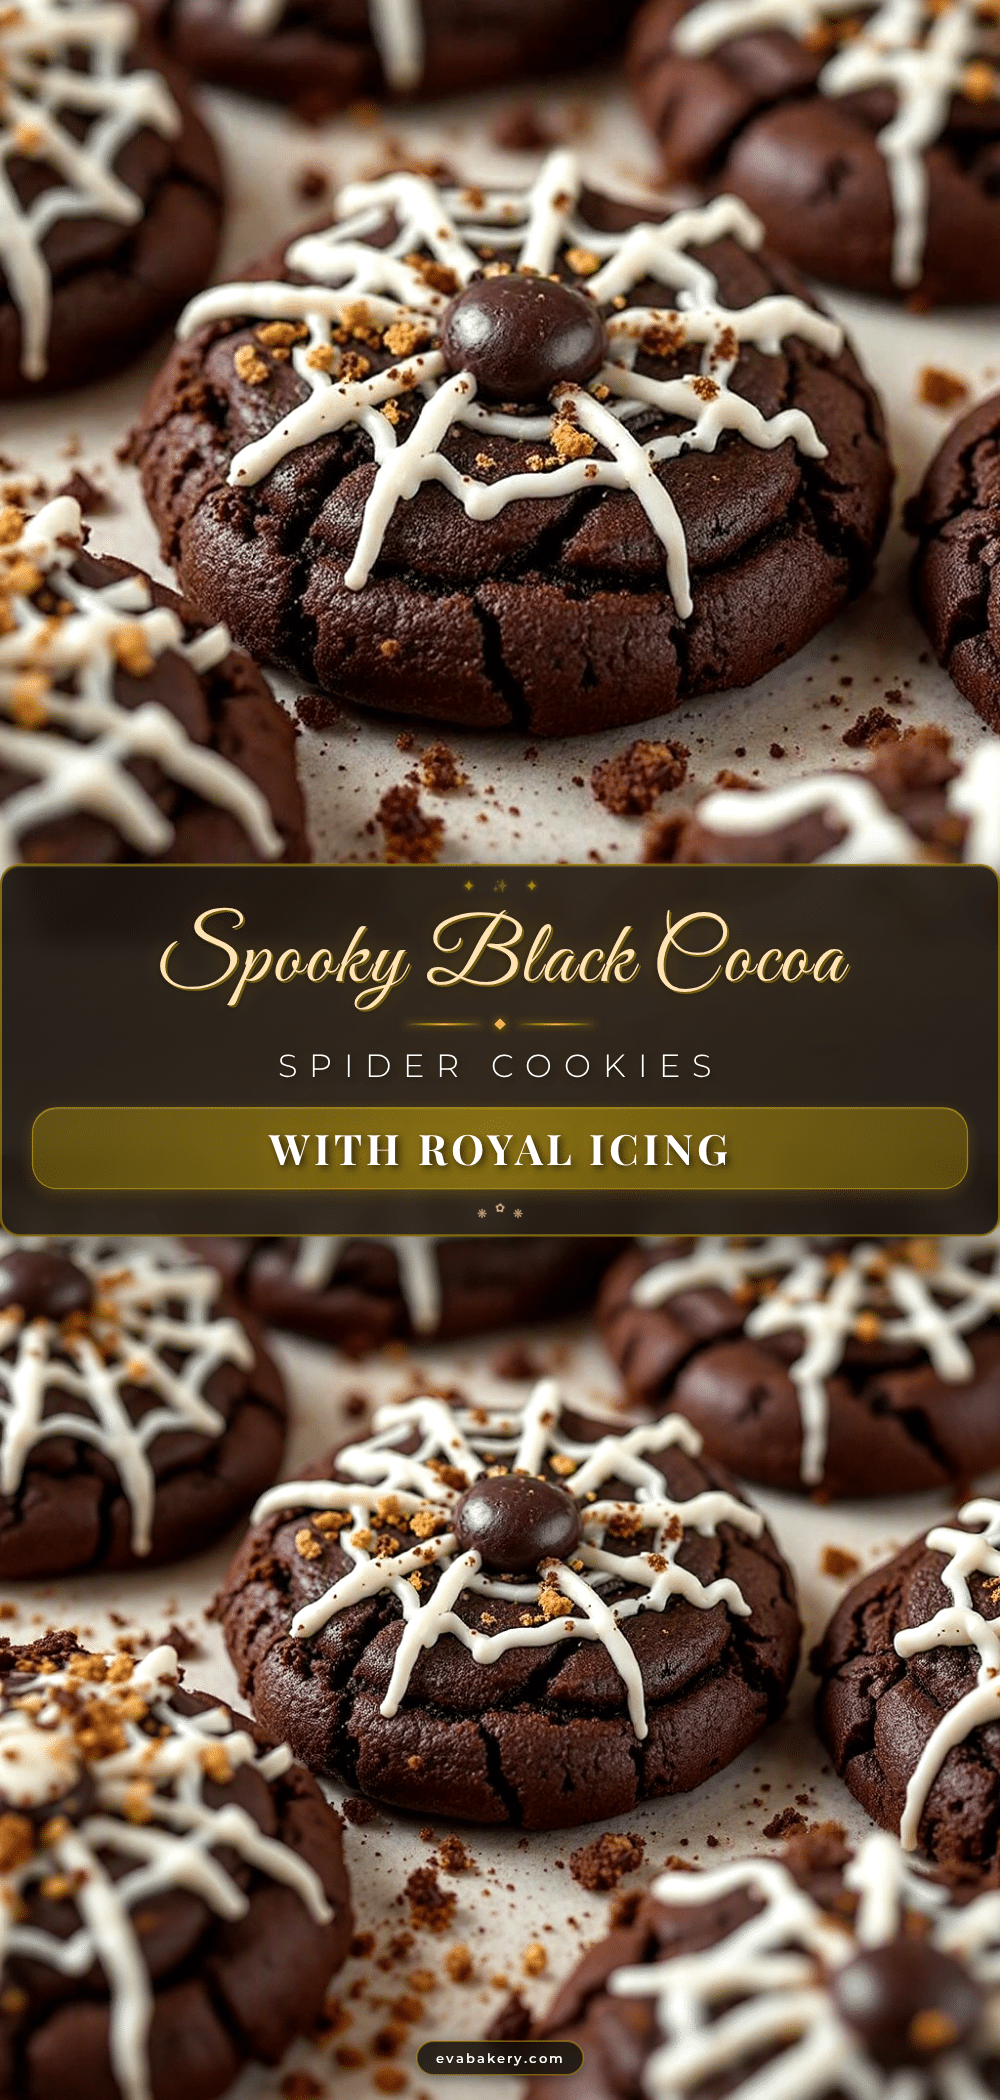
Perfect Black Cocoa Spider Cookies Easy Halloween Recipe

These Perfect Black Cocoa Spider Cookies with Royal Icing are a dramatic Halloween treat featuring deep black cocoa cookies topped with crackly royal icing spider legs and candy eyeballs. They offer a satisfying snap when bitten into, combining a soft cookie interior with a crisp icing shell.
- Prep Time: 1 hour 30 minutes
- Cook Time: 12 minutes
- Total Time: 2 hours 42 minutes
- Yield: 24 servings 1x
- Category: Dessert
- Cuisine: American
Ingredients
- 1 cup (226g) unsalted butter, softened
- 1 cup (200g) granulated sugar
- 1 large egg, room temperature
- 1 teaspoon vanilla extract
- 1 ¾ cups (220g) all-purpose flour
- ½ cup (50g) black cocoa powder
- ½ teaspoon baking powder
- ¼ teaspoon salt
- 2 cups (240g) powdered sugar
- 2 tablespoons meringue powder
- 3–4 tablespoons water
- Black gel food coloring (optional)
- 24–30 candy eyeballs
Instructions
- Cream the butter and sugar: In a mixing bowl, beat softened butter and granulated sugar on medium speed until light and fluffy, about 3-4 minutes. Scrape down the sides halfway through.
- Add egg and vanilla: Add room-temperature egg and vanilla extract. Beat on medium speed until fully combined, about 1 minute.
- Combine dry ingredients: In a separate bowl, whisk together flour, black cocoa powder, baking powder, and salt.
- Mix dry into wet: Add dry ingredients to wet mixture in two additions, mixing on low speed after each until just combined. Scrape down the bowl between additions. Do not overmix.
- Chill the dough: Wrap dough in plastic wrap and flatten into a disc. Refrigerate for at least 1 hour, or up to 3 days.
- Preheat and prep: Preheat oven to 350°F (175°C). Line two baking sheets with parchment paper or silicone mats.
- Shape the cookies: Scoop tablespoons of dough (about 1.5 tablespoons each) and roll into balls. Place 2 inches apart on prepared sheets. Flatten each ball slightly to about ½ inch thick.
- Bake: Bake one sheet at a time in the center rack for 10-12 minutes. Cookies should look puffed and slightly cracked on top. Cool on baking sheet for 5 minutes, then transfer to a wire rack to cool completely.
- Make the royal icing: In a medium bowl, whisk together powdered sugar and meringue powder. Add 3 tablespoons water and whisk until smooth. Adjust consistency with additional water or powdered sugar as needed. Add a tiny drop of black gel food coloring if desired. Transfer to a piping bag or zip-top bag.
- Decorate the spiders: Once cookies are completely cool, pipe eight spider legs on each cookie (four on each side, curving outward). Pipe a small circle in the center for the body. Place two candy eyeballs on the wet icing. Let icing dry completely, about 2-3 hours at room temperature.
Notes
Chill dough thoroughly to prevent spreading. Use black cocoa powder for deep color. Let royal icing dry completely before stacking. Cookies taste even better on day two.
Nutrition
- Serving Size: 1 cookie
- Calories: 150
- Sugar: 12
- Sodium: 60
- Fat: 8
- Saturated Fat: 5
- Carbohydrates: 20
- Fiber: 1
- Protein: 2
Keywords: spider cookies, black cocoa cookies, Halloween cookies, royal icing cookies, Oreo-like cookies, spooky cookies, easy Halloween recipe


