Pulling a baking sheet out of the oven when the butter had already started smoking, realizing I’d forgotten to set a timer. That was the moment these cookies were born—not from careful planning, but from a distracted afternoon and a desperate need for something sweet before guests arrived in thirty minutes. The kitchen smelled like toasted nuts and caramel, and honestly, I almost cried thinking I’d ruined another batch.
But then I tasted the dough. Something had happened to that butter. It wasn’t burnt—it was transformed. Nutty, rich, almost like liquid gold that had been hiding in a stick of dairy all along. I scooped the dough onto the sheet, crossed my fingers, and hoped for the best. What came out of that oven was the best chewy brown butter chocolate chip cookies I’d ever made, even if I stumbled into them by accident.
That was three years ago, and I haven’t made regular chocolate chip cookies since. The brown butter does something you can’t fake—it adds depth without effort, flavor without extra ingredients. These cookies stay soft in the middle, crispy at the edges, and they keep that perfect chew for days. If you’ve never browned butter before, you’re in for a treat. And if you have, well—you already know why you’re here.
Why You’ll Love This Recipe
I’ve tested this recipe more times than I care to admit. Twelve batches in one weekend kind of testing. My neighbors started leaving notes asking if everything was okay. But I needed to get it right—the perfect balance of chewy center, crispy edge, and that deep, nutty brown butter flavor that makes you close your eyes after the first bite.
- Simple Ingredients – You probably have everything except maybe the brown butter part. No weird flours or specialty extracts here.
- Quick & Easy – From start to warm cookies in about 30 minutes. The dough needs a quick chill, but nothing crazy.
- Perfect for Entertaining – These disappear fast at parties. I’ve brought them to potlucks and watched people hover near the plate. They pair beautifully with a refreshing champagne punch for a dessert spread that feels fancy without the stress.
- Crowd-Pleaser – Kids love them. Adults love them. Even my aunt who “doesn’t really do sweets” ate three.
- Unbelievably Delicious – The brown butter adds a toffee-like richness that regular cookies just can’t match. It’s the kind of cookie that makes people ask for the recipe before they finish the first one.
What makes these different from every other chocolate chip cookie recipe? It’s the technique. Browning the butter isn’t just a flavor trick—it changes the moisture content, which affects how the cookies spread and set. Combined with the right ratio of brown to white sugar, you get that chewy texture without any weird ingredients like corn syrup or bread flour. This isn’t just another version. It’s the one you’ll come back to.
What Ingredients You Will Need
This recipe uses simple, pantry-friendly ingredients, but the magic happens in how you prepare them. Each one plays a specific role in creating that chewy texture and deep flavor profile.
- Unsalted butter, 1 cup (2 sticks) – You’ll brown this, so don’t skip it. I prefer Kerrygold or Plugrà for their higher butterfat content, which browns more evenly. Salted butter works in a pinch, just reduce the added salt slightly.
- Dark brown sugar, 1 cup (packed) – This is non-negotiable for chewiness. The molasses content in dark brown sugar adds moisture and that caramel undertone. Light brown sugar works, but the texture won’t be as soft.
- Granulated sugar, ½ cup – Helps with spreading and gives those crispy edges. Don’t skip it even if you want extra chew—you need both sugars.
- Large eggs, 2 (room temperature) – Cold eggs will seize the brown butter and mess up your emulsion. Leave them on the counter for 30 minutes or float them in warm water for 5 minutes.
- Vanilla extract, 2 teaspoons – Use real vanilla if you can. The brown butter amplifies vanilla flavor, so fake stuff tastes noticeably flat here.
- All-purpose flour, 2 ¼ cups – Spoon and level your flour. Scooping directly from the bag packs in too much and makes dense cookies.
- Baking soda, 1 teaspoon – Helps with spread and browning. Make sure it’s fresh—test it by dropping a pinch in vinegar; it should fizz.
- Salt, 1 teaspoon – I use flaky sea salt for the dough and extra for sprinkling on top. Kosher salt works fine too.
- Semi-sweet chocolate chips, 2 cups – I prefer Guittard or Ghirardelli. Chop a bar of dark chocolate and mix it with chips for texture variation. The irregular shards melt into pools that make each bite different.
For the best results, use high-quality chocolate. Cheap chips have stabilizers that prevent proper melting. Trust me on this—I learned the hard way after a batch of cookies with waxy, unmelted chocolate spots. Not cute.
Equipment Needed
- Medium saucepan – Light-colored is best so you can see the butter change color. Dark pans make it hard to judge doneness.
- Large mixing bowl – For the wet ingredients. Glass or stainless steel works best.
- Whisk – For combining the wet ingredients and sugar.
- Rubber spatula – For folding in the flour and chocolate. A wooden spoon works too, but the spatula gets every bit of dough.
- Baking sheets – Rimmed sheets prevent butter from dripping. I use Nordic Ware aluminum sheets—they conduct heat evenly and don’t warp.
- Parchment paper or silicone baking mat – Parchment is cheaper and gives crisper bottoms. Silicone mats produce slightly softer cookies.
- Cookie scoop (1.5 tablespoon size) – For uniform cookies. A spoon works but your bake times will vary between cookies.
- Cooling rack – Essential for stopping the carry-over cooking. Don’t skip this or your cookies will overbake on the hot sheet.
- Heatproof bowl – For cooling the brown butter. Glass measuring cups work perfectly.
Preparation Method
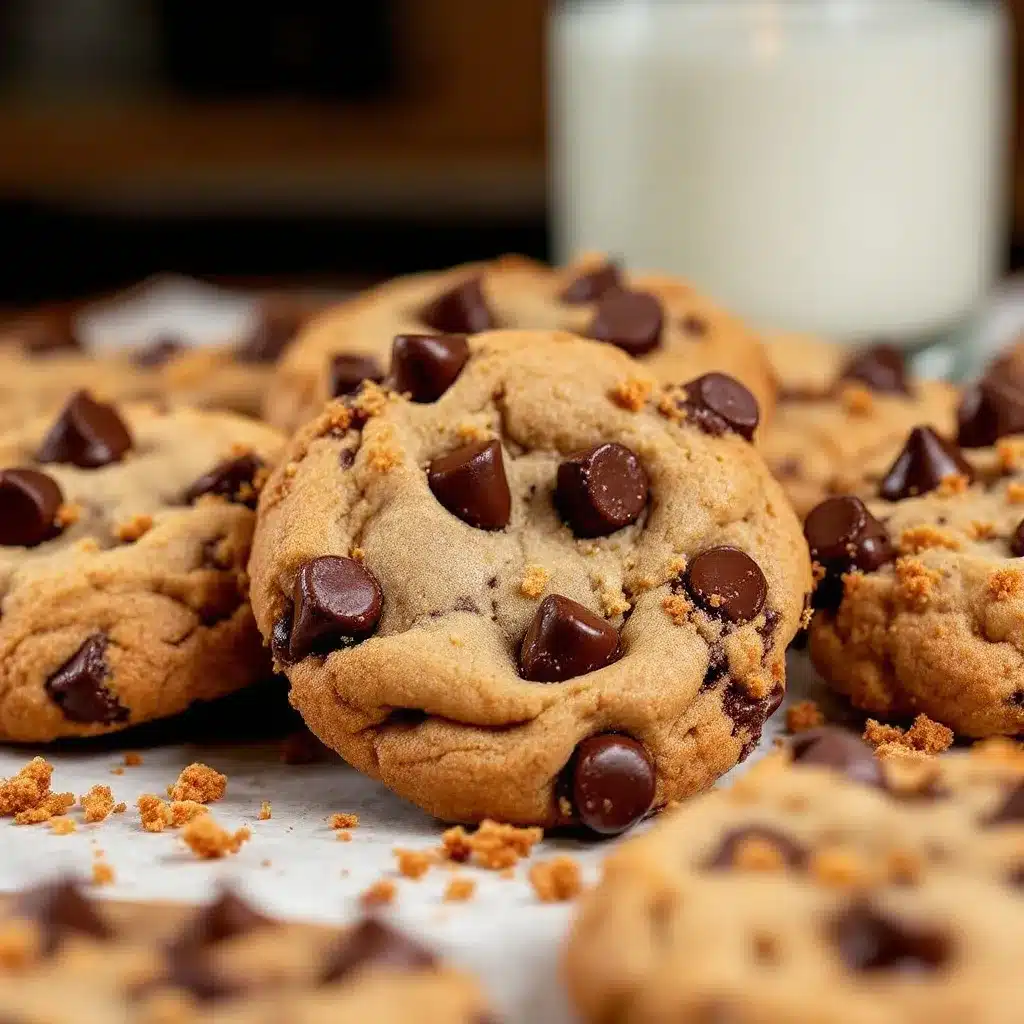
- Brown the butter. Cut the butter into pieces and add them to your saucepan over medium heat. Stir constantly with a whisk or rubber spatula. The butter will melt, foam, then start to crackle and pop. Keep stirring—this is where people get scared and stop. After about 5-7 minutes, the foam will subside and you’ll see golden brown specks forming at the bottom. The butter will smell nutty and toasty. Remove it from heat immediately and pour it into a heatproof bowl, scraping every last brown bit into the bowl. Those specks are pure flavor. Let it cool for 10-15 minutes until it’s warm but not hot. If you add sugar to hot butter, it’ll melt the sugar and change the texture.
- Mix the sugars and butter. Add both sugars to the warm brown butter. Whisk vigorously for about 2 minutes until the mixture looks like wet sand and has slightly lightened in color. This step aerates the mixture and helps create that chewy texture. Don’t rush it—the sugar needs time to dissolve into the butter.
- Add the eggs and vanilla. Crack both eggs into the butter-sugar mixture. Add the vanilla. Whisk for another 2-3 minutes until the mixture is smooth, glossy, and slightly thickened. It should look like caramel sauce. If it looks separated or greasy, your butter was too hot—don’t panic, just keep whisking and it’ll come together.
- Combine the dry ingredients. In a separate bowl, whisk together the flour, baking soda, and salt. Make sure there are no clumps. I use a fork for this because I’m lazy and it works just as well as a sifter.
- Fold in the flour mixture. Add the dry ingredients to the wet ingredients in two additions. Use a rubber spatula to fold gently—no aggressive stirring. Stop when you see just a few streaks of flour remaining. Overmixing develops gluten and makes tough cookies.
- Add the chocolate. Pour in the chocolate chips and fold until evenly distributed. The dough will be thick and slightly sticky. Taste a tiny bit—it’s safe since there are no raw eggs. This is your quality control moment.
- Chill the dough. Cover the bowl with plastic wrap and refrigerate for at least 30 minutes, or up to 72 hours. This step is crucial. Chilled dough spreads less, bakes up thicker, and develops deeper flavor. I’ve tested this extensively—30 minutes is the minimum, but overnight is magical. The flavors meld and the brown butter gets even nuttier.
- Preheat and prepare. Preheat your oven to 375°F (190°C). Line two baking sheets with parchment paper. Don’t use greased sheets—the cookies will spread too much.
- Scoop and bake. Use your cookie scoop to portion dough into 1.5-tablespoon balls. Place them 2 inches apart on the prepared sheets. If you want bakery-style cookies, press a few extra chocolate chips onto the tops of the dough balls—this makes them look gorgeous. Bake one sheet at a time for 10-12 minutes. The edges should be golden brown and the centers should look slightly underdone and puffy. They’ll continue cooking on the hot sheet.
- Cool and sprinkle. Let the cookies rest on the baking sheet for 5 minutes. They’ll look puffy and soft—this is normal. Transfer them to a cooling rack. While they’re still warm, sprinkle with a pinch of flaky sea salt. This isn’t optional—the salt cuts the sweetness and makes the brown butter flavor sing.
Cooking Tips & Techniques
Browning butter sounds intimidating, but it’s really just watching butter change color while stirring. The biggest mistake people make is walking away. Butter goes from perfectly browned to burnt in about 30 seconds. Stay at the stove, keep stirring, and trust your nose—when it smells like toasted hazelnuts, you’re there.
Another thing I learned the hard way: don’t use a nonstick pan for browning butter. The dark coating makes it impossible to see the color change. Use stainless steel or light-colored pans. And pour the butter into a separate bowl immediately after it’s done—the hot pan keeps cooking it even off the heat.
For consistent cookies, weigh your flour. A kitchen scale costs $15 and saves you from dense, dry cookies. If you don’t have one, spoon the flour into your measuring cup and level it with a knife. Never scoop directly from the bag—you’ll pack in 25% more flour than the recipe needs.
Chilling the dough isn’t optional. I know you want cookies now. I get it. But warm dough spreads into flat, greasy discs. Chilled dough bakes into thick, chewy cookies with defined edges. If you’re in a rush, scoop the dough onto a plate and freeze for 15 minutes instead of refrigerating for 30.
Bake one sheet at a time in the middle rack. Two sheets at once means uneven heat distribution—some cookies will overbake while others stay raw. Patience pays off here.
I’ve had my share of failures. The time I forgot the baking soda and got hockey pucks. The batch where I used melted butter that was still hot and ended up with greasy, flat cookies. The time I baked straight from the fridge without letting the dough sit for 5 minutes and got dense, undercooked centers. Each mistake taught me something, and now this recipe is bulletproof.
Variations & Adaptations
- Gluten-Free Version – Swap the all-purpose flour with a 1:1 gluten-free baking blend that contains xanthan gum. Cup4Cup and King Arthur’s measure-for-measure blends work perfectly. The cookies will be slightly more tender but still chewy.
- Vegan Adaptation – Use vegan butter (Miyoko’s or Country Crock Plant Butter) and replace the eggs with flax eggs (2 tablespoons ground flaxseed mixed with 5 tablespoons water, rested for 10 minutes). The texture will be slightly more cake-like, but the brown butter flavor still shines.
- Flavor Twists – Add ½ cup chopped toasted pecans or walnuts along with the chocolate. Or swap semi-sweet chips for white chocolate and dried cranberries. My personal favorite variation: add 1 teaspoon instant espresso powder to the brown butter before adding sugar. It doesn’t make the cookies taste like coffee—it just deepens the chocolate flavor.
- Low-Sugar Option – Reduce the granulated sugar to ¼ cup and use ¾ cup dark brown sugar. The cookies will be less sweet but still chewy. You can also substitute ¼ cup of the sugar with coconut sugar for a lower glycemic index.
- Different Chocolate – Use milk chocolate for sweeter cookies, dark chocolate (60-70%) for a more sophisticated flavor, or a mix of both. Chopped chocolate bars create pools of melted chocolate that look gorgeous and taste better than chips.
I once made a batch with browned butter and white chocolate, then drizzled them with melted dark chocolate after baking. They were ridiculous—in the best way. If you’re feeling fancy, try that for a party. They’d pair beautifully with a sparkling New Year’s sangria for a dessert situation that feels special.
Serving & Storage Suggestions
These cookies are best served warm, about 5-10 minutes after they come out of the oven. The edges are crispy, the centers are soft, and the chocolate is still slightly melted. If you’re serving them at room temperature, pop them in a 300°F oven for 3-4 minutes to re-crisp the edges.
For a next-level dessert, sandwich a scoop of vanilla ice cream between two cookies. Or crumble them over a bowl of creamy New Year’s cheesecake for a crunchy topping that adds texture and sweetness.
Storage: Keep baked cookies in an airtight container at room temperature for up to 5 days. Layer them with parchment paper between stacks to prevent sticking. Don’t refrigerate baked cookies—the cold dries them out and ruins the texture.
Freezing: You can freeze the dough or the baked cookies. For dough, scoop into balls, freeze on a baking sheet until solid, then transfer to a freezer bag. Bake from frozen—just add 2-3 minutes to the bake time. For baked cookies, freeze in a single layer in a freezer bag for up to 3 months. Thaw at room temperature for 15 minutes or reheat directly from frozen in a 300°F oven for 5 minutes.
The flavor actually improves after a day or two. Something about the brown butter and sugar melding together creates an even deeper, more caramel-like taste. If you can resist eating them all on day one, you’ll be rewarded on day three.
Nutritional Information & Benefits
Per cookie (based on 24 cookies per batch):
- Calories: 215
- Fat: 12g
- Saturated Fat: 7g
- Carbohydrates: 27g
- Sugar: 18g
- Protein: 3g
- Fiber: 1g
- Sodium: 135mg
These are cookies—they’re a treat, not a health food. But there are some redeeming qualities. Dark chocolate contains antioxidants and flavonoids that support heart health. Brown butter, despite being butter, has a slightly lower lactose content than regular butter because the browning process breaks down some of the milk solids. And the eggs provide a small amount of protein and vitamin D.
For a slightly healthier version, reduce the sugar by ¼ cup and use dark chocolate chips (70% cacao or higher). You’ll still get the brown butter flavor and chewy texture with less sugar. Or make mini cookies—1 tablespoon of dough instead of 1.5—and enjoy two instead of one. Portion control is your friend here.
These cookies are not suitable for those with dairy allergies (unless you use vegan butter) or gluten sensitivities (unless you use gluten-free flour). They contain eggs, wheat, and dairy.
Conclusion
These best chewy brown butter chocolate chip cookies have become my signature bake. Every time I bring them somewhere, someone asks for the recipe. Every time I make them, I remember that distracted afternoon when I accidentally browned the butter too far and stumbled onto something special.
The beauty of this recipe is that it’s forgiving. You can brown the butter perfectly or slightly overdo it—both work. You can chill the dough for 30 minutes or 3 days—both work. You can use fancy chocolate or basic chips—both work. The brown butter carries the flavor no matter what.
I’d love to hear how these turn out for you. Did you add nuts? Use white chocolate? Forget to chill the dough and end up with flat cookies? (Been there.) Drop a comment below and let me know your version. And if you’re looking for more dessert inspiration, check out our full recipe collection for everything from elegant macarons to crowd-pleasing party treats.
Happy baking, friend. Your kitchen is about to smell amazing.
Frequently Asked Questions
Can I use salted butter instead of unsalted?
Yes, if that’s all you have. Just reduce the added salt in the recipe to ½ teaspoon instead of 1 teaspoon. The brown butter will still work perfectly.
Why did my cookies turn out flat?
Most likely one of three things: the butter was too warm when you added the sugar, you didn’t chill the dough long enough, or you used too much sugar. Next time, make sure the brown butter is warm but not hot, and chill the dough for at least 30 minutes.
Can I make the dough ahead of time?
Absolutely. The dough keeps in the refrigerator for up to 3 days. In fact, the flavor improves after 24-48 hours. You can also freeze the dough balls for up to 3 months and bake directly from frozen.
How do I know when the butter is properly browned?
Look for three signs: the butter turns a golden-amber color, you see brown specks forming at the bottom of the pan, and it smells nutty and toasty. If it smells burnt or looks dark brown, you’ve gone too far.
Can I use margarine or shortening instead of butter?
You can, but you won’t get the brown butter flavor. Margarine doesn’t brown the same way, and shortening has no milk solids to toast. If you need a dairy-free option, use vegan butter specifically designed for browning.
Pin This Recipe!
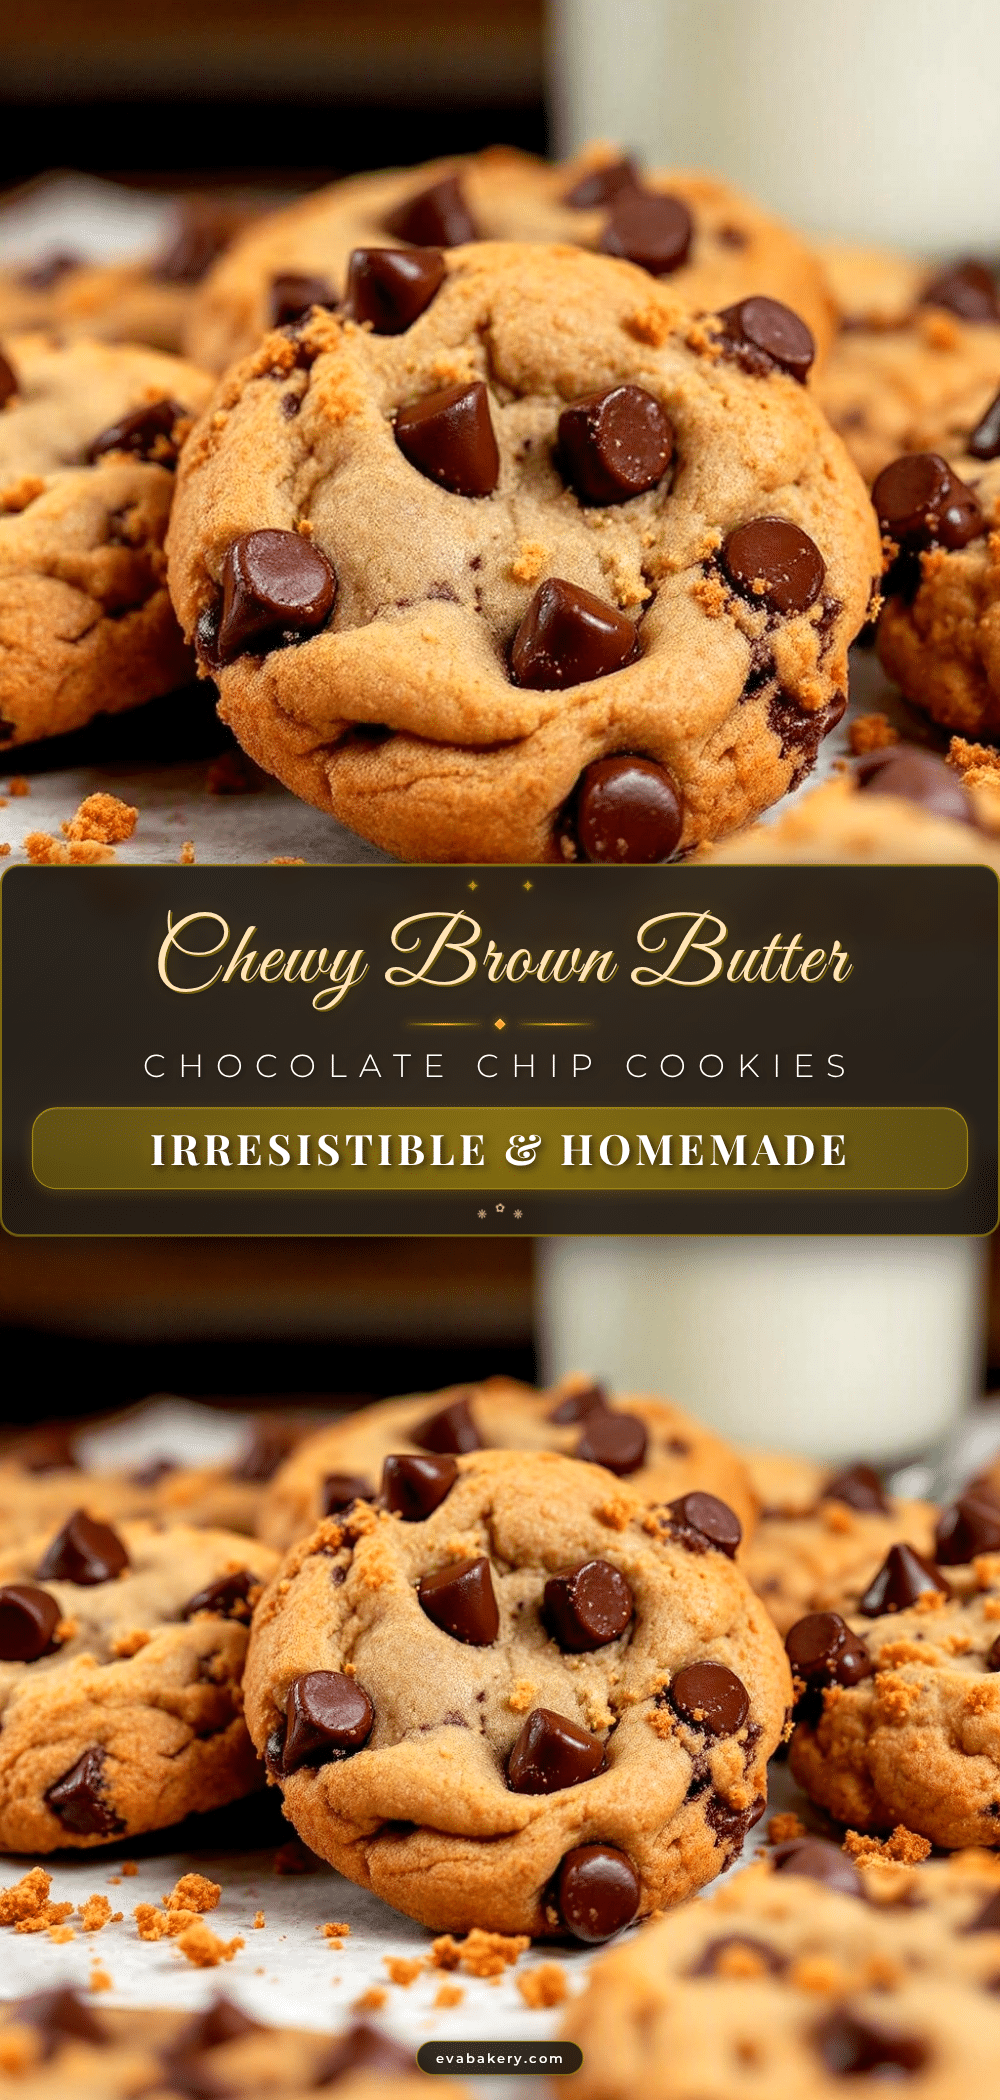
Best Chewy Brown Butter Chocolate Chip Cookies

These chewy brown butter chocolate chip cookies have a nutty, toffee-like richness from browned butter, with soft centers and crispy edges. They’re made with simple ingredients and come together in about 30 minutes, making them perfect for entertaining or a quick sweet treat.
- Prep Time: 15 minutes
- Cook Time: 12 minutes
- Total Time: 27 minutes (plus 30 minutes chilling)
- Yield: 24 cookies 1x
- Category: Dessert
- Cuisine: American
Ingredients
- 1 cup (2 sticks) unsalted butter
- 1 cup dark brown sugar, packed
- ½ cup granulated sugar
- 2 large eggs, room temperature
- 2 teaspoons vanilla extract
- 2 ¼ cups all-purpose flour
- 1 teaspoon baking soda
- 1 teaspoon salt
- 2 cups semi-sweet chocolate chips
- Flaky sea salt for sprinkling (optional)
Instructions
- Brown the butter: Cut the butter into pieces and add to a medium saucepan over medium heat. Stir constantly with a whisk or rubber spatula. The butter will melt, foam, then crackle and pop. After about 5-7 minutes, the foam will subside and golden brown specks will form at the bottom. The butter will smell nutty and toasty. Remove from heat immediately and pour into a heatproof bowl, scraping every last brown bit. Let cool for 10-15 minutes until warm but not hot.
- Mix the sugars and butter: Add both sugars to the warm brown butter. Whisk vigorously for about 2 minutes until the mixture looks like wet sand and has slightly lightened in color.
- Add the eggs and vanilla: Crack both eggs into the butter-sugar mixture. Add the vanilla. Whisk for another 2-3 minutes until smooth, glossy, and slightly thickened, like caramel sauce.
- Combine the dry ingredients: In a separate bowl, whisk together the flour, baking soda, and salt until no clumps remain.
- Fold in the flour mixture: Add the dry ingredients to the wet ingredients in two additions. Use a rubber spatula to fold gently until just a few streaks of flour remain. Do not overmix.
- Add the chocolate: Pour in the chocolate chips and fold until evenly distributed. The dough will be thick and slightly sticky.
- Chill the dough: Cover the bowl with plastic wrap and refrigerate for at least 30 minutes, or up to 72 hours.
- Preheat and prepare: Preheat oven to 375°F (190°C). Line two baking sheets with parchment paper.
- Scoop and bake: Use a cookie scoop (1.5 tablespoon size) to portion dough into balls. Place them 2 inches apart on prepared sheets. Optionally press extra chocolate chips onto tops. Bake one sheet at a time for 10-12 minutes. Edges should be golden brown and centers slightly underdone and puffy.
- Cool and sprinkle: Let cookies rest on baking sheet for 5 minutes, then transfer to a cooling rack. While still warm, sprinkle with flaky sea salt if desired.
Notes
Chilling the dough is crucial for thick, chewy cookies. For best flavor, chill overnight. Brown butter can be made ahead and stored in the refrigerator. Use high-quality chocolate for best results. Flaky sea salt on top is highly recommended.
Nutrition
- Serving Size: 1 cookie
- Calories: 215
- Sugar: 18
- Sodium: 135
- Fat: 12
- Saturated Fat: 7
- Carbohydrates: 27
- Fiber: 1
- Protein: 3
Keywords: brown butter chocolate chip cookies, chewy cookies, chocolate chip cookies, easy cookie recipe, homemade cookies


