For a long time, I just accepted that homemade dill pickles were a project that took days, even weeks, before they tasted right—if they ever got truly crispy. Somehow, every quick pickle attempt I’d made ended up soggy or bland, which wasn’t exactly what I was craving when I wanted a tangy snack fast. The crunch, the perfect dill punch, the just-right vinegar bite felt like something that wasn’t meant to happen overnight. I’d watch those jars sit, hoping for a miracle, only to be left with disappointment or pickles that were too soft to enjoy.
One evening, after slicing cucumbers for yet another failed batch, I realized I needed a method that actually worked in a day, not a week. Something honest, no shortcuts that compromised texture or flavor. The kind of quick refrigerator dill pickles that could be ready in 24 hours and still snap with every bite. It wasn’t about rushing but about understanding what was missing all along.
That quiet discovery—the one where you finally get it right—meant I didn’t have to wait days to enjoy pickles that tasted like they’d been carefully crafted over time. It stuck with me because it’s real, simple, and totally doable. These crispy quick refrigerator dill pickles aren’t flashy, but they deliver exactly what I wanted: fresh, tangy, crunchy, and ready when you are.
That’s why this recipe stayed in my rotation; it’s the kind of quick pickle that feels like a reliable friend in the fridge, always ready to add that perfect zing to a sandwich, salad, or snack. No fuss, just good pickles.
Why You’ll Love This Recipe
Honestly, this recipe is a keeper because it balances speed with real flavor and that coveted crunch. I’ve tested several methods, and this one nails the texture without waiting forever or needing fancy ingredients.
- Quick & Easy: Ready in just 24 hours—ideal for those last-minute pickle cravings or when you want a fresh pop of flavor without the wait.
- Simple Ingredients: Uses everyday pantry staples and fresh cucumbers, so no need to hunt down obscure spices or special vinegar blends.
- Perfect for Any Occasion: Whether you’re prepping for a casual lunch, a picnic, or a snack alongside your crispy prosciutto-wrapped asparagus bites, these pickles add that bright, tangy crunch everyone appreciates.
- Crowd-Pleaser: Kids, adults, pickle enthusiasts—this recipe gets thumbs-up all around without being too overpowering.
- Unbelievably Delicious: The dill and garlic infusion cuts through the vinegar just right, creating that soul-soothing pickle flavor you want to savor.
What sets this recipe apart is the little trick with the pickling mix and the timing—no soggy pickles or waiting forever. Plus, I like how the cucumbers stay crisp because of a quick salt soak before they meet the brine. It’s a subtle step that makes a big difference in texture.
Honestly, it’s the kind of recipe you’ll come back to because it fits into life’s busy moments without compromising on that classic pickle satisfaction.
What Ingredients You Will Need
This recipe uses simple, wholesome ingredients to deliver bold flavor and satisfying texture without the fuss. Most of these are pantry staples, and the cucumbers are, of course, the star of the show. You can find small, firm cucumbers at your local market or farmer’s stand for the best results.
- Cucumbers: About 4-5 small to medium pickling cucumbers (around 1 pound / 450 grams), sliced into spears or rounds depending on your preference.
- Fresh Dill: 3-4 sprigs of fresh dill (stems and leaves) for that authentic dill aroma and flavor.
- Garlic Cloves: 3 cloves, peeled and smashed (adds that punchy garlic note).
- White Vinegar: 1 cup (240 ml) – I prefer a clean, mild vinegar like Heinz Distilled White Vinegar for the crisp flavor.
- Water: 1 cup (240 ml) – to balance the acidity and keep the brine mellow.
- Pickling Salt: 1 tablespoon – use kosher salt or pickling salt; avoid iodized table salt, as it can cloud the brine.
- Granulated Sugar: 1 teaspoon – just a touch to balance the sharpness without sweetness.
- Black Peppercorns: 1 teaspoon whole peppercorns for a subtle spice layer.
- Mustard Seeds: 1 teaspoon (optional) – adds a slight tangy warmth.
- Red Pepper Flakes: A pinch if you want a little heat (totally optional).
Substitution notes: If you need gluten-free options, all these ingredients are naturally gluten-free. For a dairy-free diet, this recipe is already suitable. You can swap white vinegar with apple cider vinegar if you want a fruitier tang, but it will slightly change the flavor profile.
In warmer months, I sometimes swap fresh dill for dried if that’s what I have on hand, though fresh dill definitely makes the pickles pop more.
Equipment Needed
- Glass or Plastic Container: A quart-sized (950 ml) jar or airtight container works best. Glass is preferred to avoid any reaction with the vinegar.
- Sharp Knife and Cutting Board: For slicing cucumbers cleanly—this helps keep edges crisp.
- Measuring Cups and Spoons: Accuracy matters here for the right brine balance.
- Small Saucepan: To warm the brine ingredients for dissolving salt and sugar quickly.
- Mixing Bowl: For tossing cucumbers with salt before brining.
If you don’t have a glass jar, a food-safe plastic container with a tight lid will do, but I’ve found glass keeps flavors freshest and doesn’t retain odors.
For quick clean-up, I recommend soaking utensils in warm water right after using. Also, a sharp knife makes a surprising difference—not just for safety but because a clean cut helps preserve the cucumber’s crunch.
Preparation Method
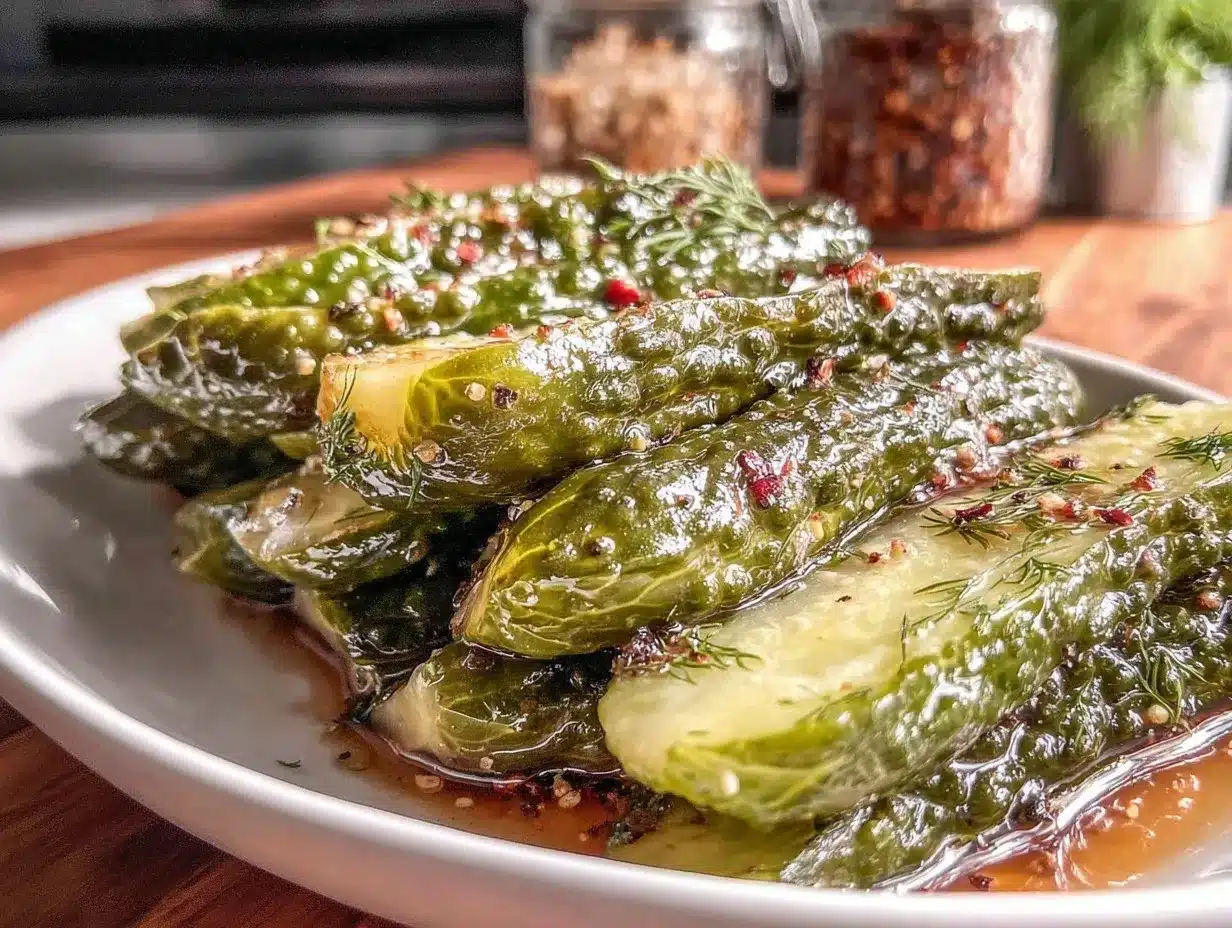
- Prepare the Cucumbers (15 minutes): Start by washing your cucumbers well. Slice them into spears about 3 inches (7.5 cm) long or rounds roughly ¼ inch (6 mm) thick—whatever you prefer. Place sliced cucumbers in a mixing bowl and sprinkle 1 tablespoon of kosher salt over them. Toss gently to coat and let sit for 1 hour. This step draws out moisture, which helps keep cucumbers crispy later. (If you’re short on time, 30 minutes is ok but 1 hour works best.)
- Rinse and Drain (5 minutes): After the salt soak, rinse cucumbers thoroughly under cold water to remove excess salt. Drain well and pat dry with a clean kitchen towel or paper towels to remove surface moisture.
- Make the Brine (10 minutes): In a small saucepan, combine 1 cup (240 ml) white vinegar, 1 cup (240 ml) water, 1 tablespoon pickling salt, and 1 teaspoon sugar. Heat gently over medium heat, stirring until salt and sugar dissolve completely. Remove from heat and let cool slightly.
- Pack the Jar (10 minutes): Place fresh dill sprigs, smashed garlic cloves, peppercorns, mustard seeds, and red pepper flakes (if using) into your jar or container. Pack the cucumber slices in snugly but without crushing them.
- Pour the Brine (5 minutes): Pour the warm brine over the cucumbers until fully submerged. Leave about half an inch (1.3 cm) of headspace. Seal the jar tightly.
- Refrigerate (24 hours minimum): Place the jar in the refrigerator and let the flavors develop. After 24 hours, the pickles will be ready to enjoy, crunchy and tangy. The flavor gets better if you wait up to 48 hours, but 24 hours is the magic mark for quick satisfaction.
Tips: If you notice any floating spices, just use a clean utensil to push them down before sealing. The cucumbers should stay submerged to avoid soft spots.
When you open the jar, expect a fresh, crisp snap and a balanced brine—not overly sour but bright and lively.
Cooking Tips & Techniques
One of the trickiest parts of making quick pickles is keeping them crisp, and honestly, that salt soak is the unsung hero here. Skipping it usually leads to soggy slices, so don’t cut corners on that step. I learned the hard way after a few sad batches of limp pickles.
Warming the brine just enough to dissolve salt and sugar is another small but important detail. If you pour cold brine over cucumbers, it can slow down flavor absorption, and if it’s too hot, it might soften the cukes prematurely.
Also, packing the jar snugly but gently helps the cucumbers stay firm, instead of bruising or breaking down. I like pressing them lightly with a spoon when filling the jar.
Sometimes, I add a few grape leaves or horseradish leaves on top for even better crispness—if you have them on hand, give it a try!
Timing-wise, it’s tempting to taste early, but that first 24-hour wait is worth respecting. The flavors settle and blend during this time, so patience really pays off.
Variations & Adaptations
You can tweak this recipe easily to suit tastes or dietary needs. Here are some ideas I’ve played around with:
- Spicy Kick: Add extra red pepper flakes or a sliced jalapeño to the brine for heat that slowly builds.
- Garlic Lovers: Double the garlic cloves or add a splash of garlic powder for a deeper savory note.
- Low Sodium: Reduce salt slightly and increase the vinegar to keep flavor without overdoing sodium.
- Different Vinegars: Try apple cider vinegar for a fruitier tang or rice vinegar for a milder, sweeter profile.
- Herb Variations: Swap dill for fresh tarragon or basil for an unusual but tasty twist.
I once tried adding a teaspoon of coriander seeds, and it gave the pickles a subtle citrusy warmth that was surprisingly good with grilled meats.
Serving & Storage Suggestions
Serve these pickles chilled straight from the fridge. They’re fantastic alongside a sandwich, especially something rich like a grilled cheese or alongside a plate of fluffy mini quiches. They also make a refreshing snack on their own or a bright contrast on a charcuterie board.
Store pickles tightly sealed in the refrigerator for up to 3 weeks. The flavor will intensify over time, and the texture stays crisp if kept cold. Avoid leaving the jar out at room temperature once opened, or the cucumbers may soften.
When reheating dishes that include these pickles, add them after cooking to preserve their crunch.
Nutritional Information & Benefits
These quick refrigerator dill pickles are low in calories (about 10-15 calories per spear) and fat-free, making them a guilt-free crunchy snack. The vinegar content may aid digestion, and cucumbers provide hydration with a modest amount of vitamins K and C.
This recipe is naturally gluten-free and vegan, fitting easily into many dietary plans. Just be mindful of sodium content if you’re watching salt intake.
From a wellness perspective, I appreciate having a tangy, crunchy snack that satisfies salty cravings without processed preservatives or added sugars.
Conclusion
This recipe for crispy quick refrigerator dill pickles hits that sweet spot between convenience and flavor. It’s the kind of simple preparation that fits right into busy days without demanding patience for weeks. Plus, it’s flexible enough to tweak as you like, whether you want more heat, garlic, or a different herb twist.
For me, these pickles are the perfect pantry companion—always there to brighten a meal or snack with a fresh, crunchy snap. I hope you find the same quiet satisfaction I did when you try them.
If you experiment with your own variations or have favorite add-ins, I’d love to hear about them in the comments. Sharing those little tweaks is part of what makes cooking fun and personal.
So go ahead, slice up some cucumbers and get ready to enjoy your own quick batch of tangy, crispy dill pickles.
FAQs about Crispy Quick Refrigerator Dill Pickles
How long do quick refrigerator dill pickles last?
Stored properly in the fridge, they stay fresh and crunchy for up to 3 weeks. Always keep the jar sealed and avoid leaving pickles at room temperature after opening.
Can I use regular cucumbers instead of pickling cucumbers?
You can, but pickling cucumbers are smaller with fewer seeds and tend to stay crisper. Regular slicing cucumbers might yield softer pickles.
Why are my quick pickles not crunchy?
Usually, this happens if the cucumbers weren’t salted beforehand or if the brine was too hot when poured. Also, make sure cucumbers stay submerged in brine during refrigeration.
Can I make these pickles in less than 24 hours?
You might get some flavor after a few hours, but 24 hours allows the best balance of tang and crunch. Patience pays off here.
Are these pickles fermented?
No, this recipe is a quick refrigerator pickle using vinegar brine, not a fermentation process, so it doesn’t require special cultures or room temperature aging.
Pin This Recipe!
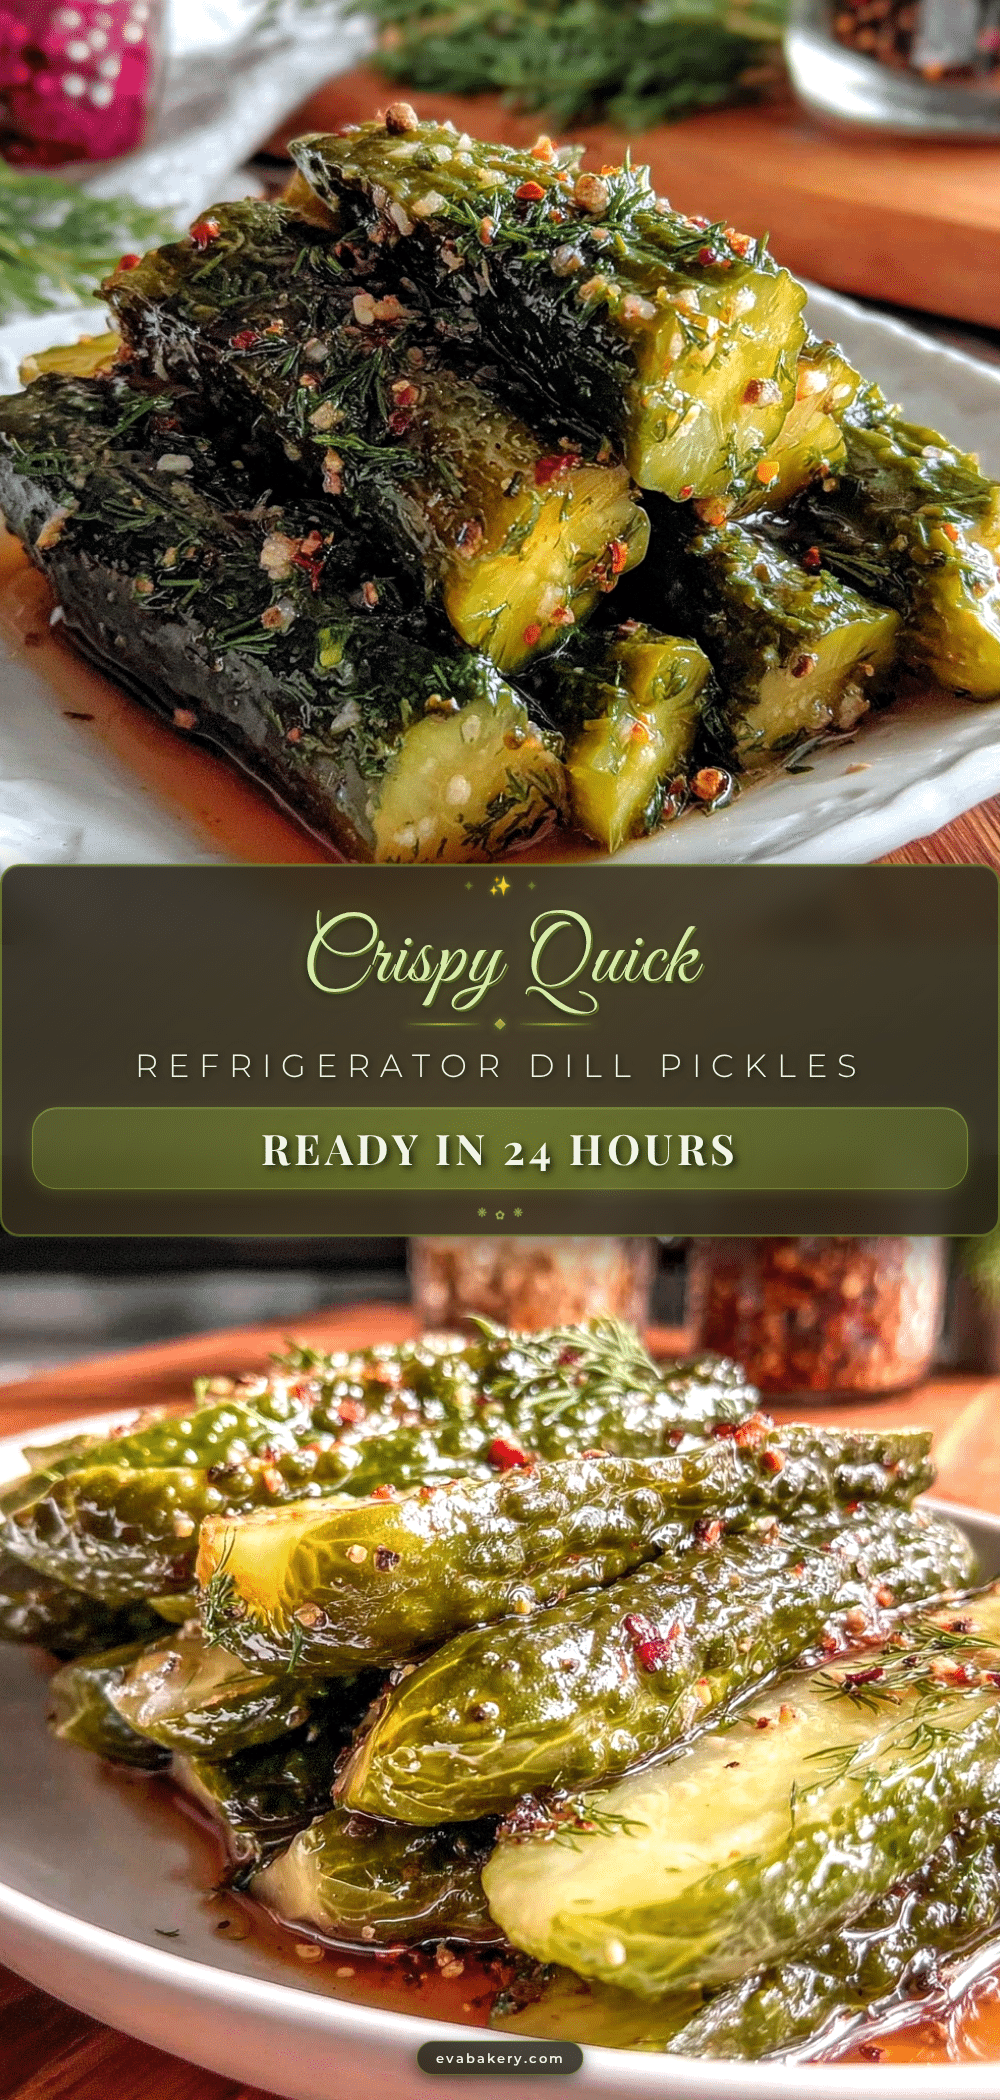
Crispy Quick Refrigerator Dill Pickles

A quick and easy recipe for homemade dill pickles that are ready in 24 hours, delivering fresh, tangy, and crunchy pickles without the wait.
- Prep Time: 1 hour 30 minutes
- Cook Time: 10 minutes
- Total Time: 24 hours 40 minutes
- Yield: About 4 servings 1x
- Category: Condiment
- Cuisine: American
Ingredients
- 4–5 small to medium pickling cucumbers (about 1 pound / 450 grams), sliced into spears or rounds
- 3–4 sprigs fresh dill (stems and leaves)
- 3 garlic cloves, peeled and smashed
- 1 cup (240 ml) white vinegar
- 1 cup (240 ml) water
- 1 tablespoon pickling salt (kosher salt or pickling salt)
- 1 teaspoon granulated sugar
- 1 teaspoon whole black peppercorns
- 1 teaspoon mustard seeds (optional)
- Pinch of red pepper flakes (optional)
Instructions
- Prepare the Cucumbers (15 minutes): Wash cucumbers well. Slice into spears about 3 inches long or rounds about 1/4 inch thick. Place in a mixing bowl and sprinkle with 1 tablespoon kosher salt. Toss gently to coat and let sit for 1 hour to draw out moisture.
- Rinse and Drain (5 minutes): Rinse cucumbers thoroughly under cold water to remove excess salt. Drain well and pat dry with a clean towel or paper towels.
- Make the Brine (10 minutes): In a small saucepan, combine 1 cup white vinegar, 1 cup water, 1 tablespoon pickling salt, and 1 teaspoon sugar. Heat over medium heat, stirring until salt and sugar dissolve. Remove from heat and let cool slightly.
- Pack the Jar (10 minutes): Place fresh dill sprigs, smashed garlic cloves, peppercorns, mustard seeds, and red pepper flakes (if using) into a quart-sized glass or plastic jar. Pack cucumber slices snugly without crushing.
- Pour the Brine (5 minutes): Pour warm brine over cucumbers until fully submerged, leaving about 1/2 inch headspace. Seal jar tightly.
- Refrigerate (24 hours minimum): Place jar in refrigerator and let flavors develop. Pickles are ready after 24 hours but improve up to 48 hours.
Notes
Salt soaking cucumbers for 1 hour is key to keeping them crisp. Warm the brine just enough to dissolve salt and sugar but not too hot to soften cucumbers. Pack jar snugly but gently to avoid bruising. Keep cucumbers submerged in brine to prevent soft spots. Optional additions include grape or horseradish leaves for extra crispness.
Nutrition
- Serving Size: Approximately 1/4 po
- Calories: 1015
- Sugar: 1
- Sodium: 600
- Carbohydrates: 2
- Fiber: 0.5
Keywords: quick pickles, refrigerator pickles, dill pickles, crispy pickles, easy pickles, homemade pickles, quick refrigerator dill pickles