Halloween was always a bit of a letdown for me in the dessert department. You’d get a few candy bars, sure, but nothing that actually felt like a treat you’d choose to eat. I wanted something that looked spooky but was actually delicious—not just a gimmick. For a while, I just accepted that themed desserts were more about the look than the taste. Then I started messing around in the kitchen one October afternoon, staring at a package of Oreos and a box of pudding mix, and it just clicked.
The first batch of these Easy Graveyard Dirt Pudding Cups with Crushed Oreos was a happy accident. I was trying to make a chocolate mousse that didn’t require separating eggs (because who has the patience for that on a Tuesday?), and I ended up with something that looked exactly like a tiny graveyard plot. The kids went wild. The adults went quiet and then asked for seconds. That was the moment I knew I’d stumbled onto something that was more than just a Halloween novelty.
What makes this recipe stick is the texture. You get that creamy, airy pudding layered with the crunch of crushed Oreos, and then the little gummy worms peeking out from the “dirt.” It’s silly, it’s nostalgic, and honestly, it’s the most fun I’ve had making dessert in years. These cups don’t need a special occasion, but they sure do make one feel special.
So if you’ve been looking for a dessert that actually delivers on both looks and flavor, you’re in the right place. These graveyard dirt pudding cups are the real deal.
Why You’ll Love This Recipe
I’ve tested this recipe about six times now, tweaking the pudding-to-cookie ratio and the chilling time until it was just right. Here’s why I keep coming back to it, and why I think you will too:
- Quick & Easy: From start to finish, you’re looking at about 20 minutes of active work. The rest is just chilling time. Perfect for when you need a dessert fast.
- Simple Ingredients: You probably already have most of this stuff in your pantry. Oreos, milk, pudding mix, cream cheese—no fancy grocery trips required.
- Perfect for Halloween Parties: These are the star of any spooky spread. Kids love them, adults sneak them, and they photograph like a dream for your Instagram story.
- Crowd-Pleaser: I’ve brought these to potlucks and family dinners, and they’re always the first thing to disappear. Even people who claim they don’t like sweets can’t resist.
- Unbelievably Delicious: The secret is the cream cheese in the pudding base. It adds a tangy richness that makes the whole thing taste like a gourmet dessert, not a boxed mix.
What makes this different from other dirt pudding recipes is the technique. Most versions just mix instant pudding with milk and call it a day. But by adding softened cream cheese and a splash of vanilla, you get a filling that’s thick, creamy, and almost cheesecake-like. It’s not just another version—it’s the best version.
This is the kind of dessert that makes you close your eyes after the first bite. It’s comfort food reimagined—silly, spooky, but with the same soul-soothing satisfaction as your favorite childhood treat. Perfect for impressing guests without any stress, or turning a simple Tuesday into something memorable.
What Ingredients You Will Need
This recipe uses simple, everyday ingredients that come together to create something surprisingly elegant (in a spooky, playful way). Here’s what you’ll need to grab:
For the Pudding Base
- 1 package (3.4 oz) instant chocolate pudding mix (I prefer Jell-O brand for consistent results)
- 2 cups cold milk (whole milk gives the creamiest texture, but 2% works fine too)
- 4 oz cream cheese, softened (this is the secret ingredient—adds richness and tang)
- 1/4 cup powdered sugar (to sweeten the cream cheese without grittiness)
- 1 teaspoon vanilla extract (pure vanilla, not imitation, if you have it)
- 1 cup heavy whipping cream (for an extra light, airy texture—optional but recommended)
For the “Dirt” Layer
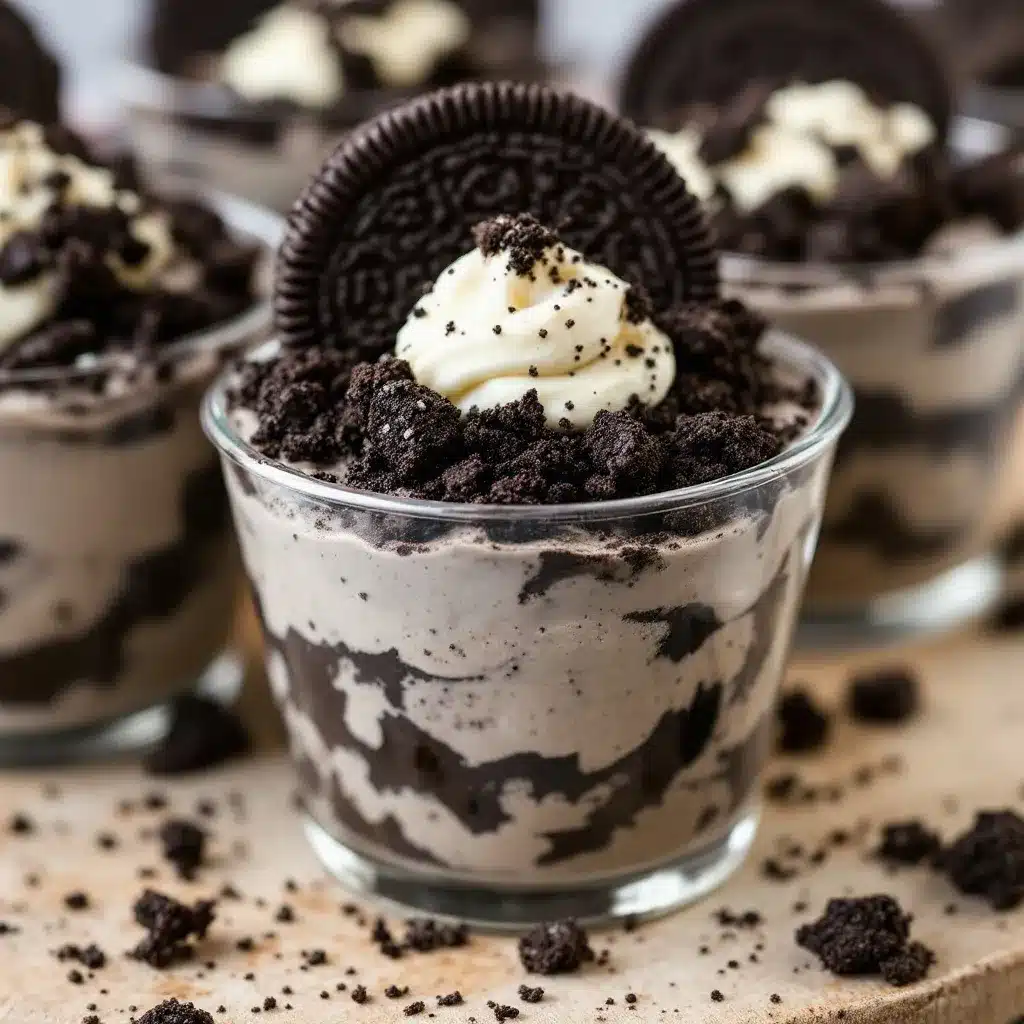
- 1 package (14.3 oz) Oreo cookies (regular, not double-stuffed, for the right cookie-to-cream ratio)
- 2 tablespoons unsalted butter, melted (helps the crumbs clump together like real dirt)
For the Graveyard Decorations
- Gummy worms (about 2-3 per cup)
- Small tombstone cookies or candy (I use Milano cookies with a cross piped on in black icing, or you can buy pre-made ones)
- Green food coloring (for tinting a bit of shredded coconut to look like grass—optional)
- Clear plastic cups or small mason jars (for serving)
You can find most of these ingredients at any grocery store. For the cream cheese, I recommend Philadelphia—it blends smoother than store brands. And for the Oreos, honestly, the generic versions work just fine if you’re on a budget. Just make sure they’re chocolate sandwich cookies, not vanilla.
Equipment Needed
You don’t need any fancy gadgets for this recipe, which is part of the appeal. Here’s what you’ll want to have on hand:
- Mixing bowls: One large bowl for the pudding, one medium for the whipped cream, and one small for the crushed Oreos.
- Electric hand mixer or stand mixer: For whipping the cream and beating the cream cheese. A whisk works too, but your arm will get a workout.
- Food processor or rolling pin: For crushing the Oreos into fine crumbs. A food processor is faster, but a rolling pin and a zip-top bag work just as well—and it’s oddly satisfying.
- Rubber spatula: For folding the whipped cream into the pudding without deflating it.
- Clear plastic cups or small mason jars: The clear cups are key here—you want people to see the layers.
- Measuring cups and spoons: For accuracy, especially with the cream cheese.
If you don’t have a food processor, don’t sweat it. Just put the Oreos in a zip-top bag, seal it, and go to town with a rolling pin. It’s a great way to release some stress, honestly. And if you don’t have a hand mixer, you can whisk the cream by hand—just make sure the cream is very cold, and take breaks. Your arm will thank you later.
Preparation Method
Let’s get to the fun part. Follow these steps, and you’ll have a batch of graveyard dirt pudding cups that look like they came from a bakery (or a haunted house).
Step 1: Crush the Oreos (5 minutes)
Start by crushing the entire package of Oreos into fine crumbs. You want them to look like dark, crumbly soil. If you’re using a food processor, pulse in short bursts until you get a consistent texture. If you’re using a rolling pin, put the cookies in a zip-top bag and crush them until no large pieces remain. Set aside about 1/4 cup of the crumbs for the top garnish.
Tip from my kitchen: Don’t remove the cream filling from the Oreos. That white center helps the crumbs stick together, which is exactly what you want for the “dirt” effect.
Step 2: Make the Pudding Base (10 minutes)
In a large mixing bowl, beat the softened cream cheese with the powdered sugar and vanilla extract until smooth and creamy. This should take about 2 minutes with an electric mixer. Scrape down the sides of the bowl with a rubber spatula.
In a separate bowl, whisk the instant pudding mix with the cold milk for about 2 minutes, until it starts to thicken. Pour the pudding into the cream cheese mixture and beat on low speed until fully combined. The mixture will look thick and glossy.
Step 3: Whip the Cream (5 minutes)
In a medium bowl, whip the heavy cream until stiff peaks form. You want it to hold its shape when you lift the beaters. Be careful not to over-whip, or you’ll end up with butter. Fold the whipped cream into the pudding mixture gently, using a rubber spatula. You want to keep as much air in the mixture as possible—this is what makes the pudding light and fluffy instead of dense.
Sensory cue: The final mixture should look like a thick, silky mousse. It should hold its shape when you spoon it, but still feel airy.
Step 4: Assemble the Cups (10 minutes)
Now comes the fun part. Take your clear cups and start layering. Begin with a layer of crushed Oreos at the bottom—about 2 tablespoons per cup. Then add a layer of the pudding mixture, filling the cup about halfway. Add another layer of crushed Oreos, then another layer of pudding. End with a generous topping of crushed Oreos to create the “dirt” surface.
Press a gummy worm into the side of each cup so it looks like it’s crawling out of the dirt. Place a tombstone cookie on top. If you’re using the green coconut grass, sprinkle a little around the tombstone.
Step 5: Chill and Set (2 hours minimum)
Place the assembled cups in the refrigerator for at least 2 hours, or overnight if you have the time. This allows the pudding to set fully and the flavors to meld together. The Oreo crumbs will also soften slightly, which makes the texture even better.
Warning: Don’t skip the chilling step. If you serve these too soon, the pudding will be runny and the layers will mix together. Patience pays off here.
Cooking Tips & Techniques
I’ve made this recipe about a dozen times now, and I’ve learned a few things the hard way. Here are my best tips for getting it right every time:
- Soften the cream cheese properly: Cold cream cheese will leave lumps in your pudding. Let it sit on the counter for 30 minutes before you start, or microwave it for 10 seconds at a time until it’s soft.
- Don’t over-mix the pudding: Once you add the milk, whisk just until it starts to thicken. Over-mixing can make the pudding grainy.
- Use cold heavy cream: For the whipped cream, make sure the cream and your bowl are both cold. This helps the cream whip up faster and hold its shape longer.
- Crush the Oreos in batches: If you’re using a food processor, don’t overload it. Work in batches to get an even crumb.
- Layer with intention: For the best visual effect, make sure your layers are even. Use a spoon to spread the pudding gently so it doesn’t mix with the Oreo crumbs.
One mistake I made early on was using too much milk in the pudding. The box says 2 cups, but if you’re adding cream cheese, you might need a little less. Start with 1 3/4 cups and add more if needed. The pudding should be thick enough to hold its shape when spooned.
Variations & Adaptations
This recipe is incredibly versatile. Here are a few ways to make it your own:
- Gluten-Free Version: Use gluten-free chocolate sandwich cookies (like Glutino) and a gluten-free pudding mix. The rest of the ingredients are naturally gluten-free.
- Dairy-Free Version: Substitute the milk with almond or oat milk, use dairy-free cream cheese (like Kite Hill), and whip coconut cream instead of heavy cream. The texture will be slightly different, but still delicious.
- Flavor Twist: Swap the chocolate pudding for vanilla or butterscotch pudding. Use golden Oreos for the “dirt” layer. It changes the whole vibe, but it’s still amazing.
- Adult Version: Add a tablespoon of Kahlúa or Baileys to the pudding mixture for a boozy kick. Just reduce the milk by the same amount.
- Different Decorations: Instead of gummy worms, try candy spiders, chocolate skulls, or even small plastic skeletons (make sure they’re food-safe).
I once made a version with crushed graham crackers instead of Oreos, and it was surprisingly good. It gave the “dirt” a lighter, sandier texture that worked really well with the chocolate pudding. Just a thought if you’re feeling adventurous.
Serving & Storage Suggestions
These graveyard dirt pudding cups are best served cold, straight from the fridge. The contrast between the creamy pudding and the crunchy Oreo crumbs is at its peak when they’re well-chilled.
For serving: Arrange the cups on a platter with some extra gummy worms scattered around for a spooky effect. If you’re serving them at a party, you can even label each cup with a name tag (like “RIP” or “Here Lies [Guest’s Name]”) for a personal touch.
Storage: Cover each cup with plastic wrap or a lid and store in the refrigerator for up to 3 days. The Oreo crumbs will soften over time, but that’s not a bad thing—some people prefer the softer texture.
Freezing: I don’t recommend freezing these cups. The pudding can separate and become watery when thawed. If you need to make them ahead, assemble them without the decorations and add the gummy worms and tombstones just before serving.
Flavor development: These cups actually taste better the next day. The flavors meld together, and the pudding sets more firmly. So if you’re planning a party, make them the night before—you’ll be glad you did.
Nutritional Information & Benefits
Let’s be real—this is a dessert, not a health food. But here’s a rough breakdown per serving (based on 8 servings):
- Calories: Approximately 380-420 per cup
- Fat: 22g
- Carbohydrates: 45g
- Protein: 6g
- Sugar: 32g
While these aren’t exactly diet-friendly, there are a few redeeming qualities. The cream cheese adds a bit of protein and calcium, and the dark cocoa in the Oreos contains antioxidants. Plus, the portion-controlled cups make it easier to enjoy a treat without overindulging.
If you’re watching your sugar intake, you can use sugar-free pudding mix and reduced-fat Oreos. The taste won’t be exactly the same, but it’ll still scratch that chocolatey itch.
As with any treat, moderation is key. I like to serve these alongside a platter of crispy prosciutto-wrapped asparagus bites for a savory-sweet balance that keeps everyone happy.
Conclusion
These Easy Graveyard Dirt Pudding Cups with Crushed Oreos are the kind of dessert that makes people smile. They’re fun to make, even more fun to eat, and they look like you spent hours on them when really it’s just a few simple ingredients and a little bit of patience.
I love this recipe because it brings out the kid in everyone. There’s something about digging into a cup of “dirt” and finding a gummy worm that makes even the most serious adult crack a smile. And honestly, that’s what cooking is all about—sharing joy through food.
I’d love to see your versions of this recipe. Tag me in your photos, leave a comment below with your favorite variation, or share how you decorated your graveyard cups. Don’t forget to pin this recipe for later—it’s a keeper for every Halloween and beyond.
Happy haunting, and happy eating!
Frequently Asked Questions
Can I make these graveyard dirt pudding cups ahead of time?
Yes, absolutely. You can assemble them up to 24 hours in advance. Just wait to add the gummy worms and tombstone decorations until right before serving to keep them looking fresh.
Can I use homemade pudding instead of instant?
You can, but the texture will be different. Instant pudding sets quickly and stays firm, which is ideal for layering. Homemade pudding tends to be softer and may not hold its shape as well in the cups.
How do I crush Oreos without a food processor?
Put the cookies in a zip-top bag, seal it, and use a rolling pin to crush them. You can also use a meat mallet or even a heavy skillet. Just make sure to crush them in batches so you get an even crumb.
What can I use instead of gummy worms?
Try candy spiders, chocolate skulls, or even small plastic skeletons (food-safe ones). You can also use candy corn or pumpkin-shaped candies for a non-spooky version.
Can I make this recipe vegan?
Yes. Use dairy-free milk, vegan cream cheese, and coconut cream instead of heavy cream. Look for vegan chocolate sandwich cookies and a vegan pudding mix. The texture will be slightly different, but it’s still delicious.
Pin This Recipe!
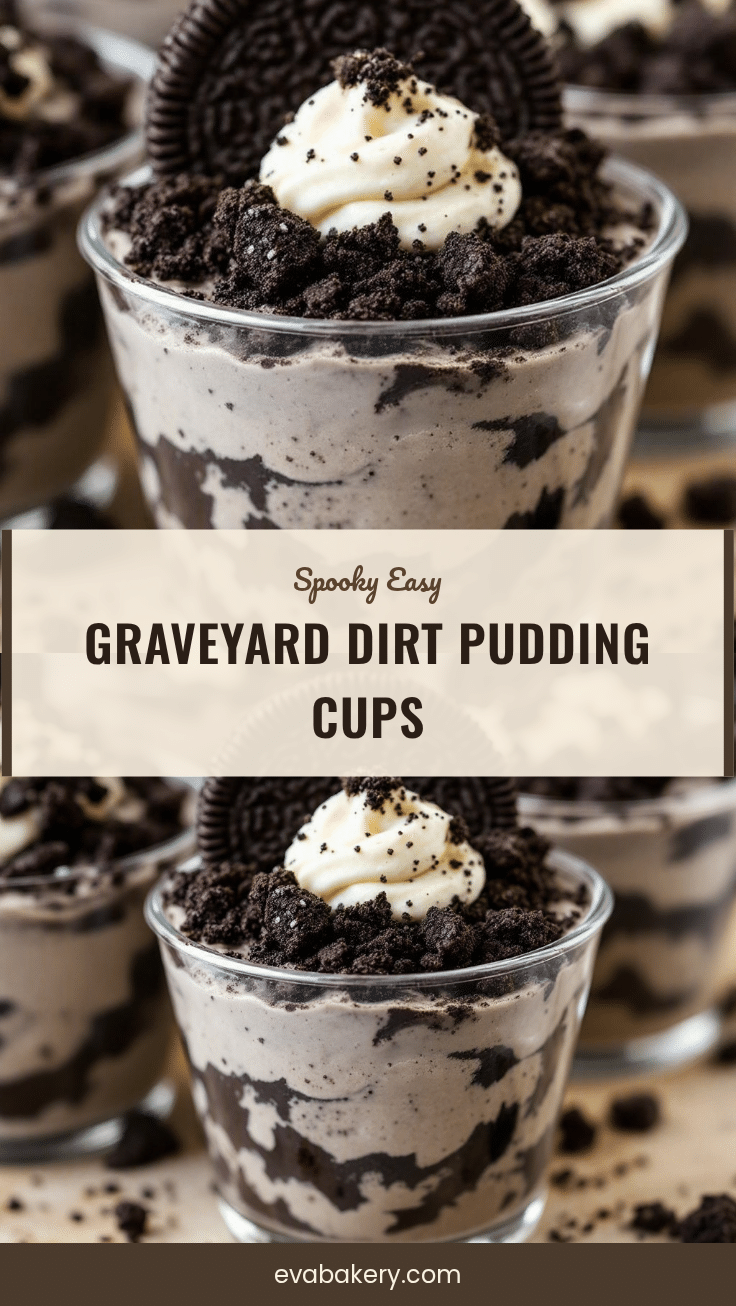
Easy Graveyard Dirt Pudding Cups with Crushed Oreos

These spooky and delicious graveyard dirt pudding cups feature layers of creamy chocolate pudding, crushed Oreo ‘dirt,’ and gummy worms. Perfect for Halloween parties, they’re quick to make and always a crowd-pleaser.
- Prep Time: 20 minutes
- Cook Time: 0 minutes
- Total Time: 2 hours 20 minutes (includes chilling)
- Yield: 8 servings 1x
- Category: Dessert
- Cuisine: American
Ingredients
- 1 package (3.4 oz) instant chocolate pudding mix
- 2 cups cold milk
- 4 oz cream cheese, softened
- 1/4 cup powdered sugar
- 1 teaspoon vanilla extract
- 1 cup heavy whipping cream
- 1 package (14.3 oz) Oreo cookies
- 2 tablespoons unsalted butter, melted
- Gummy worms (about 2-3 per cup)
- Small tombstone cookies or candy
- Green food coloring (optional)
- Shredded coconut (optional)
Instructions
- Crush the entire package of Oreos into fine crumbs using a food processor or a rolling pin and zip-top bag. Set aside about 1/4 cup for garnish.
- In a large bowl, beat softened cream cheese with powdered sugar and vanilla extract until smooth and creamy, about 2 minutes.
- In a separate bowl, whisk instant pudding mix with cold milk for about 2 minutes until it starts to thicken. Pour into cream cheese mixture and beat on low until combined.
- In a medium bowl, whip heavy cream until stiff peaks form. Gently fold whipped cream into pudding mixture using a rubber spatula.
- Layer clear cups: start with 2 tablespoons crushed Oreos, then pudding mixture halfway, another layer of Oreos, more pudding, and top with Oreo crumbs.
- Press gummy worms into the side of each cup and place a tombstone cookie on top. Optionally, sprinkle green-tinted coconut around the tombstone.
- Refrigerate for at least 2 hours or overnight to set. Serve cold.
Notes
Don’t skip the chilling step—it allows the pudding to set properly. For best results, use whole milk and Philadelphia cream cheese. The cream cheese adds a tangy richness that elevates the flavor. You can make these up to 24 hours ahead, but add decorations just before serving.
Nutrition
- Serving Size: 1 cup
- Calories: 400
- Sugar: 32
- Sodium: 380
- Fat: 22
- Saturated Fat: 12
- Carbohydrates: 45
- Fiber: 2
- Protein: 6
Keywords: Halloween dessert, dirt pudding, Oreo pudding cups, graveyard dessert, spooky treats, easy dessert, no-bake dessert


