Third time in as many nights and I finally figured out the cheese-to-meat ratio that doesn’t slide off the mummy’s head when you cut into it. The first batch looked like a bandage explosion. The second one was decent but the cheese wrap deflated in the microwave the next day. This version though — this one actually holds its shape and gets that perfect golden-brown crust on the edges that makes the mummy look like it’s been through a Halloween adventure.
I didn’t set out to make Halloween dinner a science experiment. Honestly, I just wanted something my kids would actually eat that didn’t come from a frozen box. Meatloaf is usually a safe bet in our house, but plain meatloaf on Halloween feels like a missed opportunity. So I started wrapping it in cheese strips to look like bandages, and suddenly dinner became a game. The kids named each mummy. They argued over which one had the best cheese wrapping. And I stood there thinking, “This is the most fun I’ve had making dinner in months.”
The trickiest part was getting the cheese to stick without burning. Mozzarella works best because it stretches nicely and browns evenly. Cheddar adds flavor but can get greasy if you use too much. I settled on a blend after some trial and error — which I’ll share in the tips section because nobody needs to learn the hard way that pre-shredded cheese has anti-caking agents that mess with the melt. This recipe is forgiving enough for a Tuesday night but impressive enough for a Halloween party. And the best part? It tastes like regular meatloaf with a cheesy, crispy edge that makes you forget you’re eating something that looks like it crawled out of a tomb.
Why You’ll Love This Recipe
Let’s be real — Halloween dinners are usually chaos. Between costume emergencies, last-minute candy runs, and the sugar-fueled energy spike around 5 PM, the last thing you need is a complicated recipe. This Easy Mummy Meatloaf with Cheese Wraps solves that problem without sacrificing the fun.
- Quick & Easy: Comes together in under an hour, including prep and baking time. Perfect for those evenings when trick-or-treating starts at 6 and you need dinner on the table by 5:30.
- Simple Ingredients: Ground beef, breadcrumbs, eggs, seasonings, and cheese — that’s it. No fancy grocery trips or weird specialty items.
- Perfect for Halloween: Great for family dinners, Halloween parties, or even a spooky-themed potluck. The kids will think it’s hilarious, and the adults will appreciate that it’s actually good food.
- Crowd-Pleaser: My picky eater devoured two mummies. My husband asked for leftovers the next day. Even my mom, who claims she doesn’t like “silly food,” went back for seconds.
- Unbelievably Delicious: The combination of savory meatloaf with melted, slightly crispy cheese wrapping is next-level comfort food. It’s like a cheeseburger and meatloaf had a Halloween baby.
What makes this recipe different from the rest is the cheese wrap technique. Most mummy meatloaf recipes use bacon strips or crescent dough, which either dries out or gets soggy. Cheese wraps solve both problems — they add flavor, moisture, and that satisfying stretchy texture when you pull the mummy apart. Plus, you can customize the cheese based on what you have in the fridge.
This recipe isn’t just good — it’s the kind that makes you smile while you’re eating it. It’s comfort food with a sense of humor, and sometimes that’s exactly what we need.
What Ingredients You Will Need
This recipe uses simple, everyday ingredients to deliver big flavor and that perfect Halloween presentation. Most of these are probably already in your kitchen, which makes this a great last-minute dinner idea.
For the Meatloaf Base
- 1 ½ pounds ground beef (80/20 blend works best — the fat keeps it moist and adds flavor)
- 1 cup breadcrumbs (plain or Italian-style, both work; if using panko, reduce to ¾ cup)
- 2 large eggs, lightly beaten
- ½ cup milk (whole milk adds richness, but 2% or oat milk works fine)
- ½ cup finely diced onion (yellow or white onion, not red — red gets too sharp when cooked)
- 2 cloves garlic, minced (or 1 teaspoon garlic powder if you’re in a rush)
- 1 teaspoon salt
- ½ teaspoon black pepper
- 1 teaspoon dried oregano
- 1 teaspoon dried thyme
- 2 tablespoons Worcestershire sauce (adds umami depth — don’t skip it)
For the Cheese Wraps
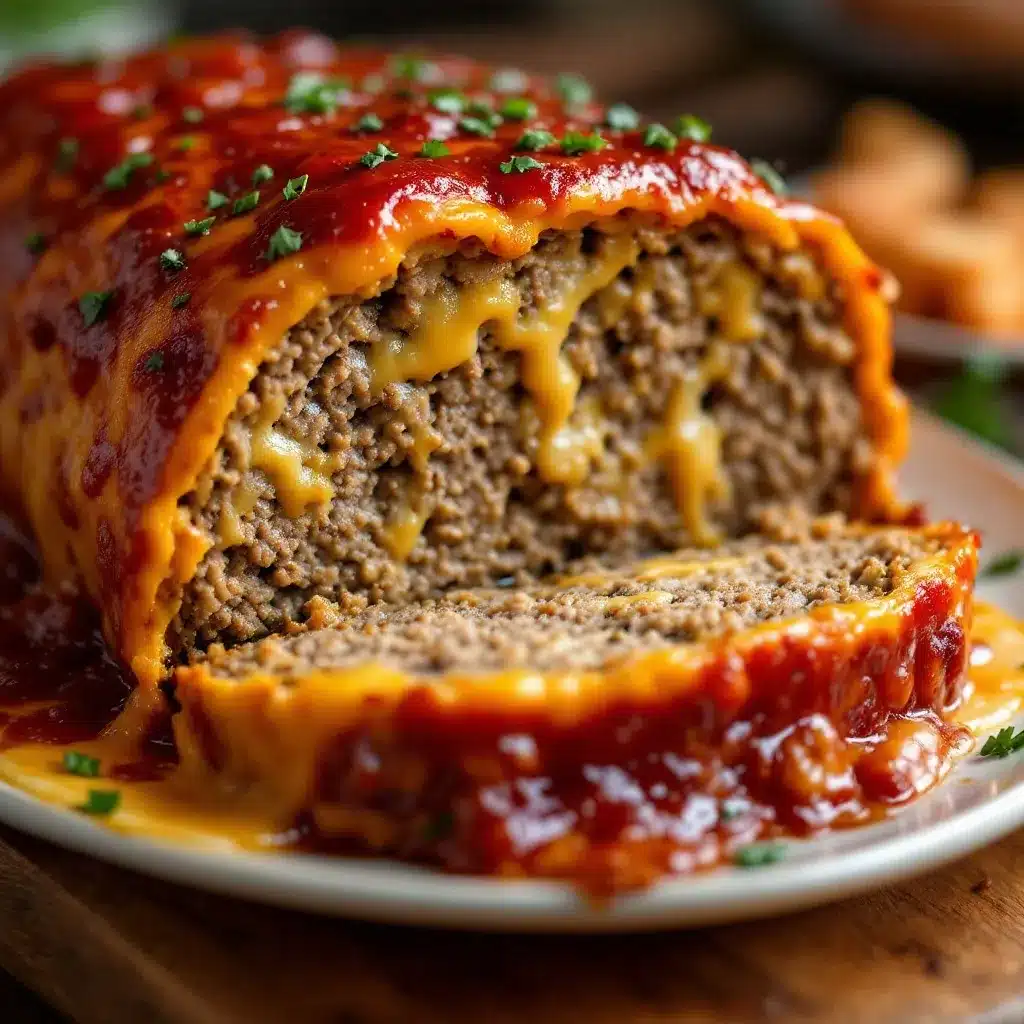
- 8-10 slices mozzarella cheese (the block-style slices, not pre-shredded; you want strips you can wrap)
- 4 slices cheddar cheese (optional, for color variation and extra flavor)
For the Eyes (Optional but Recommended)
- 2 small olives (green or black, pitted, cut in half)
- Small dollop of ketchup (for a “bloody” touch if you’re feeling dramatic)
I recommend using Sargento or Boar’s Head mozzarella slices for the best melt — they’re thick enough to hold shape but thin enough to wrap easily. If you’re using dairy-free cheese, go with a brand that melts well (Daiya or Violife work decently), but know that the texture will be slightly different.
For the ground beef, I prefer grass-fed if I can find it on sale — it has a cleaner flavor and doesn’t shrink as much during cooking. But honestly, any 80/20 ground beef from the grocery store works perfectly. Just avoid extra-lean (93/7) because the meatloaf will be dry.
Equipment Needed
- Large mixing bowl (for combining the meatloaf ingredients)
- Baking sheet (rimmed works best to catch any cheese drips)
- Parchment paper (or aluminum foil — parchment is easier for cleanup)
- Sharp knife (for cutting cheese into strips)
- Cutting board
- Measuring cups and spoons
- Small skillet (for sautéing onions and garlic — optional but recommended)
- Meat thermometer (highly recommended — takes the guesswork out of doneness)
If you don’t have a meat thermometer, you can test doneness by cutting into the thickest part of the meatloaf — the juices should run clear and there should be no pink. But honestly, a thermometer is worth the investment. I’ve ruined too many meatloaves by guessing.
For the cheese strips, you can use a pizza cutter instead of a knife — it’s faster and gives you more even strips. I learned that trick after struggling with uneven cheese slices that kept tearing.
Preparation Method
Let’s get into the actual cooking. I’ll walk you through each step with the exact times and techniques I use.
Step 1: Preheat and Prep (5 minutes)
Preheat your oven to 375°F (190°C). Line a rimmed baking sheet with parchment paper. This makes cleanup a breeze — trust me, melted cheese sticks to everything.
Step 2: Sauté the Aromatics (5 minutes)
In a small skillet over medium heat, add a splash of olive oil. Sauté the diced onion for about 3 minutes until it’s translucent and fragrant. Add the minced garlic and cook for another 30 seconds — just until you can smell it. Remove from heat and let it cool slightly. This step is optional but highly recommended — raw onion in meatloaf can be harsh, and sautéing it brings out the natural sweetness.
Step 3: Make the Meatloaf Mixture (10 minutes)
In a large mixing bowl, combine the ground beef, breadcrumbs, beaten eggs, milk, sautéed onions and garlic, salt, pepper, oregano, thyme, and Worcestershire sauce. Use your hands to mix everything together — yes, it’s messy, but it’s the best way to ensure even distribution without overmixing. Overmixing makes meatloaf tough, so stop as soon as everything is combined.
Here’s a tip: if the mixture feels too wet, add an extra tablespoon of breadcrumbs. If it feels too dry, add a splash more milk. The texture should be moist but hold together when you press it.
Step 4: Shape the Mummies (10 minutes)
Divide the meat mixture into 4 equal portions. Shape each portion into an oval log shape — think of a small football or a mummy body. Place them on the prepared baking sheet, leaving about 2 inches of space between each one. They should be roughly 4-5 inches long and 2 inches wide.
Don’t make them too thick — about 1 ½ inches tall is perfect. Thicker mummies take longer to cook and the cheese might burn before the meat is done.
Step 5: Wrap with Cheese (5 minutes)
Take your mozzarella slices and cut them into strips about 1 inch wide. If you’re using cheddar, cut those into strips too. Now comes the fun part — wrap each meatloaf log with the cheese strips, overlapping them slightly to look like mummy bandages. Leave a small gap near the top for the “face” area where you’ll add the olive eyes.
Don’t wrap too tightly — the cheese will expand slightly as it melts, and you want it to stay in place. I usually wrap each mummy with about 3-4 strips of mozzarella and 1 strip of cheddar for color variation. The cheddar gives the mummy a slightly different shade, which makes it look more authentic.
Step 6: Add the Eyes (2 minutes)
Before baking, place two olive halves in the gap you left at the top of each mummy. Press them gently into the meat so they stay in place during cooking. If you want extra spooky points, add a tiny smear of ketchup around the eyes for a “bloody” effect.
Step 7: Bake (25-30 minutes)
Place the baking sheet in the preheated oven and bake for 25-30 minutes. At the 20-minute mark, check the internal temperature with your meat thermometer — it should read at least 160°F (71°C) for safe consumption. If the cheese is browning too quickly, tent the mummies loosely with aluminum foil for the last 10 minutes.
The cheese should be melted, bubbly, and slightly golden brown on the edges. The meatloaf should be firm to the touch and the juices should run clear.
Step 8: Rest and Serve (5 minutes)
Let the mummies rest on the baking sheet for 5 minutes before serving. This allows the juices to redistribute and the cheese to set slightly, making them easier to handle. Serve warm with your favorite sides — mashed potatoes, roasted vegetables, or a simple salad work great.
Cooking Tips & Techniques
I’ve made this recipe about a dozen times now, and I’ve learned a few things the hard way. Here’s what I wish I’d known from the start.
Don’t overmix the meat. This is the number one mistake people make with meatloaf. Mix just until everything is combined — if you keep working it, the proteins tighten up and you get a dense, tough loaf. Use your hands and stop the second it looks uniform.
Use room temperature ingredients. Cold eggs and milk straight from the fridge will make the meat mixture stiff and harder to shape. Let them sit on the counter for 15-20 minutes before you start. It makes a noticeable difference in texture.
Watch the cheese. Mozzarella browns faster than you think. If your oven runs hot, check the mummies at 20 minutes. The cheese should be golden but not burnt. If it’s getting too dark, tent with foil immediately.
Let them rest. I know it’s tempting to dig in right away, but those 5 minutes of resting time are crucial. The cheese will be molten hot and the meatloaf needs time to set. Cutting into it too early means a cheese avalanche and a crumbly meatloaf.
Double the recipe for leftovers. These reheat beautifully in the microwave (30 seconds on medium power) or in the oven (350°F for 10 minutes). I always make extra because my kids fight over them for school lunches the next day.
Variations & Adaptations
This recipe is incredibly flexible. Here are some variations I’ve tried and loved.
Turkey Mummy Meatloaf
Swap the ground beef for ground turkey (93/7 works best). Add an extra tablespoon of olive oil or a splash of chicken broth to keep it moist — turkey is leaner and can dry out. The cooking time stays the same.
Gluten-Free Version
Use gluten-free breadcrumbs or crushed gluten-free crackers (like Schar or Mary’s Gone Crackers). The texture will be slightly different but still delicious. Make sure your Worcestershire sauce is gluten-free too — some brands contain wheat.
Spicy Mummy Meatloaf
Add 1-2 teaspoons of red pepper flakes or a diced jalapeño (seeds removed) to the meat mixture. Use pepper jack cheese for the wraps instead of mozzarella. The heat pairs surprisingly well with the savory meatloaf.
Vegetarian Option
Use plant-based ground meat (Impossible or Beyond work well) and follow the same instructions. The cooking time might be slightly shorter — check at 20 minutes. Use vegan cheese that melts well (Daiya mozzarella-style shreds work okay, but the texture won’t be as stretchy).
Air Fryer Method
Shape the mummies and wrap with cheese as directed. Place them in an air fryer basket lined with parchment paper. Cook at 375°F for 15-18 minutes, flipping halfway through. The cheese gets extra crispy this way — it’s my preferred method when I’m short on time.
Serving & Storage Suggestions
These mummy meatloaves are best served warm, right after resting. I like to plate them on a bed of mashed potatoes (green mashed potatoes for extra Halloween vibes — just add a drop of food coloring) or alongside roasted broccoli. A simple side salad with a tangy vinaigrette cuts through the richness of the cheese.
For a Halloween party presentation, arrange the mummies on a large platter with a “graveyard” theme — use carrot sticks as tombstones, a dollop of ketchup as “blood,” and some crushed black olives as “dirt.” The kids absolutely lose their minds over this.
For drinks, these pair well with a crisp lager or a light red wine like Pinot Noir. For non-alcoholic options, a sparkling apple cider or a refreshing champagne punch works beautifully — the bubbles cut through the richness.
Storage: Leftover mummies can be stored in an airtight container in the refrigerator for up to 4 days. The cheese will lose some of its crispiness, but the flavor stays great.
Reheating: The best way to reheat is in the oven at 350°F for 10 minutes. The microwave works in a pinch (30 seconds on medium power), but the cheese won’t be as crispy. For frozen mummies, thaw overnight in the refrigerator and reheat as directed.
Freezing: You can freeze the unbaked mummies (without the cheese wraps) for up to 3 months. Wrap each one tightly in plastic wrap and place in a freezer bag. When ready to bake, thaw in the refrigerator, add the cheese wraps, and bake as directed. The cheese wraps don’t freeze well, so always add them fresh.
The flavors actually deepen overnight — the Worcestershire sauce and spices meld together, making leftovers taste even better than the first meal. I’ve been known to make these on a Wednesday just so I can have them for lunch on Thursday.
Nutritional Information & Benefits
Here’s the approximate nutritional breakdown for one mummy meatloaf (using 80/20 ground beef and mozzarella cheese):
- Calories: 420
- Protein: 32g
- Fat: 24g
- Carbohydrates: 14g
- Fiber: 1g
- Sugar: 3g
- Sodium: 680mg
This recipe is a good source of protein, which helps keep you full and satisfied. The mozzarella adds calcium and vitamin B12, while the onions and garlic provide antioxidants and anti-inflammatory compounds. If you’re watching your sodium, use low-sodium cheese and reduce the added salt in the meat mixture.
For a lower-carb option, skip the breadcrumbs and use crushed pork rinds or almond flour instead — the texture will be denser but still delicious. This version is keto-friendly and has about 8g of carbs per serving.
Potential allergens include dairy (cheese, milk) and gluten (breadcrumbs, Worcestershire sauce). For dairy-free, use vegan cheese and oat milk. For gluten-free, use the substitutions mentioned in the variations section.
Conclusion
This Easy Mummy Meatloaf with Cheese Wraps has become a Halloween tradition in our house, and I hope it becomes one in yours too. It’s the kind of recipe that proves dinner doesn’t have to be serious to be delicious. The kids love the presentation, the adults love the flavor, and everyone loves that it comes together in under an hour with ingredients you probably already have.
Don’t be afraid to customize it — use different cheeses, add spices you love, or experiment with the eye placement. The beauty of this recipe is that it’s forgiving. Even if your mummy looks a little lopsided or the cheese slides off in one spot, it’ll still taste amazing.
If you make this recipe, I’d love to hear how it turned out. Drop a comment below with your variations, tag me in your photos, or share your own Halloween dinner traditions. And if you’re looking for more spooky-season recipes, check out my full recipe collection for more fun ideas.
Now go make some mummies — they’re waiting to come to life in your kitchen!
Frequently Asked Questions
Can I make this recipe ahead of time?
Yes! You can prepare the meatloaf mixture and shape the mummies up to 24 hours in advance. Store them in the refrigerator on a parchment-lined baking sheet, covered with plastic wrap. Add the cheese wraps just before baking for the best texture.
What’s the best cheese for the wraps?
Mozzarella is my top choice because it melts smoothly, stretches nicely, and browns evenly without getting greasy. Cheddar adds flavor but can be oilier. A blend of both gives you the best of both worlds. Avoid pre-shredded cheese — the anti-caking agents prevent proper melting.
Can I use ground pork or chicken instead of beef?
Absolutely. Ground pork works wonderfully and adds a slightly sweeter flavor. Ground chicken or turkey are leaner options — just add a tablespoon of olive oil or an extra egg to keep them moist. Adjust cooking time as needed (pork and poultry need to reach 165°F internally).
How do I prevent the cheese from sliding off?
Make sure the meatloaf is shaped firmly and the cheese strips are pressed gently but securely into the meat. Don’t wrap too tightly — the cheese needs room to expand. Also, let the mummies rest for 5 minutes after baking before moving them. If you’re still having trouble, you can use toothpicks to hold the cheese in place (just remind everyone to remove them before eating).
Can I make these in an air fryer?
Yes! Preheat your air fryer to 375°F. Place the wrapped mummies in the basket (don’t overcrowd — work in batches if needed). Cook for 15-18 minutes, flipping halfway through. The cheese gets extra crispy this way. Check internal temperature before serving to ensure doneness.
Pin This Recipe!
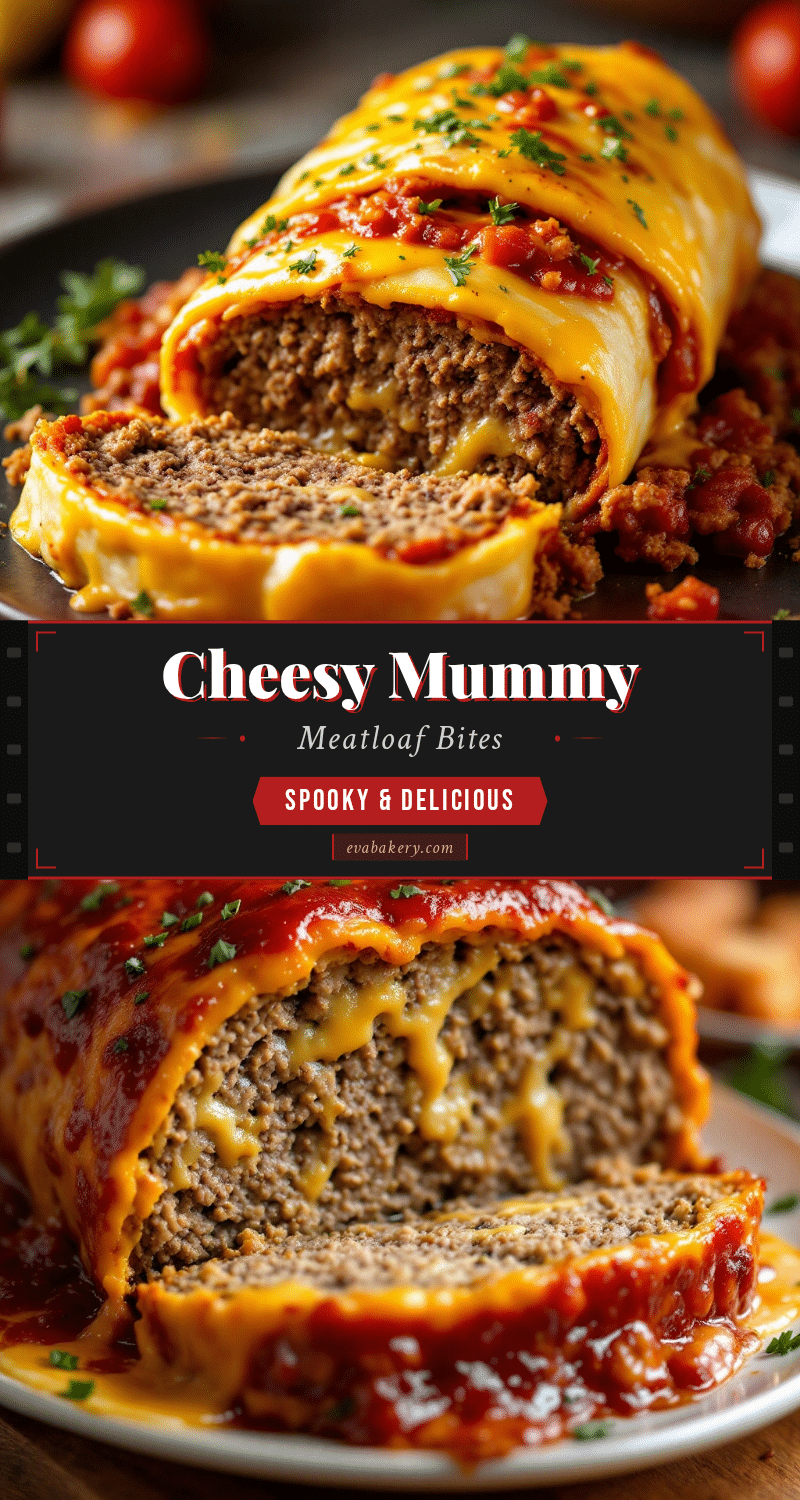
Easy Mummy Meatloaf: Best Halloween Cheese Wrap Recipe

A fun and delicious Halloween dinner featuring mini meatloaves wrapped in cheese strips to look like mummies. This recipe is quick, easy, and perfect for family dinners or Halloween parties.
- Prep Time: 20 minutes
- Cook Time: 30 minutes
- Total Time: 50 minutes
- Yield: 4 servings 1x
- Category: Main Course
- Cuisine: American
Ingredients
- 1 ½ pounds ground beef (80/20 blend)
- 1 cup breadcrumbs (plain or Italian-style; reduce to ¾ cup if using panko)
- 2 large eggs, lightly beaten
- ½ cup milk (whole milk preferred, but 2% or oat milk works)
- ½ cup finely diced onion (yellow or white)
- 2 cloves garlic, minced (or 1 teaspoon garlic powder)
- 1 teaspoon salt
- ½ teaspoon black pepper
- 1 teaspoon dried oregano
- 1 teaspoon dried thyme
- 2 tablespoons Worcestershire sauce
- 8–10 slices mozzarella cheese (block-style slices)
- 4 slices cheddar cheese (optional)
- 2 small olives (green or black, pitted, cut in half)
- Small dollop of ketchup (optional, for ‘bloody’ effect)
Instructions
- Preheat oven to 375°F (190°C). Line a rimmed baking sheet with parchment paper.
- In a small skillet over medium heat, add a splash of olive oil. Sauté diced onion for about 3 minutes until translucent. Add minced garlic and cook for 30 seconds. Remove from heat and let cool slightly.
- In a large mixing bowl, combine ground beef, breadcrumbs, beaten eggs, milk, sautéed onions and garlic, salt, pepper, oregano, thyme, and Worcestershire sauce. Mix with your hands until just combined. Do not overmix.
- Divide the meat mixture into 4 equal portions. Shape each into an oval log shape (about 4-5 inches long and 2 inches wide, 1 ½ inches tall). Place on prepared baking sheet, leaving 2 inches between each.
- Cut mozzarella and cheddar slices into 1-inch wide strips. Wrap each meatloaf log with the cheese strips, overlapping slightly to look like mummy bandages. Leave a small gap near the top for the face.
- Place two olive halves in the gap at the top of each mummy for eyes. Press gently into the meat. Optionally, add a tiny smear of ketchup around the eyes.
- Bake for 25-30 minutes. At 20 minutes, check internal temperature with a meat thermometer (should reach 160°F/71°C). If cheese is browning too quickly, tent loosely with aluminum foil for the last 10 minutes.
- Let mummies rest on the baking sheet for 5 minutes before serving. Serve warm.
Notes
Use block-style mozzarella slices (not pre-shredded) for best melting. Let ingredients come to room temperature before mixing. Do not overmix the meat. Let mummies rest for 5 minutes after baking to allow cheese to set. For leftovers, reheat in oven at 350°F for 10 minutes or microwave on medium power for 30 seconds.
Nutrition
- Serving Size: 1 mummy meatloaf
- Calories: 420
- Sugar: 3
- Sodium: 680
- Fat: 24
- Saturated Fat: 10
- Carbohydrates: 14
- Fiber: 1
- Protein: 32
Keywords: Halloween, meatloaf, mummy, cheese wrap, easy dinner, kid-friendly, spooky


