Sunday night, around 9:47 PM. The lunchboxes for the week are lined up on the counter like little soldiers, and I am staring into the crisper drawer wondering how to make vegetables exciting for the fifth day in a row. The carrots are getting soft. The bell peppers are starting to wrinkle. And honestly, I am tired of the same sad celery sticks making their way back home uneaten.
That is when this idea hit me—right there in the quiet of my kitchen, with the dishwasher humming and the dog asleep under the table. What if I made vegetables look like something you would actually want to eat? What if I turned them into little dippers, arranged by color, with a creamy ranch that tastes like it came from a fancy café instead of a packet?
These Easy Rainbow Veggie Ranch Lunchbox Dippers were born from that moment of honest desperation. No fancy techniques. No exotic ingredients. Just a simple, stubborn refusal to let another vegetable go to waste. The first time I packed them, my kid actually asked for seconds. I pretended to be calm about it, but inside I was doing a victory dance.
This is not a recipe that needs a backstory about grandmas gardens or farmers markets. It is a recipe that starts with a half-empty fridge and a little bit of hope. And honestly? That is the kind of recipe I trust the most.
Why You Will Love This Recipe
I have tested this approach through three school years, two picky eaters, and one very skeptical husband. These lunchbox dippers have earned their place in our weekly rotation through sheer reliability. Here is why they work:
- Ready in 15 Minutes: No cooking required. Just chop, arrange, and go. Perfect for those mornings when you hit snooze one too many times.
- Budget-Friendly Ingredients: Everything comes from the regular grocery store. No specialty items, no expensive organic brands—just fresh produce and a few pantry staples.
- Zero Waste Solution: This recipe practically begs you to use up whatever vegetables are lingering in your fridge. The rainbow theme makes it flexible, not rigid.
- Kid-Approved (Seriously): The visual appeal of the colors combined with the creamy dip makes vegetables feel like a treat rather than a chore. I have watched kids who “hate vegetables” go back for thirds.
- Meal Prep Friendly: Make a batch on Sunday and grab portions all week. The dip stays fresh, and the veggies hold up beautifully when stored properly.
What makes this recipe different from the sad veggie trays at grocery stores is the attention to texture and flavor balance. The ranch dip is not just a afterthought—it is the star that makes everything work. It is thick enough to cling to each piece, tangy enough to cut through the natural sweetness of the vegetables, and herbaceous enough to feel grown-up without alienating little taste buds.
This is the kind of recipe that makes you feel like a good parent without spending hours in the kitchen. It is honest food that does not pretend to be something it is not. And honestly? That is worth more than any fancy cooking technique.
What Ingredients You Will Need
This recipe uses simple, wholesome ingredients that come together to create something genuinely delicious. The beauty is in the flexibility—you can swap vegetables based on what is in season or what your family actually eats.
For The Rainbow Vegetables
- Red Bell Pepper, 1 large, sliced into thin strips (adds sweetness and crunch; any color works but red has the most vitamin C)
- Orange Carrots, 3 medium, cut into sticks or coins (I prefer organic carrots for sweeter flavor; leave the skin on for extra fiber)
- Yellow Summer Squash, 1 medium, sliced into half-moons (choose firm squash without soft spots for best texture)
- Green Cucumber, 1 medium, cut into spears (English cucumbers have fewer seeds and stay crunchier longer)
- Purple Cabbage, ¼ head, cut into bite-sized chunks (adds beautiful color and loads of antioxidants; red cabbage works too)
- Cherry Tomatoes, 1 cup, halved if large (look for firm tomatoes with no wrinkles; grape tomatoes work equally well)
For The Creamy Ranch Dip
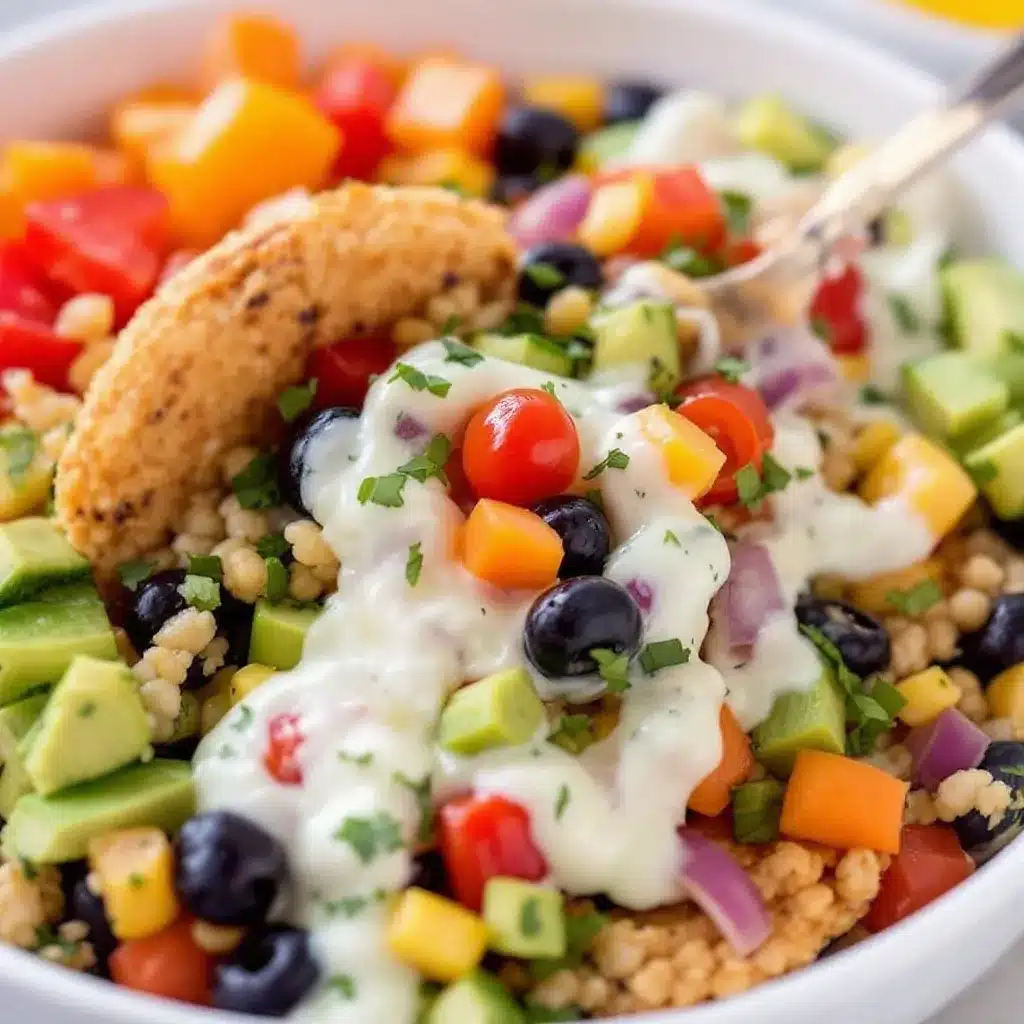
- Plain Greek Yogurt, 1 cup (use full-fat for creamiest texture; 2% works fine but avoid nonfat as it gets watery)
- Mayonnaise, ¼ cup (I prefer Hellmann’s or Duke’s for stability; the fat helps the dip hold together)
- Fresh Dill, 2 tablespoons, finely chopped (dried dill works in a pinch, use 2 teaspoons instead)
- Fresh Parsley, 2 tablespoons, finely chopped (flat-leaf or curly both work; stems included for extra flavor)
- Garlic Powder, ½ teaspoon (not garlic salt—we control the salt separately)
- Onion Powder, ½ teaspoon (adds that classic ranch flavor without raw onion bite)
- Lemon Juice, 1 tablespoon, freshly squeezed (bottled works but fresh really does taste brighter)
- Salt, ½ teaspoon, or to taste (start with less; you can always add more)
- Black Pepper, ¼ teaspoon, freshly ground (optional but recommended for depth)
For the vegetables, I recommend buying what looks freshest at your store rather than forcing a specific color. One week your rainbow might feature radishes instead of purple cabbage. Another week you might swap yellow bell pepper for the squash. The recipe adapts beautifully. For the dip, do not skip the fresh herbs if you can help it—they really do make the difference between “good” and “I cannot stop eating this.”
Equipment Needed
You do not need a fancy kitchen to make these lunchbox dippers. Here is what you will actually use:
- Cutting Board: A large wooden or plastic board gives you room to work with multiple vegetables without crowding
- Sharp Chef’s Knife: A good 8-inch knife makes clean cuts through peppers and squash without crushing them
- Vegetable Peeler: Optional if you peel your carrots; I find it unnecessary for organic carrots but helpful for conventional ones with thicker skin
- Mixing Bowl: Medium-sized bowl for combining the dip ingredients
- Whisk or Fork: For blending the dip until smooth; a fork works fine if your whisk is missing
- Small Storage Containers: 4-6 individual containers with tight-fitting lids for portioning out the dippers
- Measuring Spoons: For accurate seasoning; eyeballing works but measuring ensures consistency
I have made this recipe with a dull knife and a plastic fork for whisking. It is not ideal, but it works. If you invest in one tool, make it a sharp chef’s knife—it makes vegetable prep genuinely enjoyable instead of frustrating. Budget-friendly options like Victorinox or Mercer are excellent choices that will last for years.
Preparation Method
Let me walk you through this step by step. I have made these dippers dozens of times, and these are the exact steps that work best.
- Wash and dry all vegetables thoroughly. This seems obvious, but wet vegetables make the dip watery and cause the veggies to slide around in the container. Pat everything dry with a clean kitchen towel or paper towels. Take your time here—this step matters more than you think.
- Prepare the red bell pepper. Cut off the top and bottom, remove the stem and seeds, then slice into ½-inch wide strips. I like to cut each strip in half crosswise so they fit nicely in lunchbox containers. The strips should be sturdy enough to hold dip without bending.
- Cut the carrots into sticks. Peel if desired, then cut into 3-inch long by ½-inch thick sticks. If your carrots are very thick, cut them in half lengthwise first. For younger kids, you might want thinner sticks that are easier to bite through.
- Slice the yellow squash. Cut off the ends, then slice into ¼-inch thick rounds. Cut each round in half to create half-moons. This shape holds dip well and looks pretty in the container. Do not slice too thin or they will get floppy by lunchtime.
- Prepare the cucumber spears. Cut off both ends, then slice the cucumber in half crosswise. Cut each half into quarters lengthwise to create spears. If using English cucumbers, the skin is tender enough to leave on. For regular cucumbers, consider peeling in stripes for visual appeal.
- Chop the purple cabbage. Cut the quarter head into 1-inch chunks, separating the layers slightly. You want pieces that are easy to pick up with fingers or a fork. The cabbage adds wonderful crunch and stays fresh longer than most other vegetables.
- Halve the cherry tomatoes. Cut each tomato in half through the equator (not through the stem end). This creates flat surfaces that help prevent rolling. If using larger tomatoes, quarter them instead. Pat the cut sides gently with a paper towel to remove excess moisture.
- Make the ranch dip. In your medium mixing bowl, combine the Greek yogurt, mayonnaise, fresh dill, fresh parsley, garlic powder, onion powder, lemon juice, salt, and black pepper. Whisk until completely smooth and well combined. Taste and adjust seasoning—you might want more lemon juice or an extra pinch of salt.
- Let the dip rest. Cover the bowl and refrigerate for at least 15 minutes. This resting time allows the dried herbs to rehydrate and the flavors to meld together. The dip will thicken slightly as it chills.
- Assemble the dippers. Divide the vegetable pieces evenly among your storage containers, arranging them by color if you want the rainbow effect. Spoon about 2-3 tablespoons of ranch dip into a small compartment or a separate small container. Seal tightly and refrigerate.
A few notes from experience: If your dip seems too thick after resting, stir in a teaspoon of milk or water to loosen it. If it seems too thin, add another tablespoon of yogurt. The vegetables can be prepped up to 3 days ahead, but I recommend making the dip fresh for best texture. The cucumbers will release water over time, so if prepping far ahead, store them separately and add to containers the morning of.
Cooking Tips & Techniques
I have learned these lessons the hard way so you do not have to. Here is what really makes a difference:
Keep vegetables cold and dry. The biggest mistake I made early on was not drying vegetables thoroughly after washing. Water creates condensation inside the container, which makes everything soggy and dilutes the dip. After washing, lay vegetables on a clean kitchen towel and let them air dry for 10 minutes before cutting.
Cut uniform pieces. This is not about being fancy—it is about practicality. When all the carrot sticks are the same size, they pack better, dip more easily, and look more appetizing. Take the extra 30 seconds to trim pieces to similar dimensions.
Layer the dip carefully. If you are packing the dip in the same container as the vegetables, use a silicone baking cup or a small reusable container to keep them separate. The vegetables will stay crunchier if they are not sitting in the dip all morning.
Season the vegetables lightly. A tiny pinch of salt sprinkled over the cut vegetables enhances their natural flavors without making them salty. Do this right before packing, not hours ahead, or the salt will draw out moisture.
Make extra dip. This ranch dip is versatile enough to use as a salad dressing, sandwich spread, or dip for chips. I always double the batch so I have some leftover for other meals during the week.
Do not skip the lemon juice. The acidity in the lemon juice does more than add flavor—it helps preserve the dip and keeps the yogurt from separating. Fresh lemon juice works noticeably better than bottled in this application.
Variations & Adaptations
This recipe is endlessly adaptable. Here are some of my favorite variations:
- Dairy-Free Version: Swap the Greek yogurt for a thick coconut yogurt and use vegan mayonnaise. The flavor changes slightly but the creamy texture remains. I have used this version for dairy-sensitive family members and it worked beautifully.
- Spicy Ranch: Add ½ teaspoon of cayenne pepper or a minced jalapeño to the dip for adults who want heat. My husband loves this version with extra black pepper and a dash of hot sauce mixed in.
- Seasonal Rainbow Swap: In summer, use fresh snap peas, radishes, and cherry tomatoes. In fall, try jicama sticks, apple slices (tossed in lemon water), and roasted sweet potato cubes. The rainbow concept works with any colorful produce.
- Herb Variation: Swap the dill and parsley for basil and chives, or try cilantro and mint for a fresher taste. Each herb combination creates a distinctly different dip experience.
- Protein Boost: Add hard-boiled egg wedges, cheese cubes, or turkey roll-ups alongside the vegetables for a more filling lunch. The rainbow vegetables become the colorful base for a complete meal.
I personally love the summer version with snap peas and radishes. Something about the peppery radish combined with the cool ranch dip feels right on a hot day. My kids prefer the classic version with no substitutions—go figure.
Serving & Storage Suggestions
These lunchbox dippers are best served cold, straight from the refrigerator. The contrast between the crisp vegetables and the cool, creamy dip is part of what makes them so satisfying. If you are packing for a school lunch, include a small ice pack to keep everything at a safe temperature.
For storage, keep the vegetables and dip separate until ready to eat. The cut vegetables will stay fresh in an airtight container in the refrigerator for up to 3 days. The dip keeps for 5 days in a sealed container. After that, the yogurt may start to separate and the herbs will lose their brightness.
If you are meal prepping for the week, I recommend cutting the vegetables on Sunday and storing them in separate containers by type. Cucumbers and tomatoes release moisture faster than carrots and peppers, so keeping them separate helps everything stay crunchy longer. Assemble individual portions each morning or the night before.
For reheating—do not. These are meant to be eaten cold. If you want a warm vegetable option, roast the vegetables at 400°F for 15 minutes and serve the dip on the side at room temperature. The roasted version is surprisingly good and makes a nice alternative for colder months.
Flavor-wise, the dip actually improves after a day in the refrigerator. The herbs have time to infuse the yogurt base, creating a more complex flavor. I often make the dip a day ahead specifically for this reason.
Nutritional Information & Benefits
Per serving (about 1 cup of vegetables with 2 tablespoons of dip):
- Calories: 145
- Protein: 8g
- Carbohydrates: 14g
- Fiber: 4g
- Fat: 7g
- Vitamin A: 120% DV
- Vitamin C: 80% DV
- Calcium: 10% DV
The rainbow of vegetables provides a wide range of phytonutrients and antioxidants. Red bell peppers are loaded with vitamin C, carrots provide beta-carotene for eye health, and purple cabbage offers anthocyanins that support heart health. The Greek yogurt base adds protein and probiotics for digestive wellness, while the fresh herbs contribute anti-inflammatory properties without adding calories.
This recipe is naturally gluten-free, nut-free, and can easily be made dairy-free. It is also vegetarian and can be adapted for vegan diets. The main allergens to note are dairy (from the yogurt) and eggs (from the mayonnaise). For those watching sodium, the dip can be made with reduced-salt ingredients and still taste delicious.
From a wellness perspective, I love that this recipe makes vegetables the star of the show without requiring anyone to choke down something they do not enjoy. It is eating well that actually tastes good—which is the only kind of healthy eating that sticks.
Conclusion
These Easy Rainbow Veggie Ranch Lunchbox Dippers have become a staple in our house for good reason. They solve the real problem of getting vegetables into lunchboxes without drama, without waste, and without spending hours in the kitchen. The recipe is forgiving enough for beginners and flexible enough for experienced cooks who want to use up whatever is in the fridge.
I love that this recipe does not pretend to be something it is not. It is not a gourmet creation or a complicated technique. It is simply a smart, practical way to make vegetables appealing—and honestly, that is harder than it sounds. The first time you see empty containers come home from school or work, you will understand why I keep coming back to this method.
If you try these dippers, I would love to hear how they worked for you. Did you swap in different vegetables? Did your kids actually eat them? Drop a comment below and share your version. And if you are looking for more easy, practical recipes that make real life easier, check out our full collection of recipes for more inspiration. Happy dipping!
Frequently Asked Questions
Can I use store-bought ranch dressing instead of making my own?
Absolutely. While homemade ranch has better flavor and texture, a quality store-bought ranch works in a pinch. Look for refrigerated ranch dressing rather than shelf-stable versions for the best taste. Just be aware that bottled ranch is thinner and may not cling to vegetables as well as the homemade version.
How far in advance can I prep these lunchbox dippers?
You can cut the vegetables up to 3 days ahead, but store them separately from the dip. The dip itself keeps for 5 days in the refrigerator. For best texture, I recommend assembling individual portions the night before or morning of. Cucumbers and tomatoes are the most perishable and should be added closest to serving time.
Can I freeze the vegetables or the dip?
Freezing the vegetables is not recommended—they will become mushy and watery when thawed. The dip can be frozen for up to 1 month, but the texture may change slightly upon thawing. Stir it well after defrosting and add a splash of lemon juice to refresh the flavor. For best results, make the dip fresh.
What other vegetables work well in this recipe?
Almost any crunchy vegetable works. Try snap peas, sugar snap peas, radishes, jicama, broccoli florets, cauliflower florets, celery sticks, or bell peppers in any color. For softer vegetables like zucchini or mushrooms, consider roasting them first to concentrate flavor and reduce moisture. The rainbow theme is flexible—use whatever colors you have available.
How do I keep the vegetables from getting soggy in the lunchbox?
The key is keeping vegetables completely dry before packing and storing the dip separately. Use a small container with a tight seal for the dip, and place a paper towel in the bottom of the vegetable container to absorb any condensation. If packing the night before, leave the lid slightly cracked in the refrigerator to allow moisture to escape before sealing completely.
Pin This Recipe!
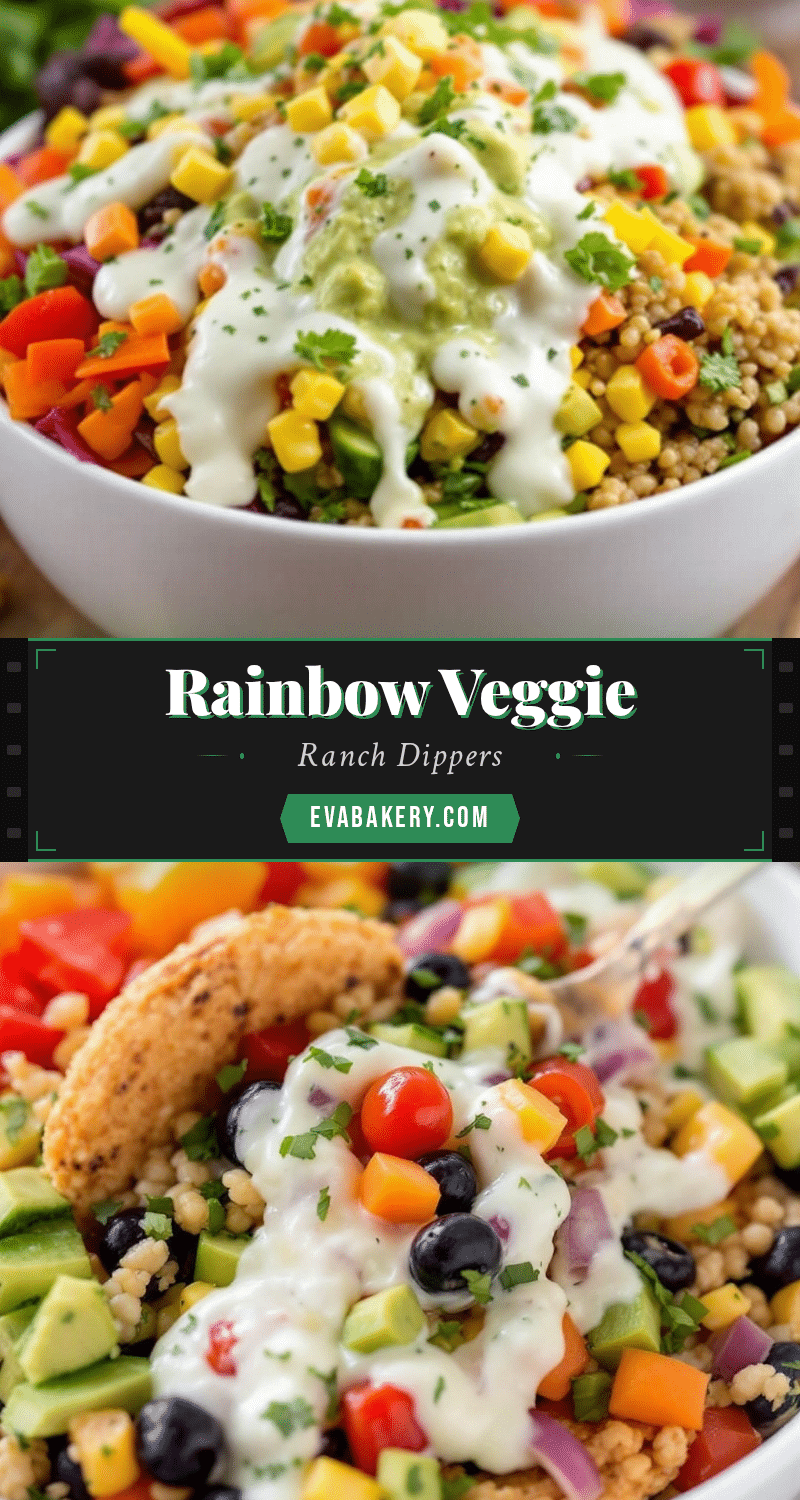
Easy Rainbow Veggie Ranch Lunchbox Dippers
A quick, no-cook recipe for colorful vegetable dippers with a creamy homemade ranch dip, perfect for lunchboxes and meal prep. Ready in 15 minutes and kid-approved.
- Prep Time: 15 minutes
- Cook Time: 0 minutes
- Total Time: 15 minutes
- Yield: 4 servings 1x
- Category: Appetizer
- Cuisine: American
Ingredients
- 1 large red bell pepper, sliced into thin strips
- 3 medium orange carrots, cut into sticks or coins
- 1 medium yellow summer squash, sliced into half-moons
- 1 medium green cucumber, cut into spears
- ¼ head purple cabbage, cut into bite-sized chunks
- 1 cup cherry tomatoes, halved if large
- 1 cup plain Greek yogurt (full-fat recommended)
- ¼ cup mayonnaise
- 2 tablespoons fresh dill, finely chopped
- 2 tablespoons fresh parsley, finely chopped
- ½ teaspoon garlic powder
- ½ teaspoon onion powder
- 1 tablespoon lemon juice, freshly squeezed
- ½ teaspoon salt, or to taste
- ¼ teaspoon black pepper, freshly ground
Instructions
- Wash and dry all vegetables thoroughly. Pat everything dry with a clean kitchen towel or paper towels.
- Prepare the red bell pepper: cut off the top and bottom, remove the stem and seeds, then slice into ½-inch wide strips. Cut each strip in half crosswise.
- Cut the carrots into sticks: peel if desired, then cut into 3-inch long by ½-inch thick sticks.
- Slice the yellow squash: cut off the ends, then slice into ¼-inch thick rounds. Cut each round in half to create half-moons.
- Prepare the cucumber spears: cut off both ends, then slice the cucumber in half crosswise. Cut each half into quarters lengthwise to create spears.
- Chop the purple cabbage: cut the quarter head into 1-inch chunks, separating the layers slightly.
- Halve the cherry tomatoes: cut each tomato in half through the equator. Pat the cut sides gently with a paper towel to remove excess moisture.
- Make the ranch dip: in a medium mixing bowl, combine the Greek yogurt, mayonnaise, fresh dill, fresh parsley, garlic powder, onion powder, lemon juice, salt, and black pepper. Whisk until completely smooth and well combined. Taste and adjust seasoning.
- Let the dip rest: cover the bowl and refrigerate for at least 15 minutes to allow flavors to meld.
- Assemble the dippers: divide the vegetable pieces evenly among storage containers, arranging them by color if desired. Spoon about 2-3 tablespoons of ranch dip into a small compartment or separate small container. Seal tightly and refrigerate.
Notes
Keep vegetables cold and dry to prevent sogginess. Cut uniform pieces for even packing. Store dip separately from vegetables until ready to eat. The dip improves after a day in the refrigerator. For dairy-free, use thick coconut yogurt and vegan mayonnaise. For spicy ranch, add ½ teaspoon cayenne pepper.
Nutrition
- Serving Size: 1 cup of vegetables
- Calories: 145
- Sugar: 8
- Sodium: 350
- Fat: 7
- Saturated Fat: 2
- Carbohydrates: 14
- Fiber: 4
- Protein: 8
Keywords: rainbow vegetables, veggie dippers, lunchbox, ranch dip, healthy snack, meal prep, kid-friendly, no-cook


