I had been looking for a weeknight chicken recipe that actually delivered on its promise of sticky, glossy, and deeply savory without requiring a laundry list of obscure ingredients or a sink full of dirty pots. For a while, I just accepted that quick chicken dinners meant dry, bland, or worse—burnt sugar stuck to the pan. This particular Tuesday, though, I was staring at a pack of bone-in thighs I’d defrosted that morning, a half-empty jar of honey, and a head of garlic that was starting to sprout. The usual stir-fry felt boring, and the thought of breading and frying exhausted me before I even started. So I decided to stop looking for the perfect recipe and just start cooking with what I had.
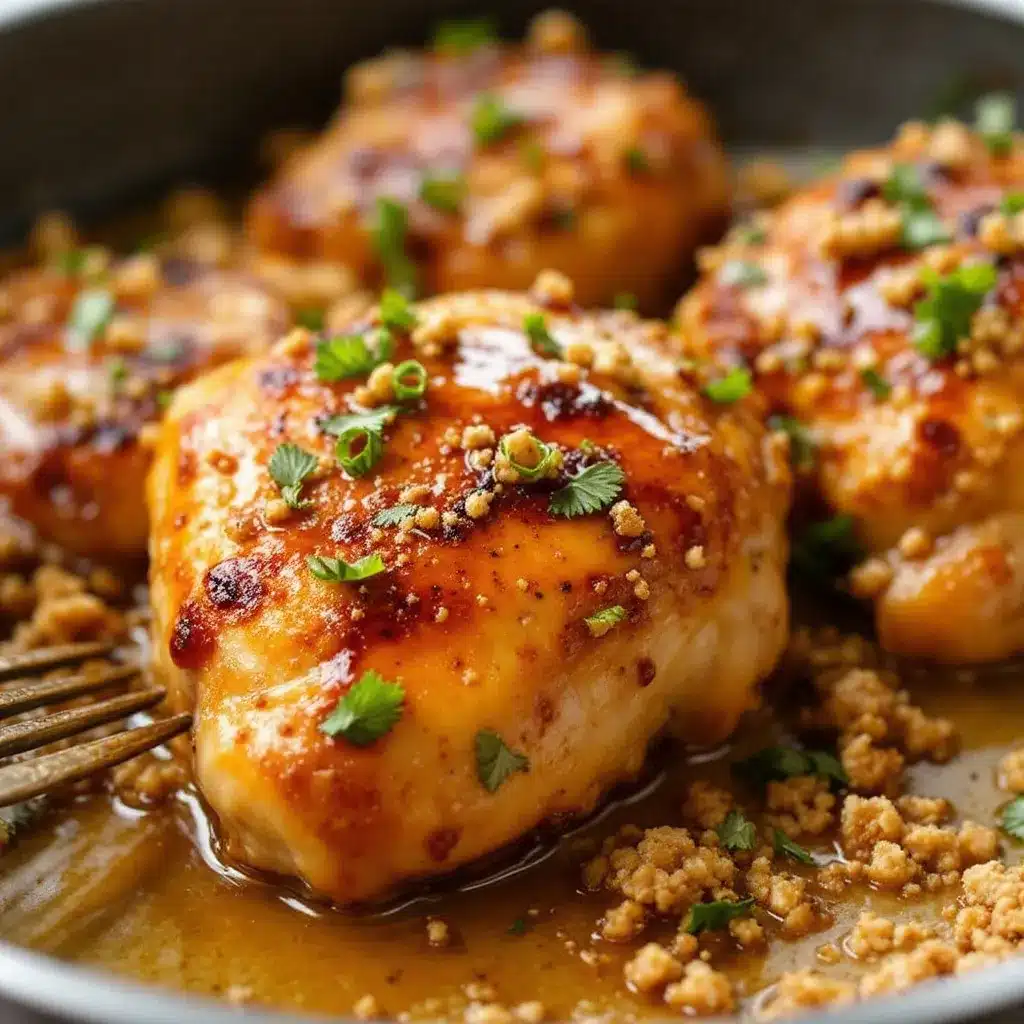
I threw a few cloves of garlic into a hot pan (maybe more than a few, honestly), added some soy sauce and honey, and let it bubble. The smell was immediate—sweet, pungent, and promising. I seared the chicken skin-side down until it was crackling and golden, then let it simmer in that sticky, garlicky glaze until the meat was practically falling off the bone. The whole thing came together in around thirty minutes, and when I pulled that skillet from the oven, the kitchen looked like a magazine shoot. The sauce had reduced into a lacquer that clung to every inch of the chicken. I didn’t plan it. I didn’t test it. I just cooked it, and it turned out to be exactly the kind of dinner I’d been wanting all along. That first bite—sweet, salty, a little sticky, and deeply savory—was the quiet payoff I didn’t know I needed.
Why You’ll Love This Recipe
This isn’t just another honey garlic chicken recipe. It’s the one that makes you wonder why you ever bothered with takeout. Here’s why it works so well for real life:
- Quick & Easy: From fridge to table in about 35 minutes. No marinating, no complicated steps. Just sear, simmer, and serve.
- Simple Ingredients: You probably have everything in your kitchen right now. Honey, soy sauce, garlic, chicken thighs. That’s it. No trips to a specialty store.
- Perfect for Busy Weeknights: This is the kind of meal that rescues you on a Wednesday when you have zero energy but still want something that feels special. It’s also impressive enough for a casual Sunday dinner with friends.
- Crowd-Pleaser: Kids love the sweet glaze, adults love the savory depth. I’ve served this to picky eaters and foodie friends, and everyone goes back for seconds.
- Unbelievably Delicious: The sauce reduces into a sticky, glossy coating that’s both sweet and savory. The chicken skin gets crispy in the pan, then soaks up just enough glaze to stay tender. It’s comfort food that feels a little bit fancy.
What makes this version different from all the others? It’s the balance. So many honey garlic recipes are either too sweet, too salty, or the sauce never thickens properly. I spent a few rounds tweaking the ratio until the honey and soy sauce worked together instead of fighting each other. The result is a glaze that clings to the chicken like a dream, without being cloying or watery. It’s the kind of recipe that makes you close your eyes after the first bite—not because it’s complicated, but because it’s just right.
What Ingredients You Will Need
This recipe uses simple, everyday ingredients to build big flavor without any fuss. Most of these are pantry staples, which is exactly why this dish works so well on a busy night.
- Chicken Thighs: Bone-in, skin-on thighs are the star here. The skin gets crispy and renders fat that flavors the sauce, while the bone keeps the meat moist during cooking. I prefer thighs over breasts for this recipe because they stay tender even if you simmer them a few minutes extra. If you want to use boneless thighs, reduce the cooking time by about 10 minutes.
- Honey: The backbone of the glaze. Use a good-quality honey—something that’s not too processed. I personally like a mild wildflower honey for its balanced sweetness. If your honey is crystallized, just warm it gently in the microwave before using.
- Soy Sauce: Provides the salty, umami counterpoint to the honey. I use low-sodium soy sauce so I can control the salt level. If you only have regular soy sauce, reduce the amount slightly. For a gluten-free option, use tamari or coconut aminos.
- Garlic: Fresh garlic is non-negotiable here. Minced garlic from a jar just doesn’t have the same punch. You’ll need about 4-6 cloves, depending on how garlicky you like things. I’m team “more garlic,” obviously.
- Rice Vinegar: A splash of acidity brightens up the sauce and cuts through the sweetness. Apple cider vinegar or white wine vinegar also works in a pinch. Don’t skip it—it makes a difference.
- Sesame Oil (Optional): A drizzle at the end adds a nutty, toasty aroma that takes this from good to great. It’s optional, but I highly recommend it.
- Cornstarch Slurry (Optional): If you want an extra-thick glaze, mix 1 teaspoon of cornstarch with 2 teaspoons of water and stir it into the sauce during the last few minutes of cooking. I usually don’t need it because the honey and natural chicken juices thicken it enough, but it’s a good trick if you like a very glossy coating.
- Green Onions & Sesame Seeds: For garnish. They add color, freshness, and a little crunch. Don’t skip the garnish—it makes the dish look restaurant-worthy.
Equipment Needed
You don’t need any fancy gadgets for this recipe. Here’s what you’ll need:
- Large Oven-Safe Skillet: A 12-inch cast iron or stainless steel skillet works best. Cast iron gives you a great sear and holds heat evenly. If you don’t have an oven-safe skillet, you can transfer the chicken to a baking dish after searing.
- Tongs: For flipping the chicken without tearing the skin. A good pair of tongs is worth its weight in gold.
- Small Bowl: For mixing the sauce ingredients together before cooking.
- Chef’s Knife & Cutting Board: For mincing garlic and chopping green onions.
- Measuring Spoons & Liquid Measuring Cup: For accurate measurements. Honey is sticky, so spray your measuring spoon with a little non-stick spray first—it’ll slide right off.
If you don’t have an oven-safe skillet, don’t worry. You can sear the chicken in a regular skillet, then transfer everything to a 9×13 baking dish to finish in the oven. I’ve done it both ways, and it works perfectly every time.
Preparation Method
Let’s get cooking. This comes together faster than you think, so have everything prepped and ready before you start.
- Preheat Your Oven to 400°F (200°C). This gives it time to come to temperature while you sear the chicken.
- Pat the Chicken Thighs Dry. Use paper towels to remove as much moisture from the skin as possible. This is the secret to getting that crispy, crackling skin. Season both sides generously with salt and pepper. Don’t be shy—the salt seasons the meat and helps the skin crisp up.
- Make the Sauce. In a small bowl, whisk together 1/3 cup (115g) honey, 1/4 cup (60ml) low-sodium soy sauce, 4-6 minced garlic cloves, and 1 tablespoon (15ml) rice vinegar. Set aside.
- Heat Your Skillet. Place your oven-safe skillet over medium-high heat and add 1 tablespoon of oil (vegetable, canola, or avocado oil—something with a high smoke point). Let it get shimmering hot, almost smoking.
- Sear the Chicken. Place the chicken thighs skin-side down in the hot skillet. Do not crowd the pan—work in batches if needed. Let them cook undisturbed for 5-6 minutes, until the skin is deep golden brown and crispy. The skin should release easily from the pan when it’s ready. If it sticks, let it cook another minute.
- Flip and Sear. Using tongs, flip the chicken over and cook for another 2-3 minutes on the other side. The meat should be lightly browned but not cooked through yet.
- Pour Over the Sauce. Carefully pour the honey garlic mixture over the chicken. It will sizzle and bubble immediately. Use a spoon to drizzle some sauce over the tops of the thighs.
- Transfer to the Oven. Place the skillet in the preheated oven (uncovered). Bake for 15-20 minutes, depending on the size of your thighs. The chicken is done when the internal temperature reaches 165°F (74°C) at the thickest part, not touching the bone. The sauce will be bubbling and thickened.
- Baste and Rest. Remove the skillet from the oven. Spoon the pan sauce over the chicken thighs one more time. Let them rest in the skillet for 5 minutes. This allows the juices to redistribute and the sauce to set into a sticky glaze.
- Garnish and Serve. Drizzle with a little sesame oil if using, then sprinkle with sliced green onions and sesame seeds. Serve immediately.
Pro Tip: If you want extra sticky glaze, after removing the chicken from the skillet, place the skillet on the stovetop over medium heat and let the sauce simmer for 2-3 minutes, stirring constantly, until it thickens to your liking. Then pour it over the chicken.
Cooking Tips & Techniques
I’ve made this recipe more times than I can count, and I’ve learned a few things along the way. Here are the tips that make a real difference:
- Don’t Skip the Drying Step. Wet skin won’t crisp up. I learned this the hard way when I was rushing one night and ended up with soggy, rubbery skin. Pat those thighs dry like your life depends on it.
- Use a Meat Thermometer. Chicken thighs are forgiving, but you still want to hit that 165°F (74°C) mark. I use an instant-read thermometer to check without cutting into the meat. It’s the best investment you’ll make for your kitchen.
- Watch the Sugar. Honey burns quickly. If your pan is too hot when you add the sauce, it can go from golden to bitter in seconds. Keep the heat at medium-high for searing, then reduce to medium when you add the sauce. The oven does the rest gently.
- Let It Rest. I know you’re hungry, but letting the chicken rest for those 5 minutes is crucial. The sauce sets, the juices redistribute, and the texture becomes perfect. I learned this after serving a few plates of runny-sauce chicken.
- Double the Sauce. If you love extra glaze for rice or vegetables, make 1.5 times the sauce recipe. Just be careful with the salt—add the soy sauce gradually and taste as you go.
Variations & Adaptations
This recipe is flexible, and I’ve tried several variations over the years. Here are some of my favorites:
- Spicy Honey Garlic: Add 1/2 teaspoon of red pepper flakes or a minced bird’s eye chili to the sauce. The heat balances the sweetness beautifully. I’ve made this version for spice-loving friends, and it disappears fast.
- Garlic Ginger Twist: Add 1 tablespoon of freshly grated ginger along with the garlic. Ginger and honey are a classic combination, and it adds a warm, aromatic note that’s perfect for cold weather.
- Lemon Honey: Replace the rice vinegar with 2 tablespoons of fresh lemon juice and add a teaspoon of lemon zest. The citrus brightens everything up and makes it feel lighter. This is my go-to version in spring.
- Skinless Option: If you’re watching fat intake, use boneless, skinless chicken thighs. Reduce the oven time to 12-15 minutes. The sauce won’t be as sticky without the rendered fat, so add a tablespoon of butter to the sauce before baking for richness.
- Air Fryer Method: Sear the chicken in the air fryer at 400°F (200°C) for 8 minutes, then toss with the sauce and cook for another 5-7 minutes, basting halfway through. It’s faster and the skin gets incredibly crispy.
Serving & Storage Suggestions
This chicken is incredibly versatile when it comes to serving. Here’s how I like to enjoy it:
- Serving Temperature: Serve hot, straight from the skillet. The sauce is at its stickiest and most flavorful when it’s warm. If you let it sit too long, the glaze can harden slightly.
- What to Serve With: Steamed jasmine rice or coconut rice is the perfect base to soak up all that extra sauce. A simple green vegetable like steamed broccoli, sautéed bok choy, or a crisp cucumber salad balances the richness. For a complete meal, I love serving this alongside some perfect scallops with lemon butter sauce for a surf-and-turf twist, or a fluffy mini quiche for a brunch-style spread.
- Storage: Store leftovers in an airtight container in the refrigerator for up to 4 days. The flavors actually deepen overnight as the sauce mingles with the meat.
- Reheating: The best way to reheat is in a skillet over medium-low heat with a splash of water or chicken broth. Cover and let it steam for 5-7 minutes. The microwave works in a pinch, but the skin won’t be crispy. For extra crispiness, reheat in an air fryer at 350°F (175°C) for 4-5 minutes.
- Freezing: This freezes beautifully. Let the chicken cool completely, then transfer to a freezer-safe container. It will keep for up to 3 months. Thaw overnight in the refrigerator and reheat as directed. The sauce might be a little thinner after freezing, so simmer it on the stovetop for a few minutes to thicken it back up.
Nutritional Information & Benefits
Here’s an approximate nutritional breakdown per serving (one thigh with sauce):
- Calories: 380-420
- Protein: 28-32g
- Fat: 20-24g
- Carbohydrates: 18-22g (mostly from honey)
- Fiber: 0g
- Sugar: 16-19g
- Sodium: 650-750mg (varies with soy sauce)
Health Benefits: Chicken thighs are a great source of high-quality protein, iron, and B vitamins, especially B6 and B12, which support energy metabolism. Honey provides antioxidants and has natural antibacterial properties. Garlic is known for its immune-boosting compounds, including allicin. While this dish is higher in sugar than some weeknight dinners, it’s a reasonable indulgence when paired with vegetables and whole grains. I like to serve it with a big side of steamed broccoli or a fresh salad to balance out the meal.
Dietary Considerations: This recipe is naturally dairy-free and nut-free. For a gluten-free version, use tamari or coconut aminos instead of soy sauce. It’s not low-carb due to the honey, but you can reduce the honey to 2 tablespoons and add a splash more vinegar for a lower-sugar version.
Conclusion
This easy sticky honey garlic chicken thighs recipe is the kind of meal that makes you look forward to dinner. It’s quick enough for a busy weeknight, simple enough for a beginner cook, and impressive enough to serve to guests. The combination of crispy skin, tender meat, and that glossy, sweet-savory glaze is genuinely hard to beat. I’ve made this for family dinners, casual get-togethers, and even just for myself on a quiet Tuesday, and it never disappoints.
What I love most about this recipe is how forgiving it is. You don’t need to be a professional chef to get it right. The ingredients are forgiving, the technique is straightforward, and the result is consistently delicious. Whether you stick to the original or try one of the variations, I promise you’ll end up with something worth eating—and probably worth making again the next week.
If you give this recipe a try, I’d love to hear how it turned out. Leave a comment below and let me know if you made any tweaks or additions. And if you’re looking for more easy dinner inspiration, check out our full recipe collection for more weeknight winners. Happy cooking!
Frequently Asked Questions
Can I use chicken breasts instead of thighs?
Yes, you can, but you’ll need to adjust the cooking time. Boneless, skinless chicken breasts will cook faster—about 12-15 minutes in the oven. Bone-in breasts will need about 20-25 minutes. Check the internal temperature to be safe. Keep in mind that breasts are leaner and can dry out more easily, so I recommend basting them halfway through cooking.
How do I prevent the honey from burning?
The key is not to cook the sauce over high heat for too long. When you add the sauce to the skillet, the residual heat from searing will caramelize it quickly. That’s why you transfer to the oven—the gentler, even heat prevents burning while allowing the sauce to thicken. If you notice the sauce getting too dark on the stovetop, lower the heat immediately.
Can I make this recipe in a slow cooker?
Absolutely. Sear the chicken first for the best flavor and texture, then transfer to the slow cooker. Pour the sauce over the top and cook on low for 4-5 hours or on high for 2-3 hours. The sauce will be thinner, so you’ll want to thicken it on the stovetop with a cornstarch slurry before serving. The skin won’t be crispy with this method, but the meat will be incredibly tender.
What can I use instead of honey?
Maple syrup is the best substitute, though it has a slightly different flavor profile. Brown sugar (about 1/3 cup packed) also works, but you’ll need to dissolve it in a little warm water first. Agave nectar is another option, but it’s sweeter, so use about 2 tablespoons instead of 1/3 cup. Each substitute will change the flavor slightly, but they all produce a delicious sticky glaze.
Can I double this recipe?
Yes, this recipe scales beautifully. If you’re cooking for a crowd, just double all the ingredients. The key is to sear the chicken in batches so you don’t overcrowd the pan. Use a larger skillet or two skillets if needed. The oven time might need an extra 5-10 minutes if you’re cooking a lot of chicken at once. Always check the internal temperature to be sure.
Pin This Recipe!
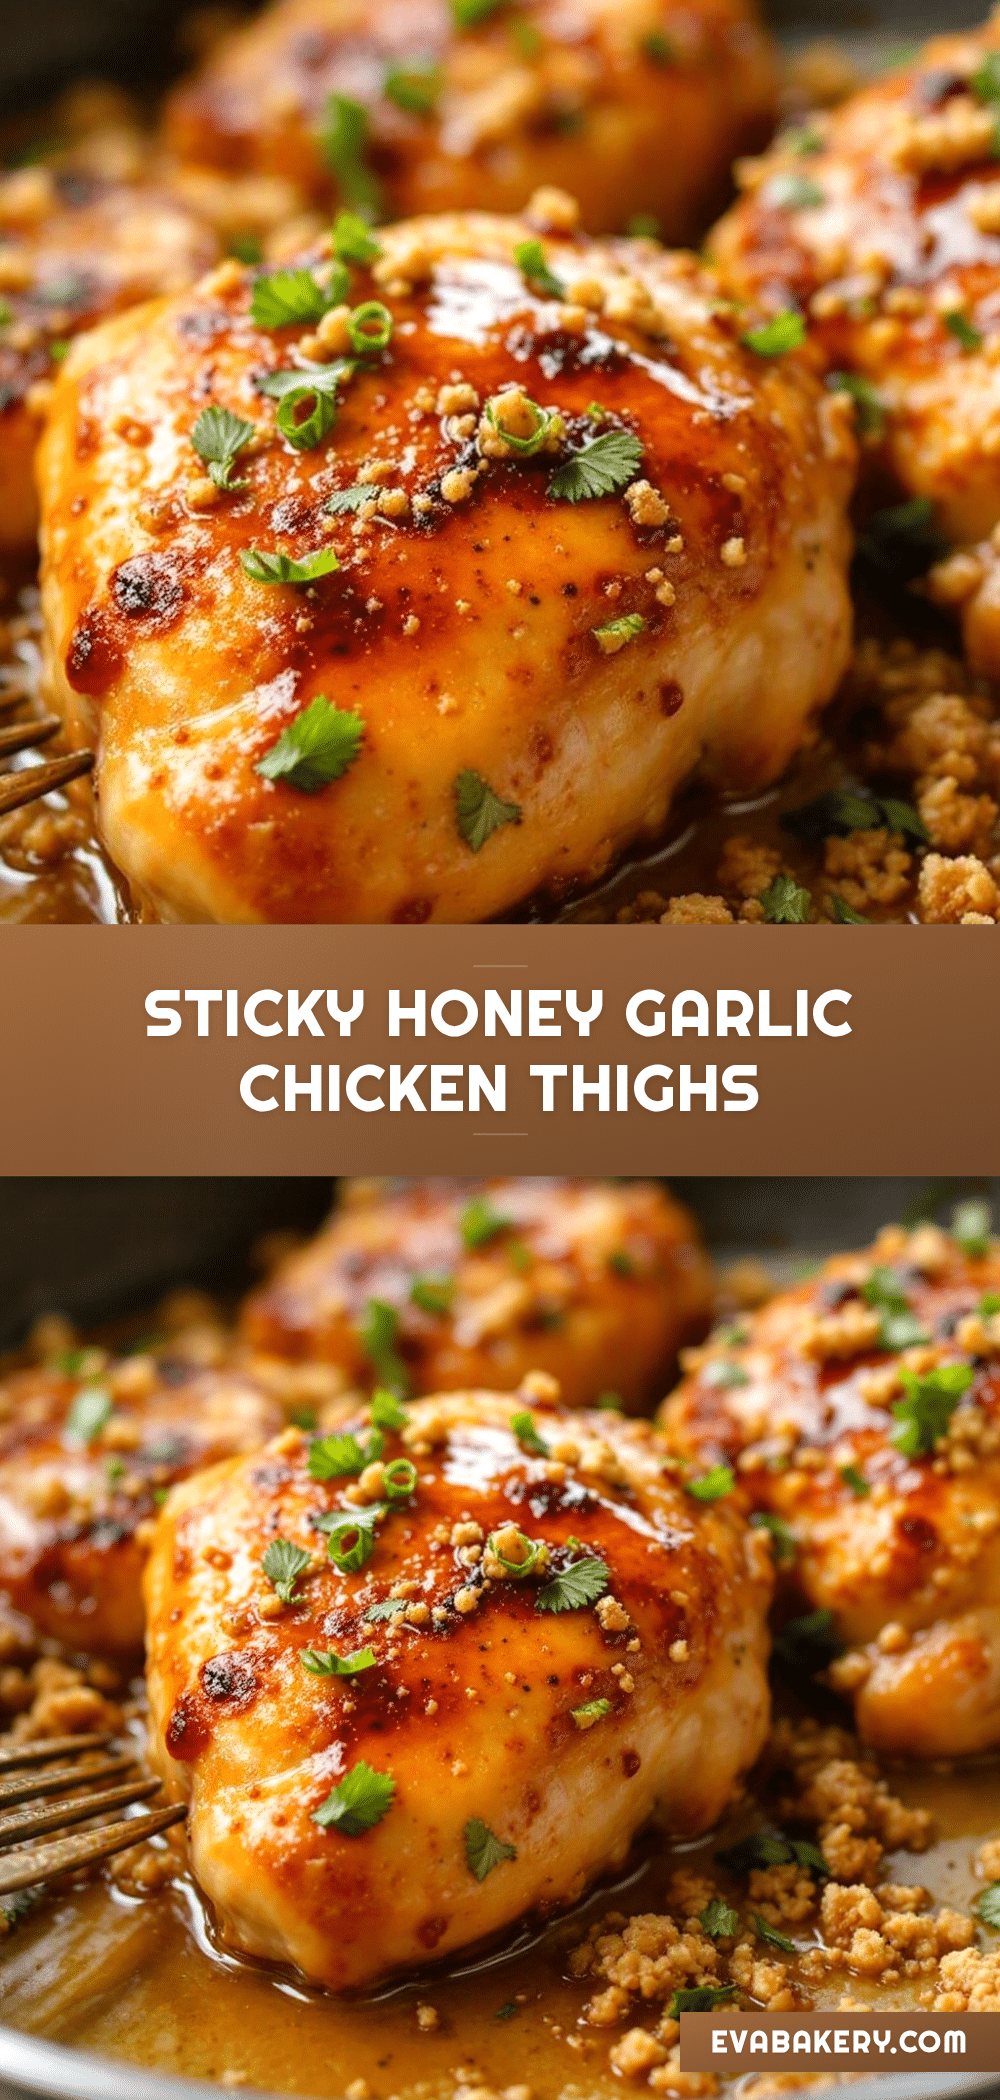
Easy Sticky Honey Garlic Chicken Thighs

This easy sticky honey garlic chicken thighs recipe is the kind of meal that makes you look forward to dinner. It’s quick enough for a busy weeknight, simple enough for a beginner cook, and impressive enough to serve to guests.
- Prep Time: 10 minutes
- Cook Time: 25 minutes
- Total Time: 35 minutes
- Yield: 4 servings 1x
- Category: Main Course
- Cuisine: Asian-inspired
Ingredients
- 6 bone-in, skin-on chicken thighs
- 1/3 cup (115g) honey
- 1/4 cup (60ml) low-sodium soy sauce
- 4–6 cloves garlic, minced
- 1 tablespoon (15ml) rice vinegar
- 1 tablespoon oil (vegetable, canola, or avocado oil)
- Salt and pepper to taste
- 1 teaspoon sesame oil (optional)
- 1 teaspoon cornstarch mixed with 2 teaspoons water (optional, for extra thick glaze)
- 2 green onions, sliced (for garnish)
- 1 tablespoon sesame seeds (for garnish)
Instructions
- Preheat your oven to 400°F (200°C).
- Pat the chicken thighs dry with paper towels. Season both sides generously with salt and pepper.
- In a small bowl, whisk together honey, low-sodium soy sauce, minced garlic, and rice vinegar. Set aside.
- Heat a large oven-safe skillet over medium-high heat and add 1 tablespoon of oil. Let it get shimmering hot.
- Place the chicken thighs skin-side down in the hot skillet. Cook undisturbed for 5-6 minutes, until the skin is deep golden brown and crispy.
- Flip the chicken over and cook for another 2-3 minutes on the other side.
- Carefully pour the honey garlic mixture over the chicken. It will sizzle and bubble immediately. Use a spoon to drizzle some sauce over the tops of the thighs.
- Transfer the skillet to the preheated oven (uncovered). Bake for 15-20 minutes, until the internal temperature reaches 165°F (74°C) at the thickest part.
- Remove the skillet from the oven. Spoon the pan sauce over the chicken thighs one more time. Let them rest in the skillet for 5 minutes.
- Drizzle with sesame oil if using, then sprinkle with sliced green onions and sesame seeds. Serve immediately.
Notes
For extra sticky glaze, after removing the chicken from the skillet, place the skillet on the stovetop over medium heat and let the sauce simmer for 2-3 minutes, stirring constantly, until it thickens to your liking. Then pour it over the chicken. If you don’t have an oven-safe skillet, sear the chicken in a regular skillet, then transfer everything to a 9×13 baking dish to finish in the oven.
Nutrition
- Serving Size: 1 chicken thigh with
- Calories: 400
- Sugar: 18
- Sodium: 700
- Fat: 22
- Saturated Fat: 6
- Carbohydrates: 20
- Protein: 30
Keywords: honey garlic chicken, sticky chicken thighs, easy weeknight dinner, chicken thighs recipe, honey soy chicken


