I was staring at the third sticky juice box lid of the afternoon, wondering when I’d lost control of snack time. My kids were circling the pantry like tiny, hungry sharks, and every pre-packaged bar in the box had more sugar than I wanted to admit. Then my youngest, mid-whine, pointed at a bag of oats and said, “Can you make something with that?” So I did. Right there, in the middle of a Tuesday that felt like a Monday, I grabbed a bowl, a spoon, and whatever looked promising. The result was a pan of chewy, sweet, surprisingly sturdy bars that stopped the snack attack in its tracks. They didn’t just eat them. They asked for another. And then they asked to help make them. That’s when I knew I had stumbled onto something real. These healthy no-bake granola bars kids love aren’t just a recipe. They’re a tiny, peaceful victory in the middle of a chaotic afternoon.
What I love most is how honest these bars are. No hidden junk, no weird ingredients I can’t pronounce. Just oats, nut butter, a little honey, and a handful of mix-ins that make them feel like a treat. They come together in about ten minutes, no oven required, and they actually hold together—which, if you’ve ever tried making homemade granola bars, you know is a minor miracle. These bars have become my go-to for playdates, lunchboxes, and those 4 PM moments when everyone is hungry and dinner is still an hour away. They’re the kind of snack that makes you feel like you’ve got it together, even when you’re pretty sure you don’t.
Why You’ll Love This Recipe
Let’s be real for a second. Finding a snack that kids actually want to eat and that you feel good about serving can feel like a losing game. These bars change that. They hit that sweet spot between “healthy enough for breakfast” and “fun enough for a treat.” And honestly, I’ve tested this recipe about a dozen times to get the texture just right—not too crumbly, not too sticky, just chewy and satisfying.
- Quick & Easy: From bowl to fridge in under 10 minutes. No baking, no waiting for the oven to preheat, no complicated steps.
- Simple Ingredients: You probably have everything in your pantry right now. Oats, peanut butter, honey, a few add-ins. That’s it.
- Kid-Approved: My kids have literally fought over the last bar. And I’m not mad about it.
- Perfect for Lunchboxes: They hold up well, don’t get soggy, and travel like a dream.
- Customizable: Swap the nut butter, change the mix-ins, make them your own. It’s a forgiving recipe that loves a little creativity.
What makes these different from every other granola bar recipe out there? It’s the ratio. I spent three batches figuring out the perfect balance of wet to dry ingredients so the bars stay together without being overly sticky or dry. And the flavor? It’s that nostalgic, comforting sweetness you remember from childhood, but without the corn syrup and preservatives. These bars are the kind of snack that makes you close your eyes after the first bite, even if you’re just standing in your kitchen, stealing a piece before the kids see.
What Ingredients You Will Need
This recipe uses simple, wholesome ingredients that work together to create a bar that’s both sturdy and soft. Most of these are pantry staples, so you can whip up a batch whenever the snack emergency strikes.
- Rolled Oats (2 cups): Not quick oats, not steel-cut. Rolled oats give the bars the perfect chewy texture. I prefer Bob’s Red Mill, but any brand works fine.
- Creamy Peanut Butter (1/2 cup): Natural peanut butter works, but make sure it’s well-stirred. If you use the kind with added sugar, you can reduce the honey slightly. For a nut-free option, sunflower seed butter is a great swap.
- Honey (1/3 cup): This is the glue that holds everything together. Maple syrup works too, but honey gives a slightly thicker, stickier result.
- Coconut Oil (2 tablespoons): Helps bind the bars and adds a subtle richness. You can use butter instead, but coconut oil keeps them dairy-free.
- Mini Chocolate Chips (1/4 cup): Because what’s a granola bar without a little chocolate? Use dairy-free chips if needed.
- Chopped Dried Fruit (1/4 cup): I love dried cranberries or chopped apricots. They add natural sweetness and a little chew.
- Vanilla Extract (1 teaspoon): Enhances all the flavors. Don’t skip it.
- Pinch of Salt: Balances the sweetness and brings everything together.
I’ve tried this recipe with almond butter, and it works beautifully—just note that the flavor is milder. For a lower-sugar version, you can reduce the honey to 1/4 cup and add an extra tablespoon of peanut butter. And if you’re out of coconut oil, melted butter or even a little extra peanut butter will do the trick.
Equipment Needed
You don’t need a fancy kitchen to make these bars. Here’s what you’ll need:
- 8×8-inch Baking Pan: This size gives you bars that are thick but not too thick. You can use a 9×9, but the bars will be thinner.
- Parchment Paper: Absolutely essential for easy removal. Leave some overhang on two sides for handles.
- Large Mixing Bowl: For combining the dry ingredients.
- Small Saucepan: For melting the wet ingredients together. A microwave-safe bowl works too.
- Spatula or Wooden Spoon: For mixing and pressing the mixture into the pan.
- Measuring Cups and Spoons: Precision matters here, especially with the wet ingredients.
If you don’t have an 8×8 pan, a loaf pan works in a pinch—just press the mixture in firmly and adjust the chill time. I’ve even used a small casserole dish, and it turned out fine. The key is to press the mixture down really well, no matter what pan you use.
Preparation Method
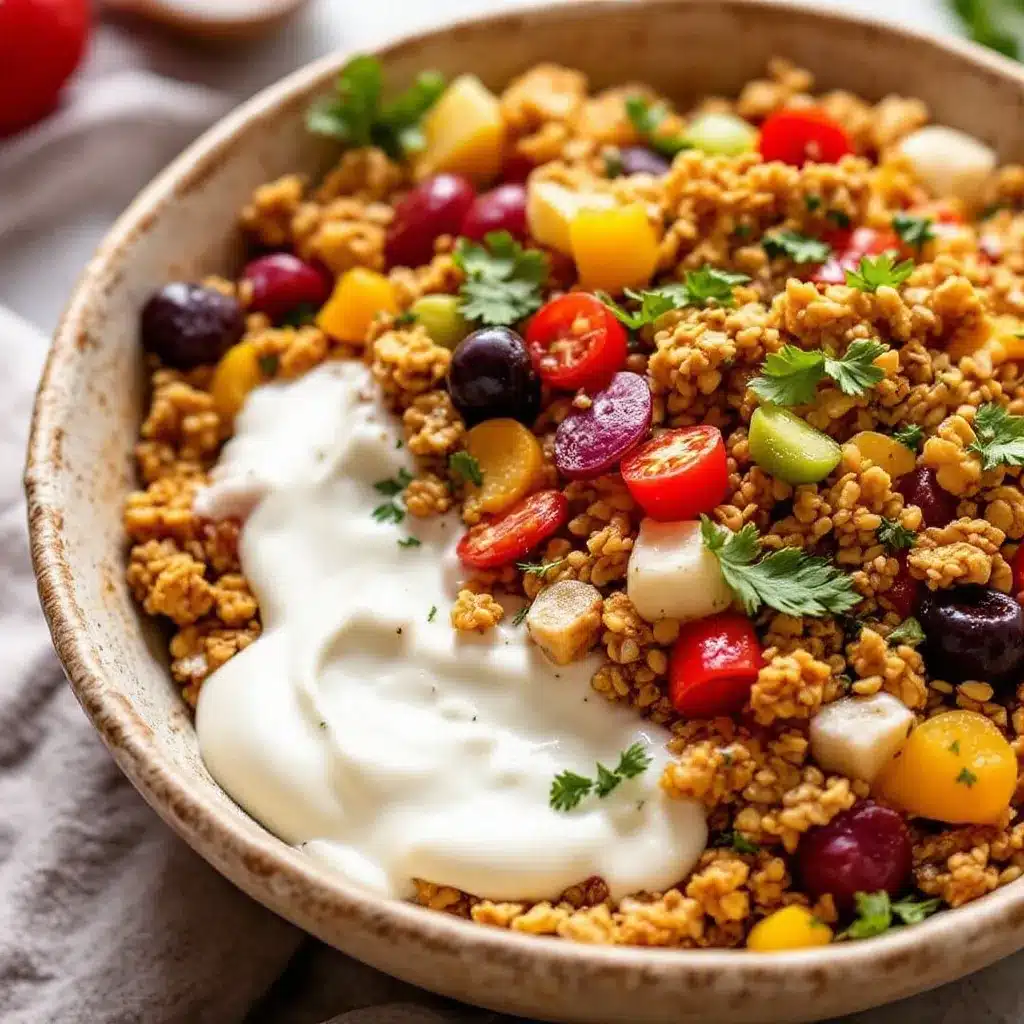
- Line your pan. Cut a piece of parchment paper to fit your 8×8 pan, leaving a couple inches of overhang on two sides. This will be your handle for lifting the bars out later. Set the pan aside.
- Combine the dry ingredients. In a large mixing bowl, add the rolled oats, mini chocolate chips, and chopped dried fruit. Give it a quick stir so everything is evenly distributed. Set aside.
- Melt the wet ingredients. In a small saucepan over low heat, combine the peanut butter, honey, and coconut oil. Stir constantly until everything is melted and smooth. This takes about 2-3 minutes. Don’t let it boil—just warm enough to blend. Remove from heat and stir in the vanilla extract and a pinch of salt.
- Pour and mix. Pour the warm wet mixture over the dry ingredients. Use a spatula to stir until every oat is coated. The mixture will look a little sticky and clumpy—that’s exactly what you want. If it looks too dry, add a tablespoon of warm water and stir again. If it looks too wet, add a tablespoon of oats.
- Press firmly. Transfer the mixture to your lined pan. Here’s the most important step: press it down as hard as you can. Use the back of a measuring cup or your hands (lightly oiled so they don’t stick). The bars will only hold together if the mixture is compacted evenly and firmly. Spend a full minute pressing it into the corners and flattening the top.
- Chill. Place the pan in the refrigerator for at least 2 hours. Overnight is even better. Don’t rush this step—the bars need time to set properly. If you try to cut them too soon, they’ll fall apart.
- Cut and serve. Once fully chilled, lift the parchment paper handles to remove the block from the pan. Place it on a cutting board and use a sharp knife to slice into 12 even bars. A clean cut makes all the difference—wipe the knife between slices if it gets sticky.
One thing I learned the hard way: don’t skip the pressing step. My first batch crumbled into a sad pile of oats because I was too gentle. Press it like you mean it, and your bars will thank you.
Cooking Tips & Techniques
After making these bars more times than I can count, I’ve picked up a few tricks that make a real difference.
Temperature matters. If your wet mixture is too hot when you pour it over the oats, it can make the bars greasy. Let it cool for a minute or two after melting. If it’s too cold, it won’t coat the oats evenly. Aim for warm but not hot.
Don’t overmix. Stir just until everything is combined. Overmixing can break down the oats and make the bars dense and mushy instead of chewy.
Chill time is non-negotiable. I know, you want to eat them now. But trust me, 2 hours is the minimum. I once tried to cut them after 45 minutes, and it was a disaster. The bars need time for the honey and peanut butter to set and bind everything together.
Use a sharp knife. A dull knife will drag through the bars and make a mess. A sharp chef’s knife gives you clean edges. And if you’re packing them for lunchboxes, cut them slightly smaller—kids love bite-sized pieces.
Keep them cold. These bars are best stored in the fridge. They soften at room temperature, especially if you add chocolate chips. Cold bars are firm, chewy, and hold their shape perfectly.
Variations & Adaptations
One of the best things about this recipe is how easy it is to switch things up. Here are a few variations I’ve tried and loved:
- Nut-Free Version: Swap the peanut butter for sunflower seed butter or tahini. The flavor changes slightly, but the texture stays the same. Just note that sunflower seed butter can turn green when combined with baking soda (don’t worry, it’s safe), so stick to this no-bake method.
- Chocolate Lover’s Bar: Add 2 tablespoons of cocoa powder to the dry ingredients and increase the honey by 1 tablespoon. The result is a rich, fudgy bar that tastes like dessert.
- Tropical Twist: Replace the dried cranberries with chopped dried mango and add 1/4 cup shredded coconut. It’s like a vacation in bar form.
- Seedy Crunch: Add 2 tablespoons each of chia seeds and flax seeds to the oat mixture. It boosts the fiber and omega-3s without changing the flavor much.
- No-Chocolate Version: Skip the chocolate chips and add 1/4 cup raisins or chopped dates instead. Perfect for mornings when you want a less sweet option.
I once made a batch with almond butter and dried cherries, and my husband said they tasted like a fancy granola bar from a coffee shop. So there’s that.
Serving & Storage Suggestions
These bars are incredibly versatile. Serve them cold straight from the fridge for a firm, chewy texture, or let them sit at room temperature for 5 minutes for a softer bite. They’re perfect for breakfast on the go, an afternoon snack, or even a light dessert.
For lunchboxes, I wrap each bar individually in parchment paper and tie it with a piece of kitchen twine. It looks cute and keeps them fresh. Pair them with apple slices, a cheese stick, or a handful of grapes for a balanced snack.
Storage: Keep the bars in an airtight container in the refrigerator for up to 2 weeks. They also freeze beautifully. Wrap each bar tightly in plastic wrap, then place them in a freezer-safe bag. They’ll keep for up to 3 months. To thaw, just let them sit at room temperature for 10 minutes, or pop them straight into a lunchbox—they’ll be thawed by snack time.
One thing I’ve noticed: the flavors actually get better after a day or two in the fridge. The oats absorb the honey and peanut butter, and the bars become more cohesive. So don’t be afraid to make them ahead.
Nutritional Information & Benefits
Here’s an approximate nutritional breakdown per bar (based on 12 bars):
| Nutrient | Amount |
|---|---|
| Calories | 185 |
| Total Fat | 9g |
| Saturated Fat | 3g |
| Carbohydrates | 23g |
| Fiber | 3g |
| Sugar | 11g |
| Protein | 5g |
These bars are a great source of fiber from the oats, healthy fats from the peanut butter, and a little protein to keep kids full between meals. The honey provides natural sweetness without the need for refined sugar. If you’re watching sugar intake, you can reduce the honey and add more mashed banana or applesauce as a binder.
Potential allergens: contains peanuts (if using peanut butter) and gluten (if using standard oats). For a gluten-free version, use certified gluten-free oats.
Conclusion
If you’ve been searching for a snack that actually works—one that’s quick, healthy, and kid-approved—this is it. These healthy no-bake granola bars kids love have become a staple in my kitchen, and I have a feeling they’ll become one in yours too. They’re forgiving enough for beginner cooks, customizable enough for picky eaters, and simple enough to make even on your most chaotic days.
I’d love to hear how they turn out for you. Did your kids help make them? Did you try a fun variation? Drop a comment below and let me know. And if you’re looking for another easy snack idea, you might enjoy these crispy prosciutto-wrapped asparagus bites or these fluffy mini quiches for a savory option. Happy snacking!
Frequently Asked Questions
Can I use quick oats instead of rolled oats?
Yes, but the texture will be softer and less chewy. Rolled oats give the bars more structure. If you only have quick oats, reduce the honey by 1 tablespoon to keep the bars from being too sticky.
How do I keep the bars from falling apart?
The two most important factors are pressing the mixture firmly into the pan and chilling the bars for at least 2 hours. If they still crumble, try adding an extra tablespoon of peanut butter or honey to the next batch for more binding power.
Can I make these vegan?
Absolutely. Swap the honey for maple syrup or agave nectar, and use dairy-free chocolate chips. The texture will be slightly different—maple syrup is thinner than honey—but they’ll still hold together well.
How long do these bars last at room temperature?
They’ll hold up for about 2-3 days at room temperature, but they’re best stored in the fridge. If you’re packing them for a lunchbox, they’ll be fine for a few hours without refrigeration.
Can I add protein powder to these bars?
Yes, but you’ll need to adjust the liquid. Add 2 tablespoons of protein powder to the dry ingredients, and increase the honey by 1 tablespoon to compensate for the dryness. Vanilla or chocolate protein powder works best.
Pin This Recipe!
Healthy No-Bake Granola Bars Kids Love (Easy 10-Min Recipe)
These healthy no-bake granola bars are quick, easy, and kid-approved. Made with simple pantry ingredients, they come together in about 10 minutes and are perfect for lunchboxes, playdates, or a quick snack.
- Prep Time: 10 minutes
- Cook Time: 0 minutes
- Total Time: 2 hours 10 minutes (includes chilling)
- Yield: 12 bars 1x
- Category: Snack
- Cuisine: American
Ingredients
- 2 cups rolled oats
- 1/2 cup creamy peanut butter
- 1/3 cup honey
- 2 tablespoons coconut oil
- 1/4 cup mini chocolate chips
- 1/4 cup chopped dried fruit (e.g., cranberries or apricots)
- 1 teaspoon vanilla extract
- Pinch of salt
Instructions
- Line an 8×8-inch baking pan with parchment paper, leaving overhang on two sides.
- In a large mixing bowl, combine rolled oats, mini chocolate chips, and chopped dried fruit. Stir to distribute evenly.
- In a small saucepan over low heat, combine peanut butter, honey, and coconut oil. Stir constantly until melted and smooth (about 2-3 minutes). Do not let it boil. Remove from heat and stir in vanilla extract and a pinch of salt.
- Pour the warm wet mixture over the dry ingredients. Stir with a spatula until every oat is coated. The mixture should be sticky and clumpy. If too dry, add 1 tablespoon warm water; if too wet, add 1 tablespoon oats.
- Transfer the mixture to the lined pan. Press down firmly and evenly using the back of a measuring cup or lightly oiled hands. Spend a full minute compacting the mixture into the corners and flattening the top.
- Refrigerate for at least 2 hours, or overnight, to set.
- Once fully chilled, lift the parchment paper handles to remove the block from the pan. Place on a cutting board and slice into 12 even bars using a sharp knife. Wipe the knife between slices if sticky.
Notes
Press the mixture firmly into the pan to ensure bars hold together. Chilling for at least 2 hours is essential. Store in an airtight container in the refrigerator for up to 2 weeks, or freeze for up to 3 months. For a nut-free version, use sunflower seed butter. For a vegan version, substitute honey with maple syrup and use dairy-free chocolate chips.
Nutrition
- Serving Size: 1 bar
- Calories: 185
- Sugar: 11
- Fat: 9
- Saturated Fat: 3
- Carbohydrates: 23
- Fiber: 3
- Protein: 5
Keywords: healthy granola bars, no-bake granola bars, kid-friendly snacks, easy granola bars, homemade granola bars, peanut butter granola bars, lunchbox snacks


