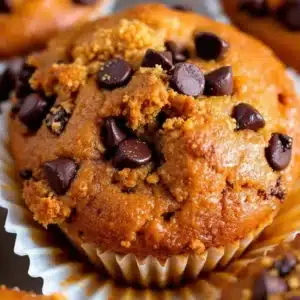
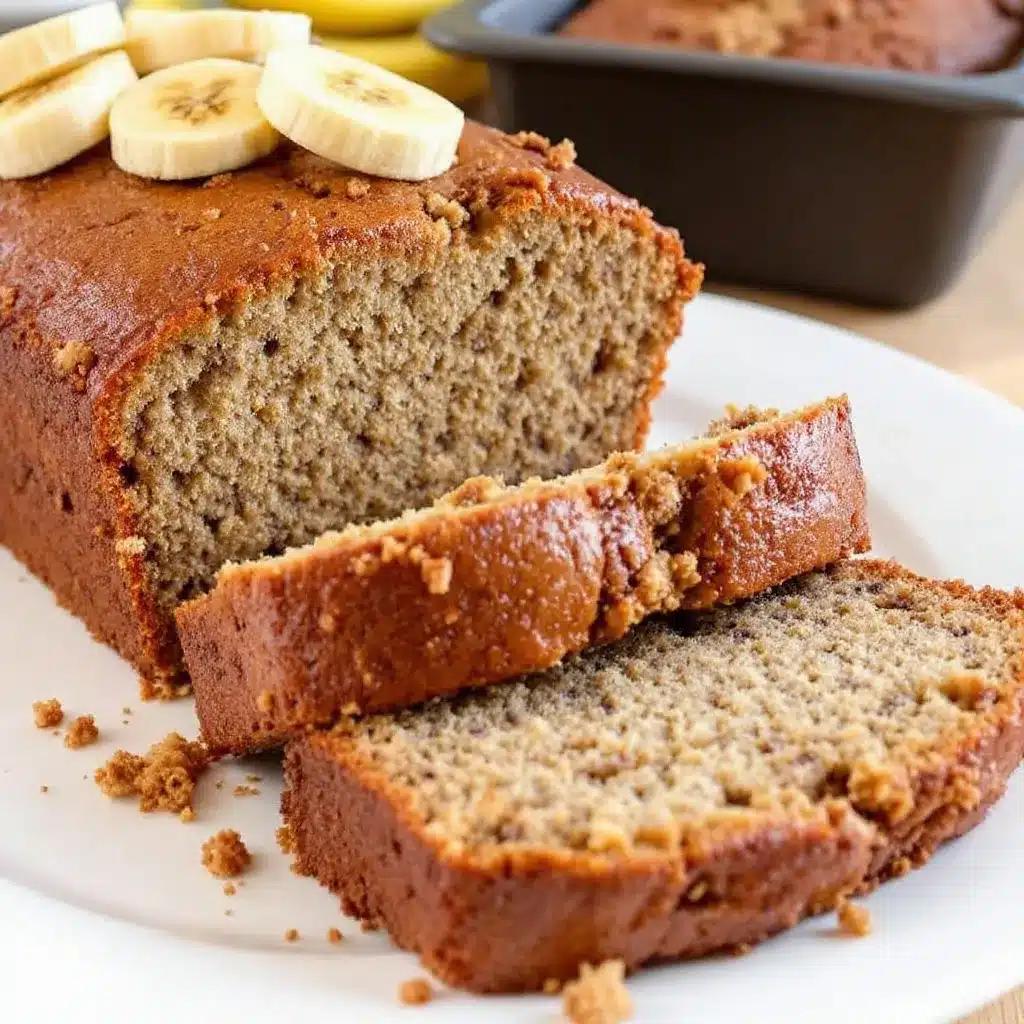
That crackled top, the one with the single deep split right down the middle, is what I was after. Not the domed, bakery-style muffin top, but that particular landscape of a properly baked loaf—golden brown, a little rugged, with a crumb that holds together without being the least bit heavy. Everything else about the process is just the path to getting there.
I’ve made more banana bread than I care to count, and honestly, most recipes produce a half-sheet pan’s worth of batter that leaves you with a loaf the size of a small shoe. That’s fine if you’re feeding a crowd, but I live in a two-person household, and the third day of banana bread starts to feel like a polite obligation rather than a treat. So I started tinkering with the ratios until I got a single, perfect loaf—one that fits the standard 8×4 pan, uses up exactly two very spotty bananas, and doesn’t leave you with a sad half-loaf languishing on the counter.
The trick, I found, is trusting the simplicity. No sour cream, no yogurt, no fussing with buttermilk. Just butter, sugar, a single egg, and the bananas doing the heavy lifting. The first time I pulled this version from the oven, the kitchen smelled exactly the way a Sunday afternoon should, and the slice I cut was so tender it barely needed a pat of butter. I haven’t made a full batch since.
This is the recipe you turn to when you have two brown bananas and a craving for something that feels like a hug in loaf form. No leftovers to negotiate, no waste, just a single, beautiful loaf that disappears before you have to think about freezing it.
Why You’ll Love This Recipe
This isn’t just another banana bread recipe you’ll bookmark and forget. This is the one you’ll actually make, because it solves the real problem of ending up with a full-sized loaf when you only wanted a couple of slices.
- Perfectly Sized for Two: This recipe makes exactly one 8×4-inch loaf. No half-recipes to calculate, no math required. It’s the ideal amount for small households or anyone who doesn’t want banana bread taking over their kitchen for a week.
- Simple Ingredients, No Fuss: You likely have everything in your pantry right now. Butter, sugar, flour, an egg, and two very ripe bananas. No specialty flours, no buttermilk runs, no fussing with flax eggs.
- That Crackly Top: The hallmark of great banana bread—a golden, slightly crisp crust that gives way to a tender, moist interior. This recipe nails it every single time because the batter is thick enough to support that signature split.
- Ready in Under an Hour: From mixing bowl to oven in about ten minutes, and the loaf bakes in about 50 minutes. That’s a real, honest timeline, not one of those blog estimates that forgets to account for softening butter.
- Foolproof for Beginners: I’ve tested this with different ovens, different banana ripeness levels, and even a slightly over-enthusiastic hand with the mixer. It’s forgiving. It wants you to succeed.
This recipe came about because I was tired of throwing away half a loaf. It’s the kind of recipe you’ll memorize after making it twice, and the kind your friends will start asking for. It’s simple, it’s reliable, and it tastes like the best version of itself.
What Ingredients You Will Need
This recipe uses simple, wholesome ingredients to deliver that perfect texture and flavor. Nothing fancy here—just pantry staples that work together beautifully.
- Unsalted butter (4 tablespoons, melted and slightly cooled): Melted butter gives this bread a tender, fine crumb. I use salted butter in a pinch and just skip the added salt, but unsalted gives you more control. Let it cool for a minute after melting so it doesn’t cook the egg.
- Granulated sugar (⅔ cup): Just enough sweetness to complement the bananas without overwhelming them. You can reduce this to ½ cup if your bananas are extremely sweet, but I wouldn’t go lower than that.
- One large egg (room temperature): The egg provides structure and richness. If you forget to set it out ahead of time, place it in a bowl of warm water for five minutes.
- Vanilla extract (1 teaspoon): Pure vanilla extract makes a noticeable difference here. I’ve used imitation in a pinch, and it works, but the real stuff adds a warmth that’s hard to beat.
- Ripe bananas (2 medium, mashed, about 1 cup): The riper, the better. You want bananas with plenty of brown spots—the kind you might otherwise toss. They should be soft enough to mash with a fork easily. Overly green bananas will produce a bland, dense loaf.
- All-purpose flour (1 cup): Spoon and level your flour—don’t scoop directly from the bag or you’ll end up with a dry loaf. I use unbleached all-purpose flour, and it works perfectly. For a gluten-free option, use a 1:1 gluten-free baking blend.
- Baking soda (½ teaspoon): This is the leavening agent that gives the bread its rise. Make sure it’s fresh—test it by dropping a bit into vinegar; it should fizz vigorously.
- Salt (¼ teaspoon): Salt balances the sweetness and enhances the banana flavor. I use fine sea salt, but table salt works just fine.
Optional add-ins: A handful of chopped walnuts or pecans adds nice crunch. Chocolate chips are always a welcome addition—about ⅓ cup is perfect. If you’re adding mix-ins, fold them in gently at the end so you don’t overwork the batter.
Equipment Needed
You don’t need a professional baker’s kitchen for this recipe. Just a few basics you probably already own.
- 8×4-inch loaf pan: This is the perfect size for a small batch. A 9×5-inch pan will work, but your loaf will be shorter and will bake faster, so start checking for doneness around 35 minutes.
- Mixing bowls (one medium, one small): I use a medium bowl for the wet ingredients and a small one for mashing the bananas.
- Whisk or fork: A whisk is great for combining the wet ingredients, but a fork works perfectly for mashing the bananas.
- Rubber spatula: For folding the batter and scraping every last bit into the pan. A silicone spatula is my preference—it doesn’t scratch your bowls.
- Parchment paper: Lining the pan makes removal effortless. I leave an overhang on two sides to create handles.
- Cooling rack: Essential for letting the loaf cool evenly. If you don’t have one, you can use the inverted loaf pan to create airflow, but a rack is better.
- Toothpick or skewer: For testing doneness. A wooden skewer is long enough to reach the center without burning your fingers.
I’ve made this recipe with a glass loaf pan, a metal one, and even a disposable aluminum pan. The metal pan gives the best browning, but glass works fine—just reduce the oven temperature by 25°F and expect a slightly longer bake time.
Preparation Method
Let’s get to the good part. This method is straightforward, but I’ve included all the little details that make the difference between good banana bread and great banana bread.
- Preheat your oven to 350°F (175°C). Position the rack in the center of the oven. Line your 8×4-inch loaf pan with parchment paper, leaving an overhang on the two long sides. This creates handles that make lifting the loaf out a breeze.
- Melt the butter. In a small saucepan or microwave-safe bowl, melt 4 tablespoons of unsalted butter. Set it aside to cool for a minute or two—you don’t want it hot enough to cook the egg when you mix it in.
- Mash the bananas. In a medium bowl, mash your two very ripe bananas with a fork until mostly smooth. A few small lumps are fine—they add texture. You should have about 1 cup of mashed banana. If you have a little more, that’s fine; if you have less, don’t worry.
- Combine the wet ingredients. To the mashed bananas, add the melted butter, ⅔ cup granulated sugar, one large egg, and 1 teaspoon vanilla extract. Whisk or stir until everything is well combined and smooth. The mixture should look like a thick, pale liquid.
- Mix the dry ingredients. In a separate small bowl, whisk together 1 cup all-purpose flour, ½ teaspoon baking soda, and ¼ teaspoon salt. Whisking ensures the baking soda and salt are evenly distributed—don’t skip this step.
- Combine wet and dry. Pour the dry ingredients into the wet mixture. Use a rubber spatula to fold everything together gently. Stir just until you no longer see streaks of flour—about 10 to 12 strokes. Overmixing will develop the gluten and make your banana bread tough. A few small lumps are perfectly fine.
- Fold in any add-ins. If you’re using nuts or chocolate chips, fold them in now with a few gentle strokes. Don’t overmix here either.
- Transfer to the pan. Pour the batter into your prepared loaf pan. Use the spatula to spread it evenly. The batter should be thick and slightly shaggy on top—that’s normal.
- Bake for 45 to 55 minutes. Place the pan in the preheated oven and bake until a toothpick inserted into the center comes out clean or with just a few moist crumbs attached. The top should be a deep golden brown with that signature crack down the middle. If the top is browning too quickly after 35 minutes, tent the pan loosely with foil.
- Cool in the pan. Let the loaf cool in the pan on a wire rack for 10 minutes. This allows it to set enough that you can lift it out without it falling apart.
- Remove and cool completely. Use the parchment handles to lift the loaf out of the pan and transfer it to the wire rack. Let it cool completely before slicing—about 1 hour. I know it’s tempting to cut into it warm, but slicing too early will give you a gummy, crumbly mess. Patience pays off here.
Sensory cues: The batter should be thick enough to mound slightly in the pan. When the loaf is done, it will pull away from the sides of the pan slightly, and the top will feel firm to a gentle touch. The smell is unmistakable—warm, sweet, and deeply banana-forward.
Cooking Tips & Techniques
I’ve made every mistake in the book so you don’t have to. Here’s what I’ve learned.
Don’t overmix the batter. This is the number one mistake I see. Overmixing develops gluten, which makes your banana bread tough and dense instead of tender and soft. Stir just until the flour disappears. A few lumps are your friend.
Use very ripe bananas. I cannot stress this enough. Green or even yellow bananas with no spots will produce a bland, starchy loaf. You want bananas that are soft, heavily speckled with brown, and almost too soft to hold their shape. If your bananas aren’t ripe enough, you can speed things up by roasting them in their skins at 300°F for 15-20 minutes until they’re soft and the skins have darkened.
Measure flour correctly. Scooping your measuring cup directly into the flour bag compacts it, adding up to 20% more flour than you intend. Always spoon the flour into your measuring cup and level it off with a straight edge. This one habit will dramatically improve your baking consistency.
Let it cool completely. I know, I know. But trust me. Cutting into warm banana bread releases steam too quickly, and the crumb will compress into a gummy mess. Give it a full hour on the cooling rack. Your patience will be rewarded with clean, tender slices.
Check for doneness early. Every oven runs a little differently. Start checking your loaf at 45 minutes. If the toothpick comes out with wet batter, give it another 5 minutes and check again. If it comes out with a few moist crumbs, it’s done. Overbaking dries out the bread, so err on the side of slightly underdone rather than overdone.
I once forgot to add the sugar to a batch. The loaf came out dense, flat, and almost savory. It was inedible. So yes, double-check your ingredients before you start mixing. It’s a simple step that saves a lot of heartache.
Variations & Adaptations
This recipe is a fantastic base for experimentation. Here are a few ways to make it your own.
Chocolate Chip Banana Bread: Fold in ⅓ cup of semi-sweet or dark chocolate chips along with the dry ingredients. The chocolate melts into little pools of richness throughout the loaf. I’ve also used white chocolate chips, which adds a creamy sweetness that pairs beautifully with the banana.
Nutty Banana Bread: Add ⅓ cup of toasted walnuts or pecans. Toast them in a dry skillet over medium heat for 3-4 minutes until fragrant, then chop them roughly. Toasting brings out their oils and adds a deeper, nuttier flavor. This is my personal favorite variation.
Vegan Banana Bread: Replace the butter with 4 tablespoons of melted coconut oil or vegan butter, and use a flax egg (1 tablespoon ground flaxseed mixed with 3 tablespoons water, let sit for 5 minutes). The texture will be slightly denser, but still delicious. Use a dairy-free milk if you need to thin the batter, though it’s usually not necessary.
Gluten-Free Banana Bread: Substitute the all-purpose flour with a 1:1 gluten-free baking blend that contains xanthan gum. I’ve tested this with Bob’s Red Mill and King Arthur brands, and both work well. Don’t use almond flour or coconut flour as a direct substitute—they have different absorption rates and will change the texture significantly.
Spiced Banana Bread: Add ½ teaspoon of cinnamon and ¼ teaspoon of nutmeg to the dry ingredients. The warm spices complement the banana flavor beautifully. A pinch of ground ginger or cardamom would also work well here.
Brown Butter Banana Bread: Brown the butter before using it. Melt the butter in a small saucepan over medium heat, swirling occasionally, until it turns a deep golden brown and smells nutty—about 5 minutes. Let it cool slightly before using. This adds an incredible, toasty depth of flavor that takes the bread to another level.
I’ve tried a version with shredded coconut and macadamia nuts that tasted like a tropical vacation. If you’re feeling adventurous, go for it. The base recipe is forgiving enough to handle your creativity.
Serving & Storage Suggestions
This banana bread is wonderful on its own, but a few small touches can make it feel even more special.
Serving: Serve at room temperature or slightly warm. A thin slice with a pat of salted butter is classic for a reason—the salt cuts through the sweetness and highlights the banana flavor. For a more indulgent treat, spread a little cream cheese or honey butter on top. Toasted slices are also fantastic, especially if the bread is a day old.
Complementary pairings: A cup of strong black coffee or a cold glass of milk is the perfect accompaniment. If you’re serving this for brunch, it pairs beautifully with a refreshing champagne punch or a pot of hot tea. For a sweet brunch spread, consider serving it alongside fluffy mini quiches for a delightful sweet and savory balance.
Storage: Wrap the cooled loaf tightly in plastic wrap or store it in an airtight container at room temperature. It will stay fresh for up to 3 days. The flavor actually improves on the second day as the banana flavor deepens.
Freezing: This bread freezes beautifully. Wrap the cooled loaf tightly in plastic wrap, then in a layer of aluminum foil. Freeze for up to 3 months. To thaw, leave it at room temperature for a few hours or unwrap and microwave individual slices for 15-20 seconds. You can also freeze individual slices for grab-and-go snacks.
Reheating: For a just-baked experience, warm slices in a 300°F oven for 5-7 minutes. The microwave works in a pinch, but it can make the bread slightly rubbery. Toasting is my favorite method—it crisps the edges while keeping the center soft.
The flavors continue to develop over the first 24 hours, so if you can resist eating it all immediately, the second day is truly the sweet spot.
Nutritional Information & Benefits
Here’s the estimated nutritional breakdown for one slice (based on 8 slices per loaf). Keep in mind these are estimates and will vary based on specific ingredients and any add-ins you use.
| Nutrient | Amount per Slice |
|---|---|
| Calories | 220 |
| Total Fat | 9g |
| Saturated Fat | 5g |
| Cholesterol | 40mg |
| Sodium | 180mg |
| Total Carbohydrates | 32g |
| Dietary Fiber | 1g |
| Sugars | 18g |
| Protein | 3g |
Health benefits: Bananas are a good source of potassium, vitamin B6, and vitamin C. They also provide natural sweetness, which allows us to use less refined sugar than many other baked goods. The butter and egg provide some healthy fats and protein, making this a more balanced treat than a typical slice of cake.
Dietary considerations: This recipe is vegetarian. For a vegan or gluten-free version, see the variations section above. It contains dairy (butter) and eggs, so it’s not suitable for those with those allergies without substitutions.
I don’t pretend this is health food, but it’s a real-food treat made from recognizable ingredients. Sometimes that’s exactly what you need.
Conclusion
This small-batch banana bread is everything I want in a recipe: simple, reliable, and perfectly portioned. It uses up those two sad bananas on your counter, comes together in minutes, and delivers a loaf that’s tender, flavorful, and has that gorgeous crackled top we all love.
I encourage you to make this recipe your own. Add your favorite mix-ins, experiment with spices, or try the brown butter version. The base is solid enough to handle your creativity. And if you’re hosting a gathering, this banana bread pairs wonderfully with creamy New Year’s cheesecake with festive pomegranate topping for a dessert spread that covers all the bases.
I’d love to hear how it turns out for you. Did you add chocolate chips? Try it with walnuts? Make it for a lazy Sunday breakfast? Drop a comment below and let me know. Your adaptations might just inspire someone else’s next bake.
Happy baking, friends. Here’s to the perfect little loaf.
Frequently Asked Questions
Can I use frozen bananas for this recipe?
Absolutely. Thaw them completely, then drain off any excess liquid before mashing. Frozen bananas can be a bit watery, so you may want to reduce the melted butter by about a tablespoon to compensate.
Why did my banana bread sink in the middle?
This usually happens when the batter is overmixed or the loaf is underbaked. Overmixing creates too much air, which collapses as it cools. Make sure you’re testing for doneness with a toothpick and not removing the loaf too early.
Can I double this recipe?
Yes, but you’ll need to use a 9×5-inch loaf pan and increase the bake time to about 60-70 minutes. Double all ingredients and follow the same method. Keep an eye on the top and tent with foil if it browns too quickly.
How do I know when my bananas are ripe enough?
Look for bananas with plenty of brown spots and a soft texture. They should yield easily when you press them. If they’re still mostly yellow, they’re not ready. You can ripen them quickly by placing them in a paper bag with an apple overnight.
Can I use whole wheat flour instead of all-purpose?
You can substitute up to half of the all-purpose flour with whole wheat flour without significantly changing the texture. Using 100% whole wheat will result in a denser, heartier loaf. You may also need to add an extra tablespoon of milk or water to compensate for the whole wheat flour’s higher absorption rate.
Pin This Recipe!
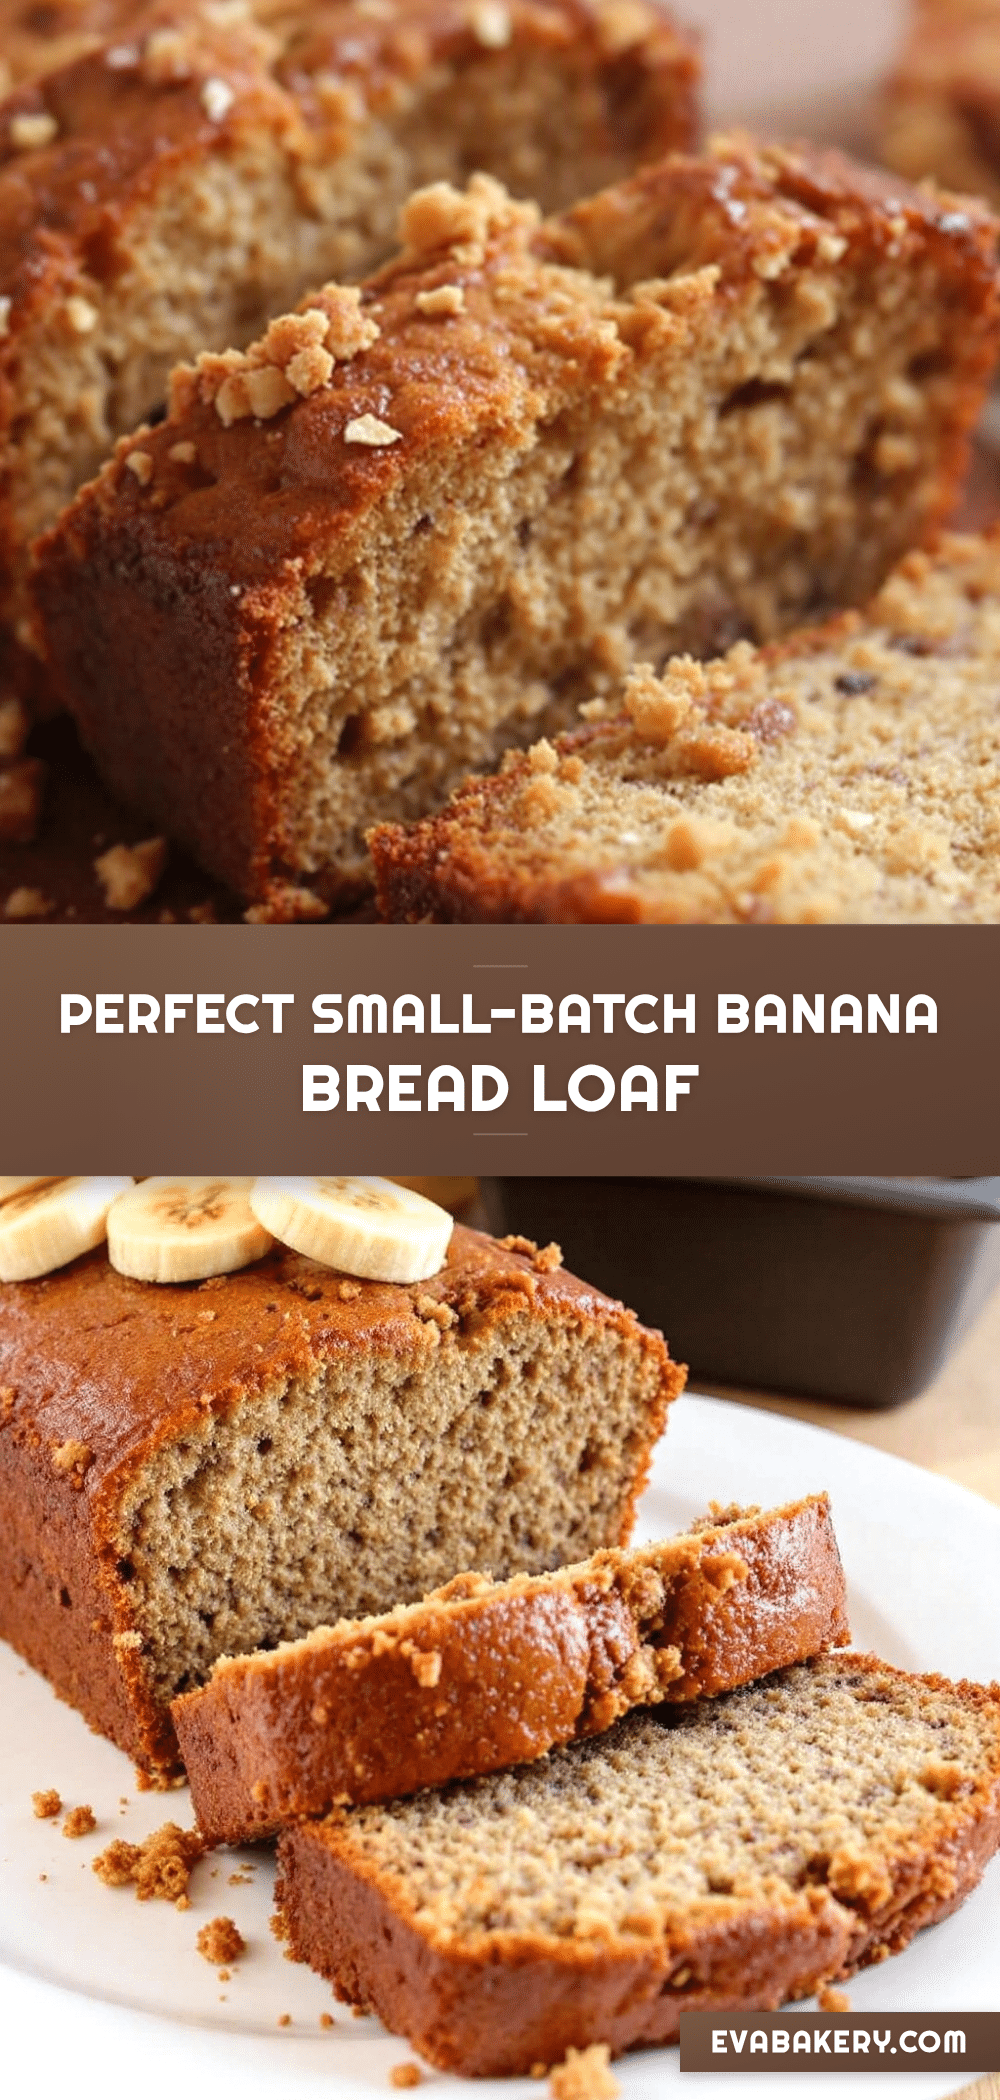
Perfect Small-Batch Banana Bread (Easy One Loaf Pan Recipe)
This small-batch banana bread is perfectly sized for two, using two very ripe bananas and simple pantry staples to create a tender, moist loaf with that signature crackled top. Ready in under an hour, it’s a foolproof recipe that disappears before you have to think about freezing it.
- Prep Time: 10 minutes
- Cook Time: 50 minutes
- Total Time: 1 hour
- Yield: 8 servings 1x
- Category: Dessert
- Cuisine: American
Ingredients
- 4 tablespoons unsalted butter, melted and slightly cooled
- ⅔ cup granulated sugar
- 1 large egg, room temperature
- 1 teaspoon vanilla extract
- 2 medium ripe bananas, mashed (about 1 cup)
- 1 cup all-purpose flour, spooned and leveled
- ½ teaspoon baking soda
- ¼ teaspoon salt
- Optional: ⅓ cup chopped walnuts or pecans
- Optional: ⅓ cup chocolate chips
Instructions
- Preheat your oven to 350°F (175°C). Position the rack in the center of the oven. Line an 8×4-inch loaf pan with parchment paper, leaving an overhang on the two long sides.
- Melt 4 tablespoons of unsalted butter in a small saucepan or microwave-safe bowl. Set aside to cool for a minute or two.
- In a medium bowl, mash the two very ripe bananas with a fork until mostly smooth. A few small lumps are fine.
- To the mashed bananas, add the melted butter, ⅔ cup granulated sugar, one large egg, and 1 teaspoon vanilla extract. Whisk or stir until well combined and smooth.
- In a separate small bowl, whisk together 1 cup all-purpose flour, ½ teaspoon baking soda, and ¼ teaspoon salt.
- Pour the dry ingredients into the wet mixture. Use a rubber spatula to fold together gently, just until no streaks of flour remain (about 10 to 12 strokes). Do not overmix.
- If using, fold in nuts or chocolate chips with a few gentle strokes.
- Pour the batter into the prepared loaf pan and spread evenly. The batter should be thick and slightly shaggy on top.
- Bake for 45 to 55 minutes, until a toothpick inserted into the center comes out clean or with a few moist crumbs. If the top browns too quickly after 35 minutes, tent loosely with foil.
- Let the loaf cool in the pan on a wire rack for 10 minutes.
- Use the parchment handles to lift the loaf out of the pan and transfer to the wire rack. Cool completely before slicing, about 1 hour.
Notes
Use very ripe bananas with plenty of brown spots for best flavor. Do not overmix the batter. Let the loaf cool completely before slicing to avoid a gummy texture. For a gluten-free version, use a 1:1 gluten-free baking blend. For a vegan version, replace butter with melted coconut oil and use a flax egg.
Nutrition
- Serving Size: 1 slice
- Calories: 220
- Sugar: 18
- Sodium: 180
- Fat: 9
- Saturated Fat: 5
- Carbohydrates: 32
- Fiber: 1
- Protein: 3
Keywords: small-batch banana bread, easy banana bread, one loaf banana bread, banana bread for two, simple banana bread