My aunt showed up an hour early for Thanksgiving dinner, and the only thing I had prepped was the crust. The turkey was still resting in its brine bath, the rolls hadn’t seen the inside of an oven, and there I was—staring at a blind-baked pie shell like it was a blank canvas I had no idea how to fill. I had planned on making a classic pumpkin pie, the one my grandma always made, but something about the afternoon felt off. The table wasn’t set yet, and the dog had somehow gotten into the appetizer platter.
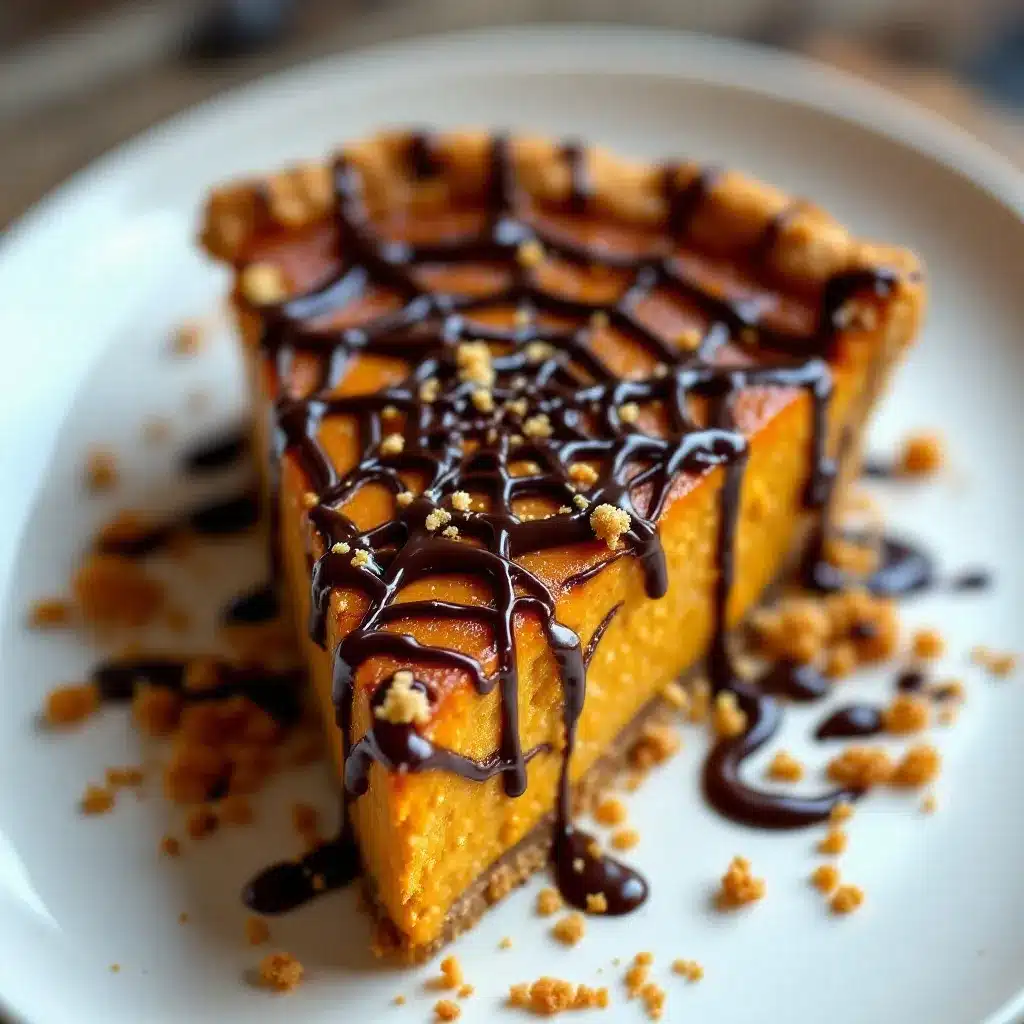
So I did what any slightly panicked host would do. I grabbed the can of pumpkin puree, the heavy cream, and the eggs, and I started whisking like a mad scientist. But the pie needed a little something extra—a visual trick to buy me time while I figured out the rest of the meal. I remembered seeing a spiderweb design on a cake once, and I thought, why not try it on a pie? I melted some dark chocolate, filled a tiny piping bag, and started swirling. Honestly, I didn’t think it would work. But when I pulled that pie out of the oven, the web had set perfectly, and the chocolate had settled into this glossy, dramatic pattern that made the whole thing look like a pastry shop window display.
That pie ended up being the star of the meal. Everyone asked for the recipe, and I had to admit I’d just made it up on the spot. But that’s the thing about this Perfect Spiderweb Pumpkin Pie with Chocolate Drizzle—it looks like you spent hours on it, when really it came together in a moment of kitchen chaos. It’s the kind of dessert that makes people stop mid-conversation and take a second look. And honestly, it’s become my go-to for fall gatherings ever since.
Why You’ll Love This Recipe
This isn’t just another pumpkin pie recipe. I’ve tested this one about seven times to get the filling silky-smooth and the spiderweb pattern foolproof. Let me tell you what makes it worth your time.
- Stunning Presentation, Minimal Effort : The spiderweb design looks incredibly intricate, but it only takes about two minutes to create. You don’t need any special artistic skills—just a toothpick and a steady hand.
- Rich, Spiced Filling : The pumpkin custard is perfectly balanced with warm fall spices and a touch of brown sugar. It’s not too sweet, so the chocolate drizzle really pops.
- Make-Ahead Friendly : You can prep the crust and filling the day before. Just assemble and bake when you’re ready to impress your guests.
- Customizable for Any Occasion : While it’s perfect for Halloween or Thanksgiving, the spiderweb design works beautifully for any fall gathering. Swap the chocolate for white chocolate for a different look.
- Guaranteed Crowd-Pleaser : I’ve brought this to three different parties now, and every single time, someone asks for the recipe. It’s that kind of dessert.
What really sets this recipe apart is the texture. The filling is creamy without being heavy, and the chocolate adds a slight bitterness that cuts through the sweetness. It’s not just another version of pumpkin pie—it’s the version you’ll actually want to make again and again.
What Ingredients You Will Need
This recipe uses simple, wholesome ingredients to deliver bold flavor and satisfying texture without the fuss. Most of these are pantry staples, so you probably already have everything on hand.
For the Pie Crust
- 1 ¼ cups all-purpose flour (plus extra for dusting)
- ½ teaspoon salt
- ½ cup unsalted butter, cold and cubed (I prefer Kerrygold for its rich flavor)
- 3-4 tablespoons ice water
For the Pumpkin Filling
- 1 can (15 oz) pumpkin puree (not pumpkin pie filling—look for 100% pure pumpkin)
- 1 cup heavy cream (adds richness; you can use half-and-half for a lighter version)
- ¾ cup packed brown sugar (dark or light both work; dark gives deeper flavor)
- 2 large eggs, room temperature
- 1 teaspoon vanilla extract
- 1 ½ teaspoons pumpkin pie spice (or make your own with cinnamon, nutmeg, ginger, and cloves)
- ½ teaspoon ground cinnamon
- ¼ teaspoon salt
For the Spiderweb Chocolate Drizzle
- ½ cup dark chocolate chips (I recommend Ghirardelli 60% cacao for the best melt)
- 2 tablespoons heavy cream
- 1 tablespoon unsalted butter
Ingredient Selection Tips
For the best texture, make sure your butter is really cold when making the crust. I usually pop my cubed butter in the freezer for 10 minutes before starting. For the pumpkin puree, I’ve tested both Libby’s and store brands, and honestly, Libby’s gives the smoothest, most consistent results. If you’re using fresh pumpkin, make sure to drain it really well after roasting—wet pumpkin will make the filling runny.
For the chocolate drizzle, don’t use chocolate chips that have stabilizers in them. Look for pure dark chocolate with no added oils. It melts more smoothly and sets with a beautiful shine.
Equipment Needed
- 9-inch pie dish (glass or ceramic works best for even baking)
- Rolling pin
- Large mixing bowl
- Whisk
- Small saucepan (for melting chocolate)
- Toothpick or skewer (for creating the spiderweb pattern)
- Piping bag or small zip-top bag (for the chocolate drizzle)
- Parchment paper
- Pie weights or dried beans (for blind baking)
If you don’t have a rolling pin, a wine bottle works surprisingly well. Just make sure it’s clean and chilled. For the piping bag, a small zip-top bag with the corner snipped off does the job perfectly—no need to buy anything fancy. I’ve been using the same pie dish for years, and honestly, a basic Pyrex dish is all you need.
Preparation Method
Step 1: Make the Pie Crust (20 minutes + 1 hour chilling)
In a large bowl, whisk together the flour and salt. Add the cold, cubed butter and use a pastry cutter or your fingertips to work it into the flour until the mixture resembles coarse crumbs with some pea-sized butter pieces remaining. Drizzle in the ice water, one tablespoon at a time, and mix gently with a fork until the dough just comes together. It should feel slightly shaggy but hold together when pressed.
Turn the dough out onto a lightly floured surface and shape it into a disk. Wrap it in plastic wrap and refrigerate for at least 1 hour. This resting time is crucial—it relaxes the gluten and keeps the crust tender.
Step 2: Blind Bake the Crust (25 minutes)
Preheat your oven to 375°F. Roll the chilled dough out on a floured surface to about 12 inches in diameter. Gently transfer it to your pie dish and trim the edges, leaving about a ½-inch overhang. Fold the edges under and crimp them with your fingers or a fork.
Line the crust with parchment paper and fill it with pie weights or dried beans. Bake for 15 minutes, then remove the weights and parchment and bake for another 5-7 minutes, until the bottom looks dry and lightly golden. Set aside to cool slightly.
Step 3: Prepare the Pumpkin Filling (10 minutes)
While the crust cools, make the filling. In a large bowl, whisk together the pumpkin puree, heavy cream, brown sugar, eggs, vanilla, pumpkin pie spice, cinnamon, and salt. Whisk until everything is smooth and well combined. The mixture should be thick but pourable. If it looks too thick, add a splash more cream.
Pour the filling into the pre-baked crust and smooth the top with a spatula. Don’t overfill—leave about ¼ inch of space at the top to prevent overflow.
Step 4: Bake the Pie (45-50 minutes)
Place the pie on the middle rack of your oven and bake at 375°F for 45-50 minutes. The edges should be set, but the center should still jiggle slightly when you gently shake the pan. That jiggle is key—it means the custard will set to a silky texture as it cools.
Let the pie cool completely on a wire rack. This takes about 2 hours. Don’t rush this step, or your spiderweb pattern will slide right off.
Step 5: Create the Spiderweb Chocolate Drizzle (15 minutes)
Once the pie is completely cool, make the chocolate drizzle. In a small saucepan over low heat, combine the dark chocolate chips, heavy cream, and butter. Stir constantly until everything is melted and smooth. Remove from heat and let it cool for 2-3 minutes—it should be warm but not hot.
Transfer the melted chocolate to a piping bag or a small zip-top bag with a tiny corner snipped off. Starting from the center of the pie, pipe a small circle of chocolate. Then pipe concentric circles around it, spacing them about ½ inch apart. You should have about 5-6 circles total.
Here’s the fun part: take a toothpick or skewer and drag it from the center outward through all the circles, like spokes on a wheel. Then drag it from the edge back toward the center in between each spoke. This creates the classic spiderweb pattern. Wipe the toothpick clean between each drag for the cleanest lines.
Let the chocolate set for about 30 minutes at room temperature, or pop the pie in the fridge for 15 minutes if you’re in a hurry.
Cooking Tips & Techniques
I’ve made this pie enough times to know exactly where things can go wrong. Here are the lessons I learned the hard way so you don’t have to.
Don’t skip the blind bake. The first time I made this, I poured the filling directly into an unbaked crust. The bottom came out soggy and undercooked. Blind baking gives the crust a head start and ensures it stays flaky even after the wet filling goes in.
Watch your oven temperature. I had one batch where the edges of the filling puffed up and cracked because my oven runs hot. If your oven tends to be aggressive, drop the temperature to 350°F and bake a little longer. A cracked pie still tastes great, but the spiderweb pattern looks better on a smooth surface.
The chocolate drizzle timing is everything. If the chocolate is too hot, it will melt into the filling instead of sitting on top. If it’s too cold, it will be too thick to pipe. Let it cool until it’s warm to the touch but not hot. I test it on the back of my hand—if it feels like a warm bath, it’s ready.
Clean lines make a better web. Wipe your toothpick after every single drag. I know it seems tedious, but those few seconds make the difference between a crisp web and a muddy mess. Trust me, I’ve had both.
Let the pie cool completely before adding the chocolate. I once rushed this step and the chocolate slid right off the warm filling into a puddle at the bottom. Patience pays off here.
Variations & Adaptations
One of the best things about this recipe is how easy it is to tweak. Here are a few variations I’ve tried and loved.
White Chocolate Spiderweb: Swap the dark chocolate for white chocolate chips. The white web against the orange filling looks stunning for Halloween parties. Just be careful not to overheat white chocolate—it burns easily. Use a double boiler or microwave in 15-second bursts.
Gluten-Free Version: Use a gluten-free all-purpose flour blend in the crust. I’ve had great results with Bob’s Red Mill 1-to-1 Baking Flour. The texture is slightly more crumbly, but the flavor is still fantastic.
Vegan Adaptation: Use a store-bought vegan pie crust, and swap the heavy cream for full-fat coconut cream. Use flax eggs (1 tablespoon ground flaxseed mixed with 3 tablespoons water per egg) instead of regular eggs. The filling will be slightly less rich, but the chocolate drizzle makes up for it.
Spiced Chocolate Drizzle: Add a pinch of cayenne pepper or cinnamon to the melted chocolate for a little heat. I tried this on a whim last fall, and it was a huge hit with my spice-loving friends.
Mini Spiderweb Pies: Use a muffin tin instead of a pie dish. Cut the crust into rounds and press them into the muffin cups. Blind bake for 10 minutes, then fill and bake for 20-25 minutes. These are perfect for parties where everyone wants their own little pie.
Serving & Storage Suggestions
This pie is best served at room temperature or slightly chilled. The chocolate drizzle sets best when the pie is cool, so I usually pull it out of the fridge about 30 minutes before serving. A dollop of lightly sweetened whipped cream on each slice is optional but highly recommended—it balances the richness of the chocolate.
For drinks, this pie pairs beautifully with a hot cup of coffee or a spiced chai latte. If you’re serving it at a party, consider offering a glass of refreshing champagne punch—the bubbles cut through the creamy filling perfectly. Or, for a non-alcoholic option, a warm apple cider is always a hit.
Storage: Cover the pie loosely with plastic wrap or aluminum foil and store it in the refrigerator for up to 4 days. The chocolate drizzle may soften slightly over time, but the flavor stays delicious.
Freezing: You can freeze the baked pie (without the chocolate drizzle) for up to 2 months. Wrap it tightly in plastic wrap and then foil. Thaw overnight in the refrigerator, then add the chocolate drizzle before serving. I’ve done this for holiday prep, and it works like a charm.
Reheating: If you prefer warm pie, pop individual slices in the microwave for 15-20 seconds. The chocolate will soften but won’t melt completely. For the best texture, avoid reheating the whole pie.
Nutritional Information & Benefits
Per slice (based on 8 servings):
- Calories: 385
- Fat: 22g
- Carbohydrates: 44g
- Protein: 6g
- Fiber: 3g
- Sugar: 28g
Pumpkin is packed with vitamin A, which supports eye health and immune function. It’s also a good source of fiber, which helps with digestion. The dark chocolate drizzle adds antioxidants, making this dessert slightly more virtuous than your average slice of pie. Of course, it’s still a treat, but it’s one that offers a few nutritional perks.
If you’re watching your sugar intake, you can reduce the brown sugar to ½ cup and use a sugar-free chocolate for the drizzle. The filling will be less sweet, but the spices will still shine through.
Conclusion
This Perfect Spiderweb Pumpkin Pie with Chocolate Drizzle is the kind of dessert that makes people stop and stare. It looks like it came from a fancy bakery, but it’s actually one of the easiest showstopper desserts you can make at home. The creamy pumpkin filling, the buttery crust, and that dramatic chocolate web—it all comes together in a way that feels special without requiring hours of work.
I love this recipe because it reminds me that sometimes the best things come from unexpected moments. That uninvited guest, that chaotic afternoon, that split-second decision to try something new—they all led to a pie that’s become a fall tradition in my house. I hope it becomes one in yours too.
If you make this pie, I’d love to hear how it turns out. Leave a comment below and let me know if your spiderweb came out as clean as you hoped. And if you’re looking for more impressive yet easy desserts, check out our creamy New Year’s cheesecake or these black and gold macarons for your next celebration. Happy baking!
Frequently Asked Questions
Can I use a store-bought pie crust?
Absolutely. A high-quality refrigerated pie crust works perfectly for this recipe. Just make sure to blind bake it according to the package directions before adding the filling.
Why did my spiderweb pattern turn out blurry?
This usually happens when the chocolate is too warm or the pie filling isn’t fully cooled. Make sure the pie is completely at room temperature and the chocolate is warm but not hot. Also, wipe your toothpick clean between each drag.
Can I make this pie a day ahead?
Yes! Bake the pie and let it cool completely. Store it in the refrigerator overnight, then add the chocolate drizzle the next day before serving. The drizzle stays fresh for about 24 hours.
How do I prevent the crust from shrinking during blind baking?
Make sure your dough is well-chilled before baking. Also, don’t stretch the dough when you transfer it to the pie dish—gently press it into place. If it does shrink a little, just patch it with extra dough before filling.
Can I use milk chocolate instead of dark chocolate?
You can, but milk chocolate is sweeter and softer, so the spiderweb pattern may not be as defined. If you use milk chocolate, reduce the sugar in the filling slightly to balance the sweetness.
Pin This Recipe!
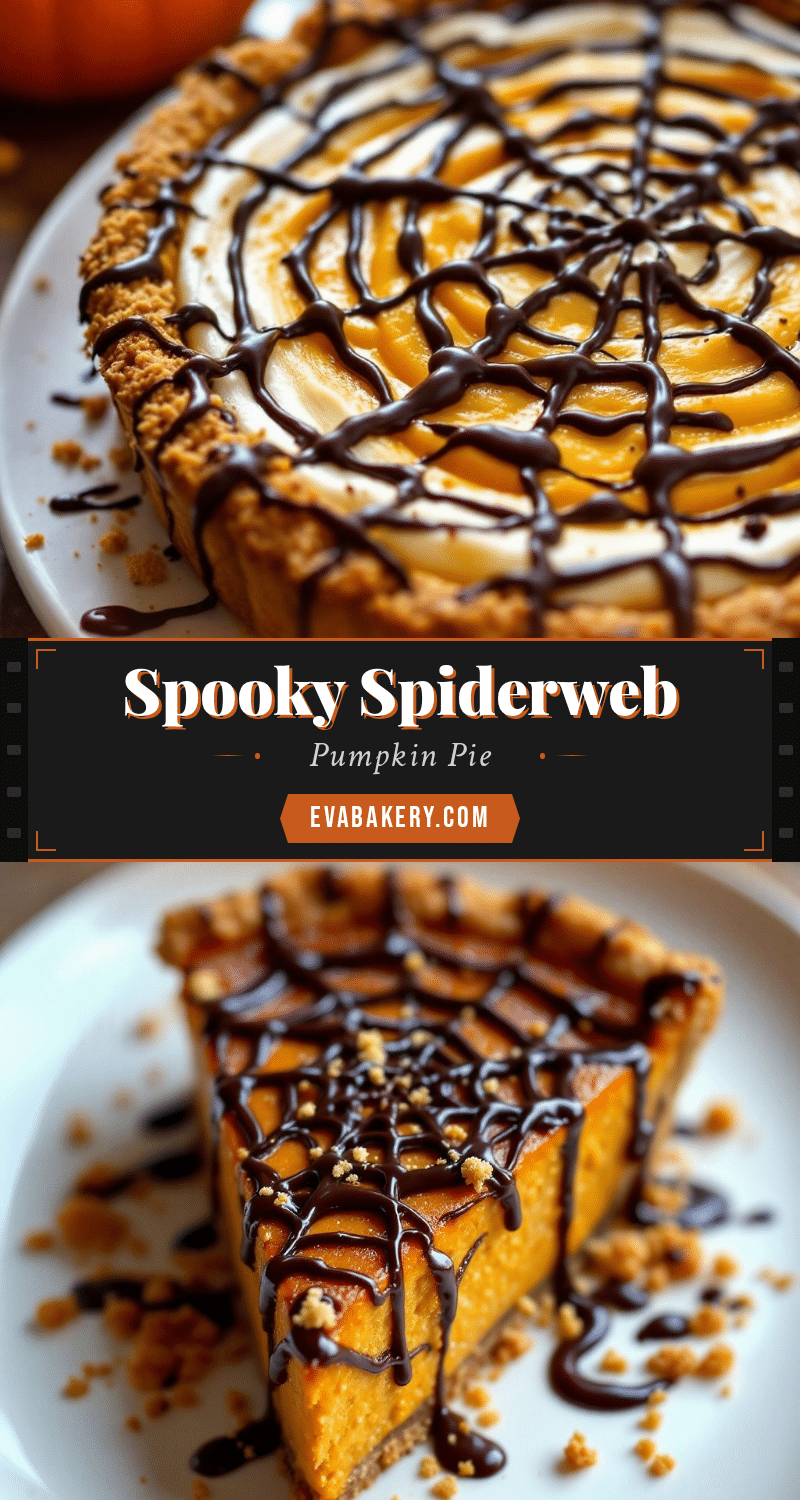
Perfect Spiderweb Pumpkin Pie with Easy Chocolate Drizzle
A stunning pumpkin pie with a silky spiced filling and a dramatic chocolate spiderweb pattern. This showstopper dessert looks like it came from a fancy bakery but comes together easily, making it perfect for fall gatherings and Thanksgiving.
- Prep Time: 20 minutes
- Cook Time: 50 minutes
- Total Time: 2 hours 10 minutes (plus chilling and cooling)
- Yield: 8 servings 1x
- Category: Dessert
- Cuisine: American
Ingredients
- 1 ¼ cups all-purpose flour (plus extra for dusting)
- ½ teaspoon salt
- ½ cup unsalted butter, cold and cubed
- 3–4 tablespoons ice water
- 1 can (15 oz) pumpkin puree
- 1 cup heavy cream
- ¾ cup packed brown sugar
- 2 large eggs, room temperature
- 1 teaspoon vanilla extract
- 1 ½ teaspoons pumpkin pie spice
- ½ teaspoon ground cinnamon
- ¼ teaspoon salt
- ½ cup dark chocolate chips
- 2 tablespoons heavy cream
- 1 tablespoon unsalted butter
Instructions
- Make the pie crust: In a large bowl, whisk together flour and salt. Add cold cubed butter and work into flour until mixture resembles coarse crumbs with pea-sized butter pieces. Drizzle in ice water one tablespoon at a time, mixing with a fork until dough just comes together. Shape into a disk, wrap in plastic, and refrigerate for at least 1 hour.
- Blind bake the crust: Preheat oven to 375°F. Roll dough to 12 inches, transfer to pie dish, trim and crimp edges. Line with parchment and fill with pie weights. Bake 15 minutes, remove weights and parchment, bake 5-7 minutes more until lightly golden. Cool slightly.
- Prepare the pumpkin filling: In a large bowl, whisk together pumpkin puree, 1 cup heavy cream, brown sugar, eggs, vanilla, pumpkin pie spice, cinnamon, and ¼ teaspoon salt until smooth. Pour into pre-baked crust, smoothing the top.
- Bake the pie: Bake at 375°F for 45-50 minutes until edges are set but center jiggles slightly. Cool completely on a wire rack (about 2 hours).
- Create the spiderweb chocolate drizzle: In a small saucepan over low heat, combine dark chocolate chips, 2 tablespoons heavy cream, and 1 tablespoon butter. Stir until melted and smooth. Cool 2-3 minutes until warm but not hot. Transfer to a piping bag or zip-top bag with a tiny corner snipped off.
- Pipe a small circle of chocolate in the center of the pie, then pipe concentric circles around it, spacing about ½ inch apart (5-6 circles total). Using a toothpick or skewer, drag from the center outward through all circles like spokes, then drag from the edge back toward the center between each spoke. Wipe toothpick clean between each drag.
- Let chocolate set at room temperature for 30 minutes, or refrigerate 15 minutes.
Notes
Don’t skip blind baking to avoid a soggy crust. Ensure pie is completely cool before adding chocolate drizzle. Wipe toothpick clean between each drag for crisp spiderweb lines. For best results, use cold butter for crust and pure dark chocolate without stabilizers.
Nutrition
- Serving Size: 1 slice
- Calories: 385
- Sugar: 28
- Sodium: 320
- Fat: 22
- Saturated Fat: 13
- Carbohydrates: 44
- Fiber: 3
- Protein: 6
Keywords: pumpkin pie, spiderweb, chocolate drizzle, Thanksgiving, fall dessert, Halloween