The sky turned that bruised purple color right around 4 PM. You know the kind. Heavy, low, and completely uninterested in your plans. We had spent the morning setting up a blanket in the park, convinced this would be the perfect afternoon for a light lunch and some reading. Then the wind picked up. Not a gentle breeze, but a sudden, cold gust that sent napkins flying into the muddy grass.
My partner looked at the sky, then at the cooler, then at me. We packed up fast. The drive home was wet and miserable. When we got inside, the house felt damp. We didn’t have energy for anything complex. We just wanted warmth. Comfort. Something that smelled like the season was finally sticking around.
I opened the fridge. Empty yogurt cups. Half a lemon. And there, in the crisper drawer, were three large, slightly bruised apples. They weren’t pretty. They were hard, tart, and definitely not for eating raw. But they were perfect for baking. I grabbed the oats from the pantry. They were old, but dry. I had butter, sugar, and flour. That was it. No fancy spices hiding in the back, no exotic nuts. Just the basics.
Honestly, I didn’t even measure anything at first. I just threw the apples in a dish and started crumbling the topping over them. It was a mess. Flour dusted everywhere. But as it baked, the smell changed the whole house. It wasn’t just apple pie smell. It was deeper. Toastier. The oats got crunchy while the apples turned into a soft, spicy jam underneath.
We ate it straight from the pan with spoons. No plates. No forks. Just standing in the kitchen, escaping the rain. It tasted like relief. Like the bad day had been baked away. That’s why I keep making it. Not because it’s fancy, but because it works when everything else goes wrong. It’s the best classic apple crisp with oat streusel topping I’ve ever made, and it didn’t even take much planning.
Why You’ll Love This Recipe
Let’s be real for a second. Most apple crisp recipes out there are either too sweet or too soggy. You know the type. The topping turns into a hard shell that cracks your teeth, or the bottom layer is watery soup. This version fixes all that. It’s been tested, re-tested, and tested again until it was perfect. I’ve made this for family dinners, potlucks, and random Tuesday nights when I just needed a hug in food form. Here is why this specific recipe stands out from the rest.
- Quick & Easy: This comes together in under 30 minutes. Seriously. From peeling the apples to pulling the dish out of the oven, it’s fast enough for a busy weeknight. You don’t need to spend hours prepping. Just chop, toss, bake.
- Simple Ingredients: You likely already have everything in your kitchen right now. No trips to a specialty store needed. Flour, oats, brown sugar, butter, apples, cinnamon. That’s it. It’s pantry-friendly and stress-free.
- Perfect for Cozy Dinners: This is the ultimate comfort food. It pairs beautifully with a simple salad or even just a glass of red wine. It’s great for impromptu dinner guests or just treating yourself after a long day.
- Crowd-Pleaser: Kids love the sweetness. Adults appreciate the texture contrast. It always gets rave reviews. I’ve served this to people who claim they “don’t like dessert,” and they always go back for seconds.
- Unbelievably Delicious: The texture combo is next-level. The oats provide a chewy crunch that stays crisp even as the apples soften. The cinnamon and brown sugar create a caramel-like sauce that coats every bite. It’s soul-soothing satisfaction in a dish.
- The Secret is in the Oats: What makes this different from a standard crumble? The use of rolled oats in the streusel. They absorb the butter and sugar differently than flour alone, creating a hearty, nutty topping that doesn’t get soggy. It’s a small tweak that makes a huge difference in mouthfeel.
This isn’t just another version. It’s the best version. It taps into that specific craving for warm, baked fruit without the hassle of a pie crust. It’s healthier-ish, faster, but with the same soul-soothing satisfaction. Perfect for impressing guests without stress, or turning a simple meal into something memorable.
What Ingredients You Will Need
This recipe uses simple, wholesome ingredients to deliver bold flavor and satisfying texture without the fuss. The beauty of this dish lies in its simplicity. You don’t need expensive imports or hard-to-find items. The magic happens through the balance of tart apples, sweet brown sugar, and buttery oats. Here is exactly what you need to gather before you start baking.
For the Apple Filling
- 6 Large Apples: I recommend using a mix of Granny Smith and Honeycrisp. Granny Smiths hold their shape and provide tartness, while Honeycrisps add sweetness and a softer texture. Avoid Red Delicious; they turn mushy too quickly.
- 1/2 Cup Granulated Sugar: This helps draw out the juices from the apples and creates the sauce.
- 2 Tablespoons All-Purpose Flour: This acts as a thickener to prevent the filling from being too watery.
- 1 Teaspoon Ground Cinnamon: Don’t skip this. It’s the backbone of the flavor profile. Use fresh cinnamon if you can; old cinnamon loses its punch.
- 1/4 Teaspoon Nutmeg: Adds a warm, subtle depth that complements the cinnamon perfectly.
- 1 Tablespoon Lemon Juice: A splash of acid brightens the flavor and keeps the apples from browning too much before baking.
- Pinch of Salt: Enhances all the other flavors. Never underestimate a good pinch of salt.
For the Oat Streusel Topping
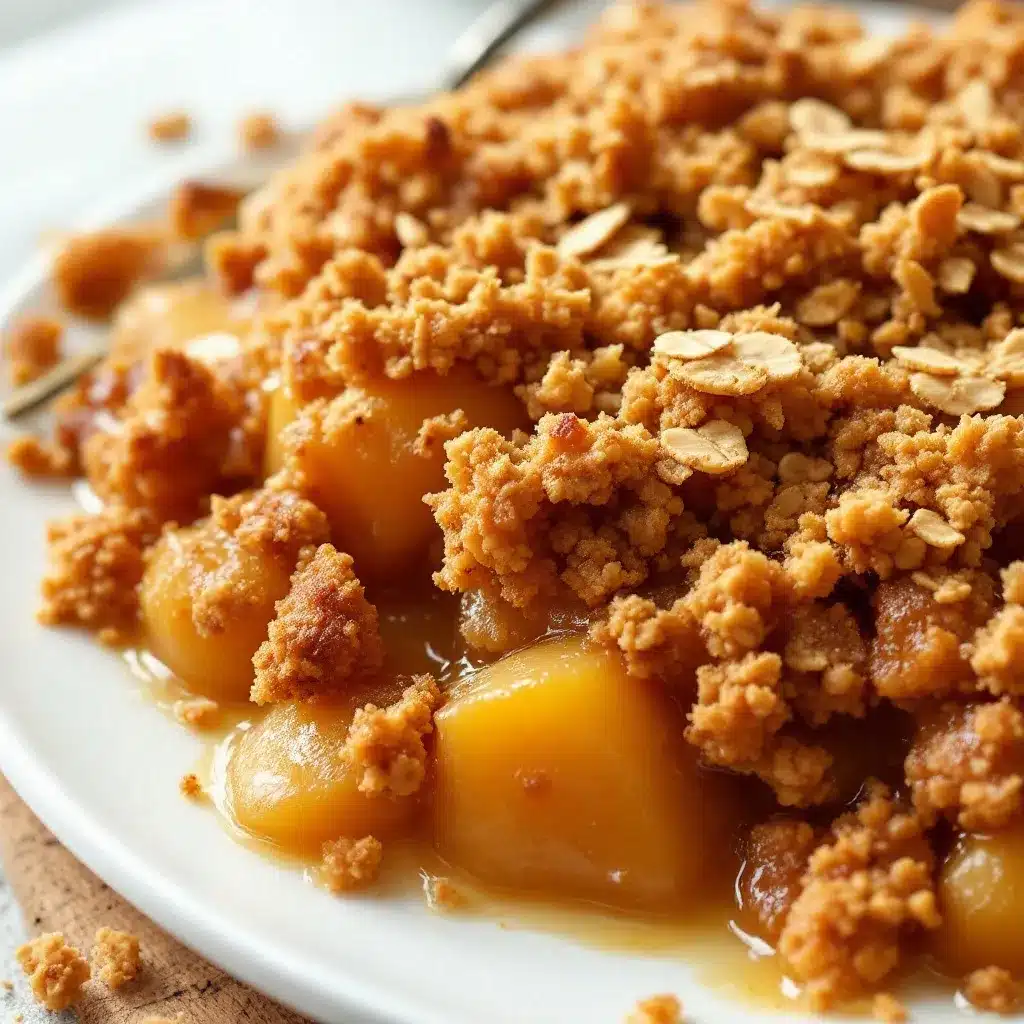
- 1 Cup Old-Fashioned Rolled Oats: Do not use instant oats. They will disintegrate. Do not use steel-cut oats. They won’t soften. Old-fashioned is the sweet spot for texture.
- 1 Cup All-Purpose Flour: Creates the base of the crumble.
- 1 Cup Packed Brown Sugar: Light or dark brown sugar both work. Dark sugar has a deeper molasses flavor, which I prefer for this recipe.
- 1 Teaspoon Cinnamon: Double the cinnamon for the topping to make it extra aromatic.
- 1/2 Teaspoon Salt: Balances the sweetness of the sugar.
- 1/2 Cup Unsalted Butter, Cold and Cubed: This is crucial. Cold butter creates flakes and crunch. If you melt it, you lose the texture.
I personally trust brands like Bob’s Red Mill for their oats because they are consistently sized and cook evenly. For butter, I use high-quality unsalted butter so I can control the salt content. If you need a gluten-free option, swap the all-purpose flour with a 1:1 gluten-free baking flour blend. It works surprisingly well.
Equipment Needed
You don’t need a fancy kitchen to make this. Here is the basic gear you’ll need.
- 9×13 Inch Baking Dish: A ceramic or glass dish works best. It distributes heat evenly. If you don’t have a 9×13, a 9×9 dish will work, but the layers will be thicker, so you might need to bake it a few minutes longer.
- Large Mixing Bowl: For tossing the apples with sugar and spices.
- Medium Mixing Bowl: For combining the streusel topping ingredients.
- Pastry Cutter or Fork: To cut the cold butter into the flour and oat mixture. A pastry cutter is faster, but a fork works fine if you have the arm strength.
- Peeler and Knife: For prepping the apples. A Y-peeler is easier on the wrists.
- Measuring Cups and Spoons: Accuracy matters, especially with the flour and sugar ratio.
If you don’t have a pastry cutter, don’t worry. Your hands work great too. Just rub the cold butter cubes into the dry ingredients until it looks like coarse crumbs. It’s a bit of a workout, but it’s therapeutic. Also, make sure your baking dish is clean. There’s nothing worse than burnt sugar stuck to the bottom of your dish. Soak it immediately after you serve the crisp.
Preparation Method
Let’s get into the nitty-gritty. This part is straightforward, but attention to detail makes the difference between good and great.
Step 1: Prep the Oven and Dish
Preheat your oven to 375°F (190°C). Grease your 9×13 inch baking dish with a little butter or cooking spray. This prevents sticking and adds a bit of flavor to the edges. Take about 5 minutes to do this.
Step 2: Prepare the Apples
Peel, core, and slice the apples. Aim for slices that are about 1/4 inch thick. Uniformity helps them cook evenly. If some slices are thick and others thin, the thick ones will be raw when the thin ones turn to mush. Place the sliced apples in your large mixing bowl.
Step 3: Season the Apples
Add the granulated sugar, flour, cinnamon, nutmeg, lemon juice, and pinch of salt to the apples. Toss everything together until the apples are evenly coated. The flour will help thicken the juices as they release. Let this sit for about 10 minutes while you make the topping. This draws out the moisture, which is key for a rich sauce.
Step 4: Make the Streusel Topping
In the medium bowl, combine the rolled oats, flour, brown sugar, cinnamon, and salt. Add the cold, cubed butter. Use a pastry cutter, two forks, or your fingers to mix. You want the mixture to look like coarse crumbs with some pea-sized clumps. Don’t overmix it into a paste. Those clumps are what give you the crunchy texture. This takes about 3-5 minutes.
Step 5: Assemble
Pour the seasoned apple mixture into the prepared baking dish. Spread it out evenly. Sprinkle the oat streusel topping over the apples. Cover the entire surface. You don’t need to press it down. Let it sit loosely on top. This takes about 2 minutes.
Step 6: Bake
Place the dish in the preheated oven. Bake for 45-50 minutes. You’ll know it’s done when the topping is golden brown and the filling is bubbling around the edges. The bubbles are a good sign; it means the sugars have caramelized and the apples are tender. If the topping gets too dark before the apples are cooked, cover the dish loosely with foil for the last 10 minutes.
Step 7: Cool and Serve
Let the crisp cool for at least 15 minutes before serving. This allows the filling to set slightly. If you cut into it immediately, it will be soupy. After 15 minutes, it’s perfect. Serve warm.
Cooking Tips & Techniques
I’ve made this recipe enough times to know where things can go wrong. Here are some pro tips to ensure success.
- Keep the Butter Cold: This is the most important tip for the topping. If the butter melts before it hits the oven, you lose the crumble texture. Cube it straight from the fridge. If your kitchen is hot, pop the butter in the freezer for 10 minutes before using.
- Don’t Skip the Resting Time: I know it’s hard to wait. But letting the crisp cool for 15 minutes is crucial. The filling thickens as it cools. Rushing this step results in a runny dessert.
- Use a Mix of Apples: Using only one type of apple can result in a texture that’s either too hard or too soft. A mix gives you the best of both worlds. Tart apples hold shape; sweet apples break down.
- Watch the Baking Time: Ovens vary. Check at 45 minutes. If the topping is golden and the apples are tender, it’s done. If not, give it another 5-10 minutes.
- Foil Shield: If your oven runs hot, the topping might burn before the apples are cooked. Have a sheet of foil ready to cover the dish if needed. This is a common mistake I made early on. Now I always have foil ready.
- Stir the Filling Once: Halfway through baking, you can gently stir the apples if you want them more tender. But be careful not to break the topping. I usually leave it alone to keep the crust intact.
These tips come from trial and error. I’ve had soggy bottoms and burnt tops. Now, I avoid those pitfalls every time. Consistency is key.
Variations & Adaptations
This recipe is a template. You can tweak it to fit your tastes or dietary needs.
- Gluten-Free Option: Swap the all-purpose flour for a gluten-free 1:1 baking blend. Use certified gluten-free oats. The texture will be slightly different, but still delicious.
- Dairy-Free Version: Use cold vegan butter sticks instead of dairy butter. Coconut oil works too, but it has a distinct flavor. Vegan butter mimics the texture better.
- Nutty Twist: Add 1/2 cup of chopped pecans or walnuts to the streusel topping. Toast the nuts in a dry pan for 2 minutes before adding them for extra flavor. This pairs well with the cinnamon.
- Spice It Up: Add a pinch of cardamom or allspice to the apple filling. It adds a warm, complex note that’s great for fall.
- Lower Sugar: Reduce the brown sugar in the topping to 3/4 cup. The apples provide enough sweetness. You can also use a sugar substitute if needed, but the texture might change slightly.
I often add a handful of raisins to the apple filling for a chewy contrast. It’s a personal preference, but it works well. You can also swap the apples for pears. Pear crisp is just as good.
Serving & Storage Suggestions
How you serve this matters.
- Serving Temperature: Serve warm. Not hot, not cold. Warm is best. The flavors are most pronounced when it’s just out of the oven and slightly cooled.
- Pairings: A scoop of vanilla ice cream is classic. Whipped cream is also great. For a lighter option, serve with Greek yogurt. It cuts the sweetness nicely.
- Storage: Store leftovers in an airtight container in the refrigerator for up to 4 days.
- Reheating: Reheat individual portions in the microwave for 30-60 seconds. For the whole dish, cover with foil and bake at 350°F for 15-20 minutes. This restores the crispness of the topping.
- Freezing: You can freeze the unbaked crisp. Wrap the dish tightly in plastic wrap and foil. Freeze for up to 3 months. Thaw in the fridge overnight before baking. You may need to add 10-15 minutes to the baking time.
The flavors develop over time. It often tastes better on day two as the spices meld together. Don’t rush to eat it all at once.
Nutritional Information & Benefits
This dessert is indulgent, but it has some redeeming qualities.
- Estimated Values: Each serving (1/12 of the dish) contains approximately 280 calories. It has 12g of fat, 45g of carbohydrates, and 2g of protein.
- Health Benefits: Apples are a good source of fiber and vitamin C. Oats provide soluble fiber, which is good for heart health. Cinnamon has anti-inflammatory properties.
- Dietary Considerations: This recipe contains gluten and dairy. See variations for modifications. It is not suitable for vegans unless adapted.
- Allergens: Contains wheat and dairy. If you have nut allergies, avoid the pecan/walnut variation.
- Wellness Perspective: I enjoy this as a treat, not a daily staple. Balance is key. It’s a comfort food that brings joy, which is good for mental well-being too.
It’s not a health food, but it’s not purely empty calories either. The fruit and oats add some nutritional value. Enjoy it mindfully.
Conclusion
This best classic apple crisp with oat streusel topping is more than just a dessert. It’s a reminder that good food doesn’t need to be complicated. It emerged from a rainy day and a limited pantry, but it turned into something special. I hope you try it. Customize it with your favorite nuts or spices. Make it your own.
I love this recipe because it’s reliable. It’s always there when I need comfort. It’s easy to make and easy to share. I encourage you to leave a comment below with your own variations. Did you add nuts? Did you use a different apple? I’d love to hear. Share this with a friend who needs a cozy treat. And if you make it, tag me on social media. I love seeing your creations.
Thank you for reading. Happy baking.
FAQs
Can I use frozen apples for this recipe?
Yes, you can use frozen apples, but you need to thaw and drain them first. Frozen apples release a lot of water. If you don’t drain them, the crisp will be soupy. Pat them dry with paper towels before adding the sugar and spices. You may need to bake it a few minutes longer.
What is the difference between apple crisp and apple crumble?
Technically, they are very similar. The main difference is in the topping. Apple crisp usually includes oats in the streusel, which gives it a chewier, more textured crunch. Apple crumble typically uses just flour, sugar, and butter, resulting in a softer, sandier topping. This recipe is a crisp because of the oats.
How do I prevent the topping from getting soggy?
The key is cold butter and not overmixing. Make sure the butter is cubed and cold. Mix it into the dry ingredients until you have coarse crumbs. Also, ensure the apples are coated in flour before baking. This helps thicken the juices so they don’t soak into the topping. Bake until the topping is golden brown.
Can I make this ahead of time?
Yes. You can assemble the crisp up to 24 hours in advance. Cover it tightly and refrigerate. When you’re ready to bake, take it out and let it sit at room temperature for 30 minutes. Then bake as directed. You may need to add 10-15 minutes to the baking time since the dish will be cold.
Why are my apples still crunchy after baking?
If the apples are still crunchy, they might be too thick. Slice them thinner, about 1/4 inch. Also, check your oven temperature. If your oven runs cool, the apples might not soften fully. Use an oven thermometer to verify the temperature. You can also cover the dish with foil for the first 20 minutes to steam the apples, then uncover to crisp the topping.
Pin This Recipe!
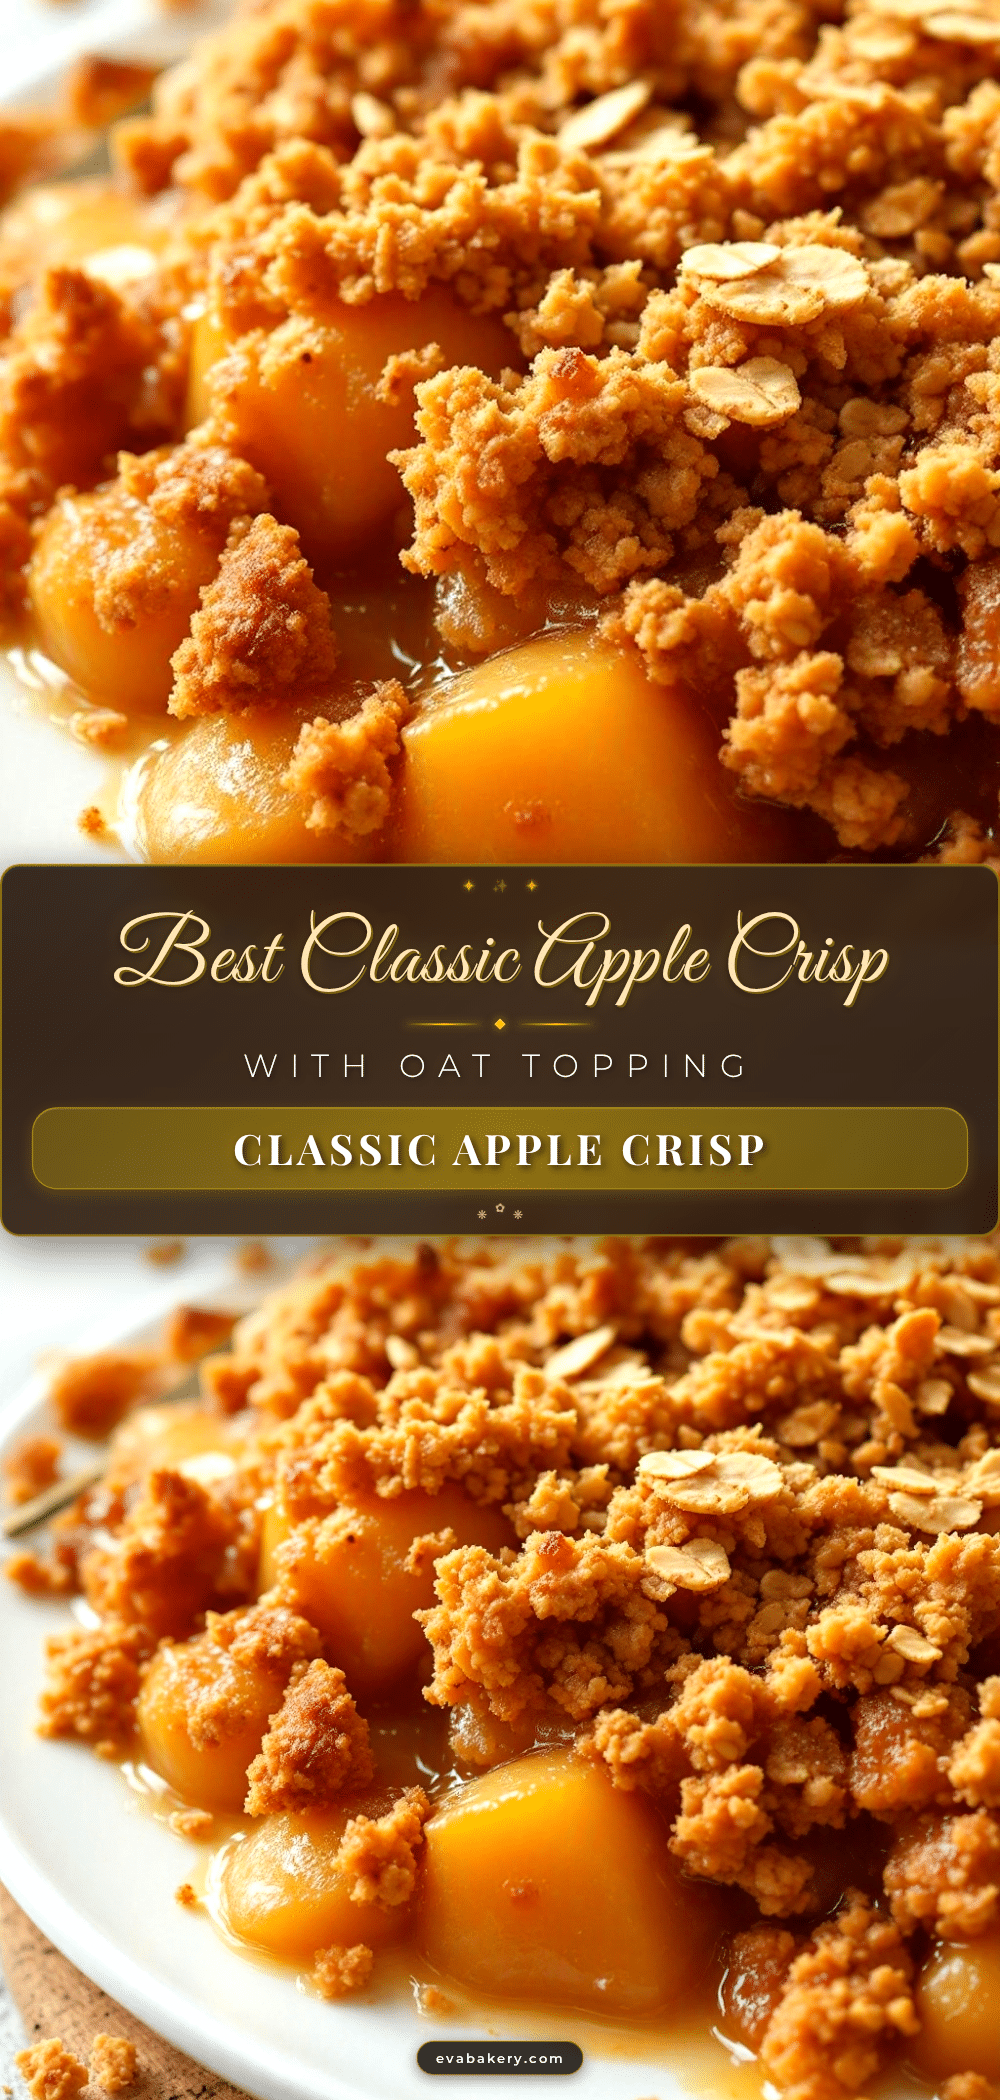
Best Classic Apple Crisp: Easy 30-Minute Oat Recipe

A comforting, easy-to-make apple crisp with a crunchy oat streusel topping. This recipe uses simple pantry ingredients and a mix of tart and sweet apples for the perfect balance of texture and flavor.
- Prep Time: 15 minutes
- Cook Time: 45 minutes
- Total Time: 60 minutes
- Yield: 12 servings 1x
- Category: Dessert
- Cuisine: American
Ingredients
- 6 Large Apples (mix of Granny Smith and Honeycrisp), peeled, cored, and sliced
- 1/2 Cup Granulated Sugar
- 2 Tablespoons All-Purpose Flour
- 1 Teaspoon Ground Cinnamon
- 1/4 Teaspoon Nutmeg
- 1 Tablespoon Lemon Juice
- Pinch of Salt
- 1 Cup Old-Fashioned Rolled Oats
- 1 Cup All-Purpose Flour
- 1 Cup Packed Brown Sugar
- 1 Teaspoon Cinnamon
- 1/2 Teaspoon Salt
- 1/2 Cup Unsalted Butter, Cold and Cubed
Instructions
- Preheat oven to 375°F (190°C). Grease a 9×13 inch baking dish with butter or cooking spray.
- In a large mixing bowl, combine sliced apples, granulated sugar, 2 tablespoons flour, cinnamon, nutmeg, lemon juice, and a pinch of salt. Toss to coat evenly and let sit for 10 minutes.
- In a medium bowl, combine rolled oats, 1 cup flour, brown sugar, 1 teaspoon cinnamon, and 1/2 teaspoon salt.
- Add the cold, cubed butter to the dry topping ingredients. Use a pastry cutter, forks, or fingers to mix until the mixture resembles coarse crumbs with pea-sized clumps.
- Pour the seasoned apple mixture into the prepared baking dish and spread evenly.
- Sprinkle the oat streusel topping over the apples, covering the entire surface.
- Bake for 45-50 minutes, or until the topping is golden brown and the filling is bubbling around the edges. If the topping browns too quickly, cover loosely with foil.
- Let the crisp cool for at least 15 minutes before serving to allow the filling to set.
Notes
Keep the butter cold for the best texture. Use a mix of apples (Granny Smith for tartness/structure, Honeycrisp for sweetness/softness). Let the crisp cool for 15 minutes before serving to prevent a soupy filling. For gluten-free, use GF flour blend and certified GF oats. For dairy-free, use vegan butter.
Nutrition
- Serving Size: 1/12 of the dish
- Calories: 280
- Sugar: 32
- Sodium: 150
- Fat: 12
- Saturated Fat: 7
- Carbohydrates: 45
- Fiber: 3
- Protein: 2
Keywords: apple crisp, oat streusel, easy dessert, comfort food, fall baking, gluten-free option, dairy-free option


